Roblox, a platform teeming with creativity and self-expression, offers aspiring designers the incredible opportunity to create and sell their own unique in-game items through the UGC (User-Generated Content) program. One increasingly popular avenue for creators is designing necklaces, allowing for intricate detail and the chance to add a touch of personal flair to player avatars. The demand for stylish and inventive necklace designs is high, making this a potentially lucrative venture for skilled creators. This guide provides a comprehensive overview of the tools and techniques required for success.
From initial concept sketching to the final upload, crafting a successful Roblox necklace requires careful planning and attention to detail. This step-by-step guide will walk you through each stage of the process, from choosing the right software and understanding Roblox's specific requirements to mastering the art of mesh creation and texture application, ultimately leading you to the point where you can submit your stunning necklace design for sale on the platform.
Preparation and Safety Guidelines
- Roblox Studio
- Blender
- iPad (for reference image)
- Load Avatar Plugin
- Always back up your work frequently. Roblox Studio can be unpredictable, and losing progress is frustrating. Regularly save different versions of your necklace.
- Respect Roblox's Community Guidelines. Ensure your necklace design is appropriate for all ages and doesn't violate any intellectual property rights. Inappropriate content will lead to rejection.
- Optimize your mesh for performance. High polygon counts can lead to lag and rejection. Use efficient modeling techniques to keep your necklace lightweight.
Step-by-Step Instructions
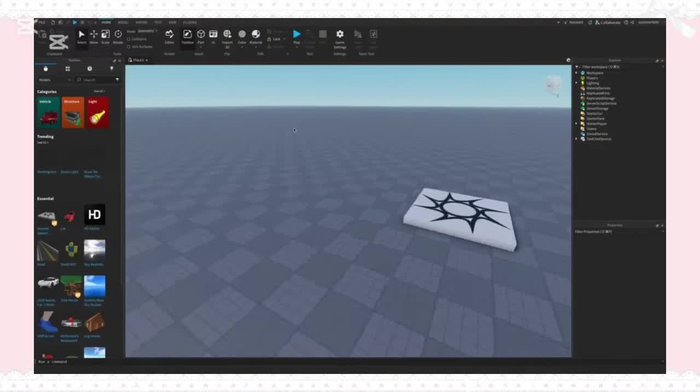
Prepare Avatar in Roblox Studio
- Open Roblox Studio, create a new experience, and import an avatar using the Load Avatar plugin (link in description).
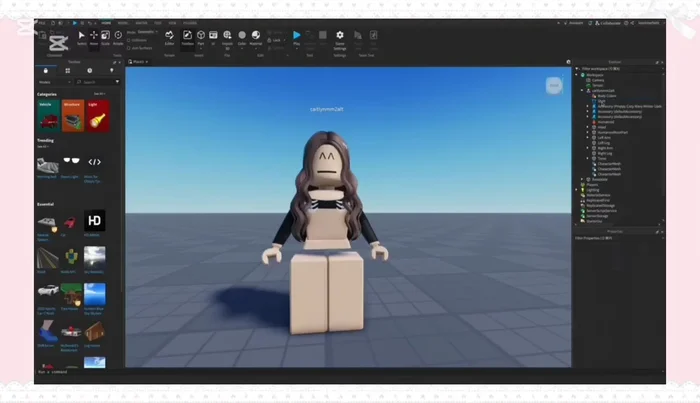
- Delete all accessories and clothing from the avatar.
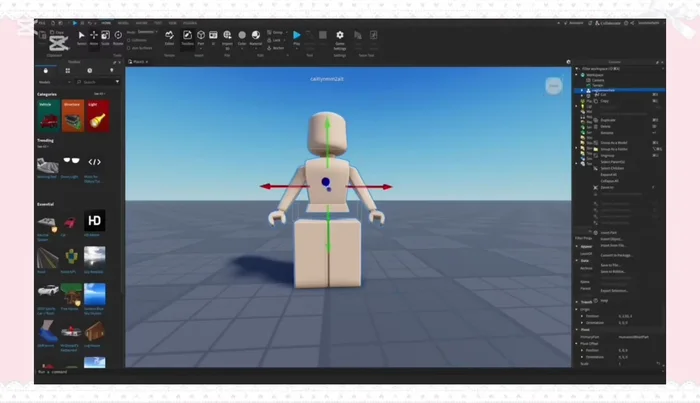
- Export the avatar as a rig.

Prepare Avatar in Roblox Studio Import Rig into Blender
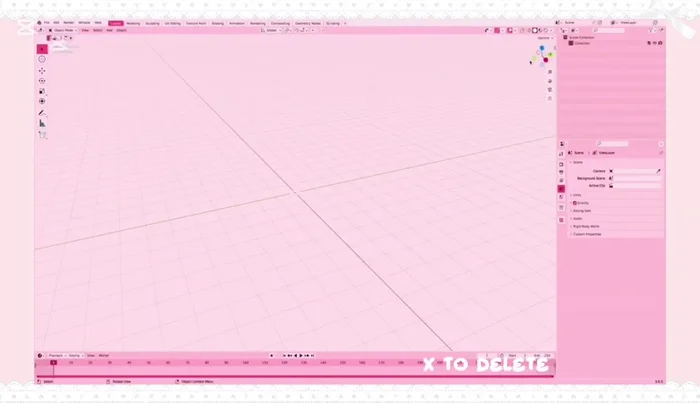
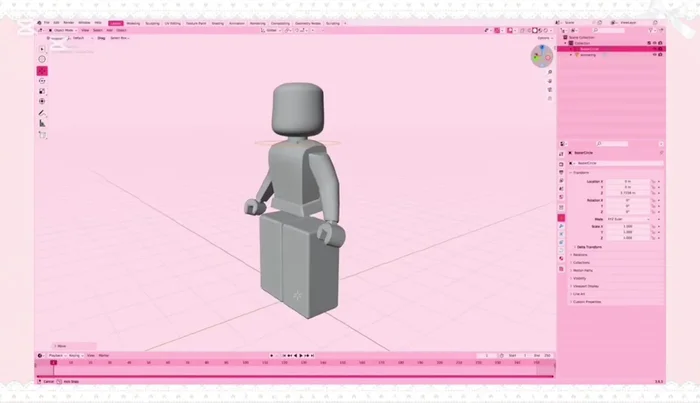
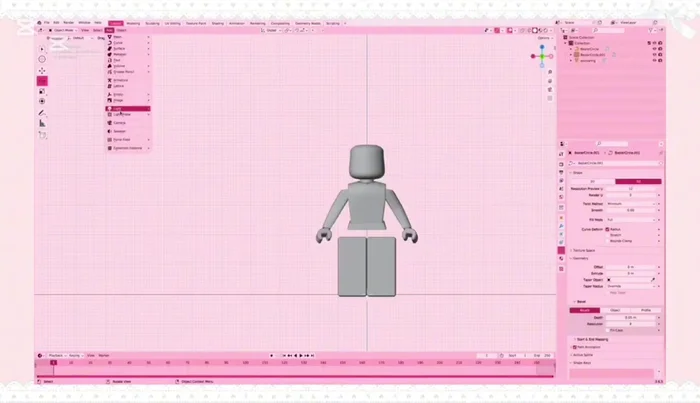
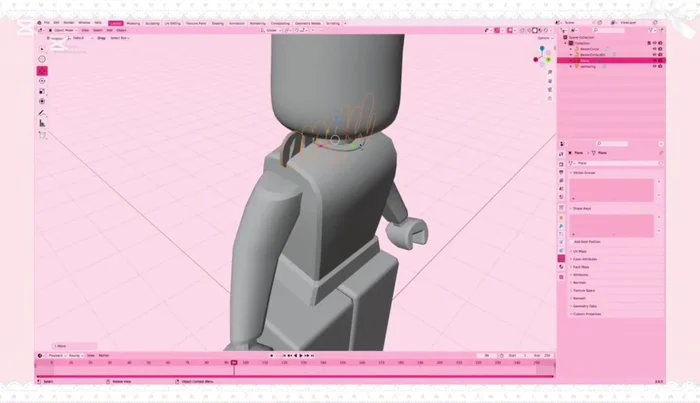
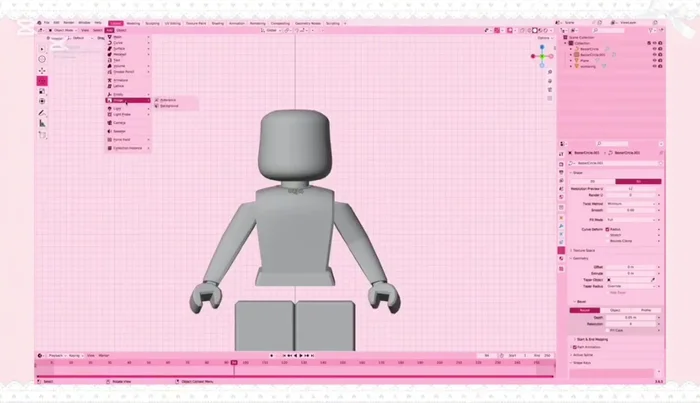
- Open Blender, delete pre-existing objects, and import the exported rig as a Wavefront OBJ file.
Import Rig into Blender Model the Necklace Chain
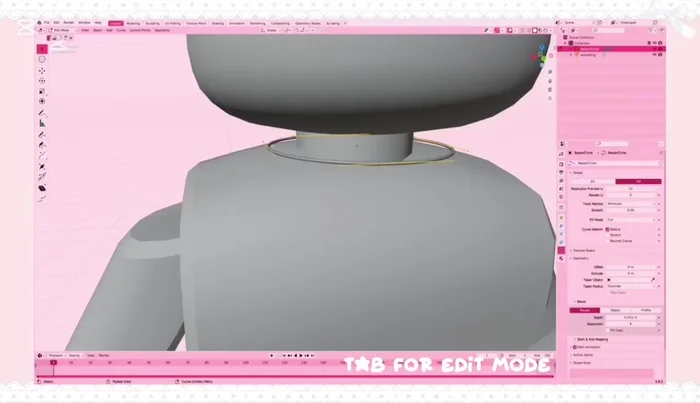
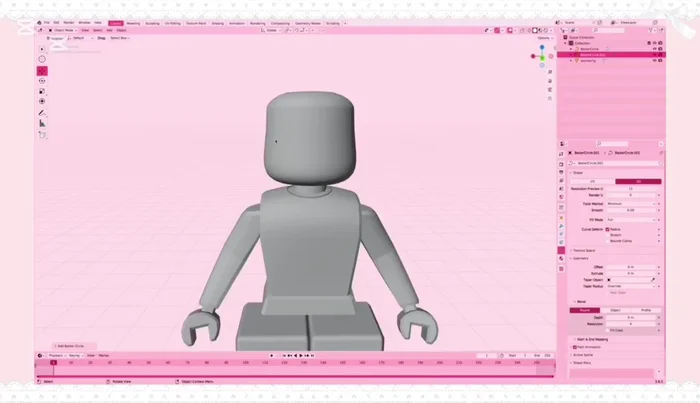
- Create the necklace chain using a curve circle, scale it to the desired size using 'S', and adjust its depth using the geometry settings.
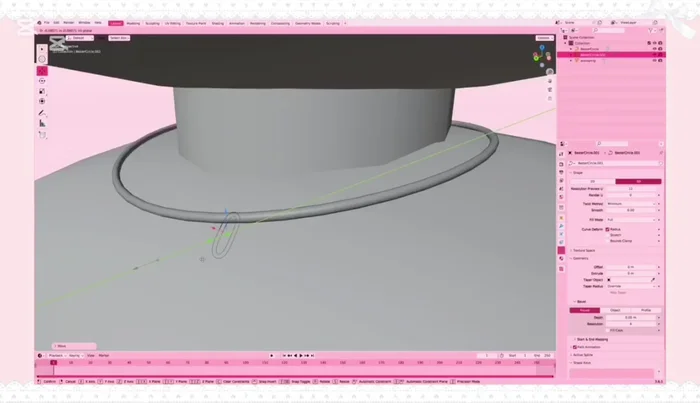
- Refine the chain shape in edit mode ('Tab') by manipulating vertices to create a more necklace-like appearance.
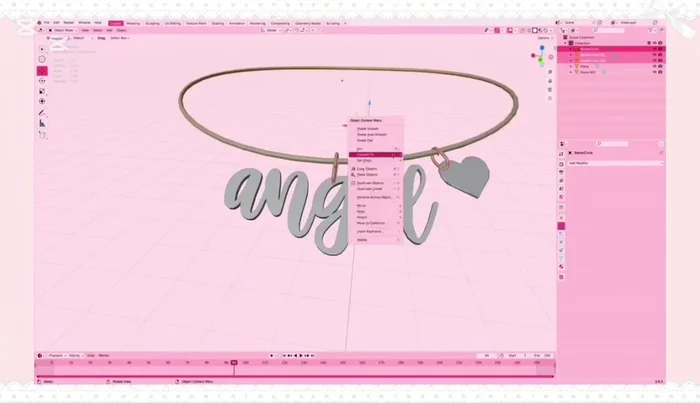
Model the Necklace Chain Model the Clasp
- Create the clasp using another curve circle, rotate it (rx90, z90), scale it down, and add depth using geometry settings. Shape it into an oval in edit mode.
- Position and adjust the clasp to fit the necklace chain.
Model the Clasp Create Text Reference Image
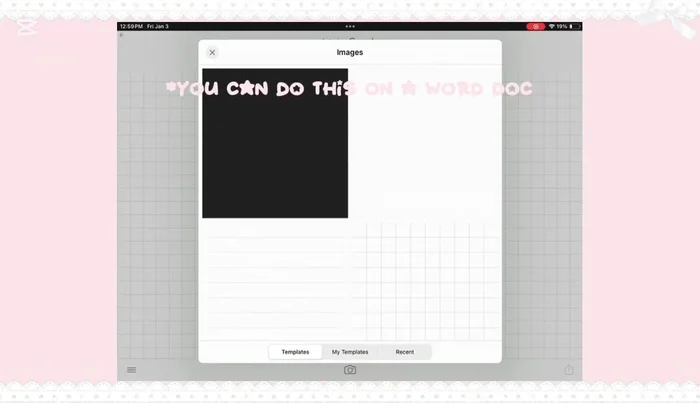
- Create a reference image of the text you want on your necklace using an app like Procreate (or similar app).
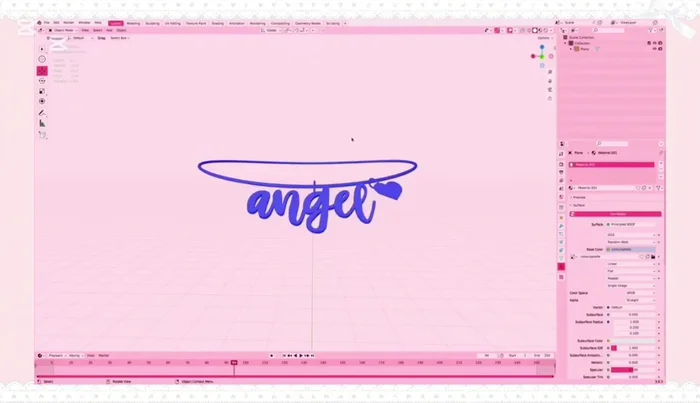
Create Text Reference Image Model the Necklace Text
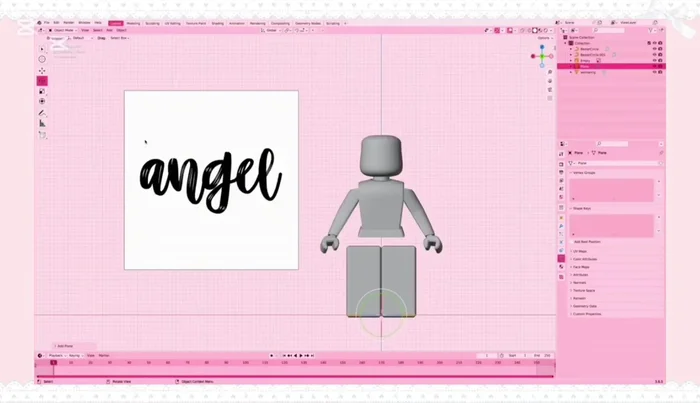
- Import the reference image into Blender as a reference image.
- Add a plane, position it in front of the reference image, and scale it larger than the text.
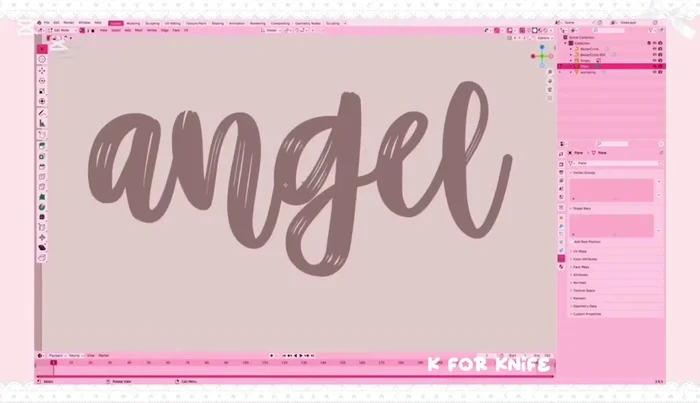
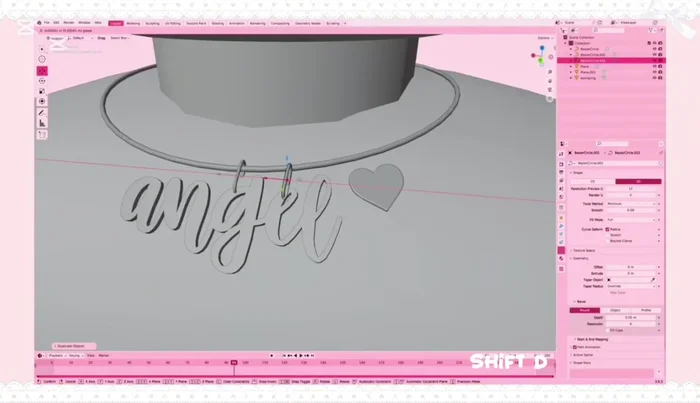
- Use the knife tool ('K') to cut out the shape of the letters on the plane, creating vertices along the letter outlines. Delete unnecessary vertices using 'X' and 'Vertices'.
- Extrude the text ('E') to give it thickness. Optionally, bevel the edges ('Control+B') for a smoother look.
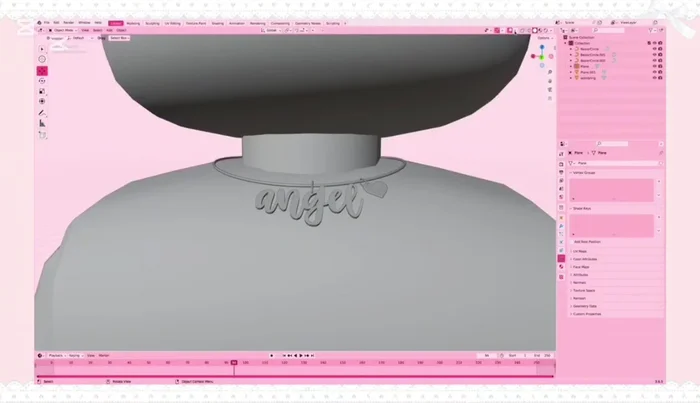
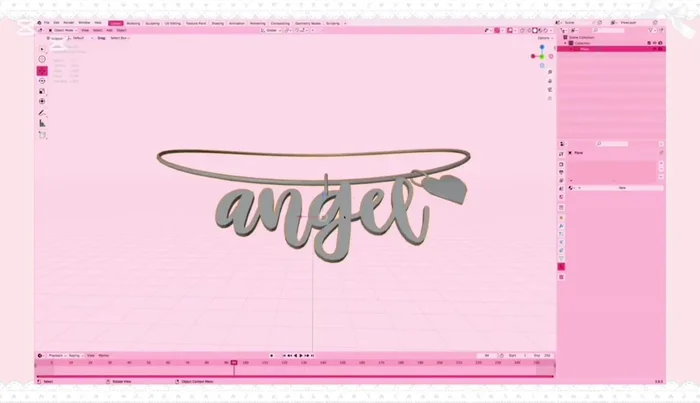
Model the Necklace Text - Position the text on the necklace, aligning it with the clasp.
Model the Necklace Text Model the Charm
- Create a charm using the same reference image and plane method as the text.
- Position the charm on the necklace and duplicate/position a clasp to attach it.
Model the Charm Optimize for Roblox
- Decimate all mesh objects to reduce the polygon count below Roblox's 4000 triangle limit. Remember to convert curves to meshes before decimating.
- Join the chain and clasps into a single object for easier texturing.
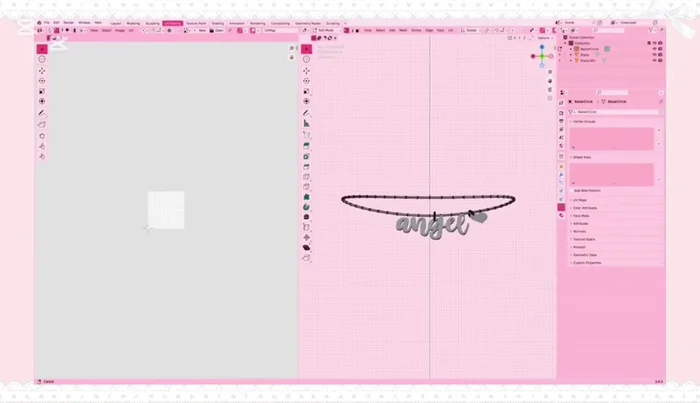
Optimize for Roblox UV Unwrapping
- UV unwrap each part of the necklace separately (chain/clasp, text, charm) ensuring they do not overlap in the UV editor.
UV Unwrapping Texturing and Coloring
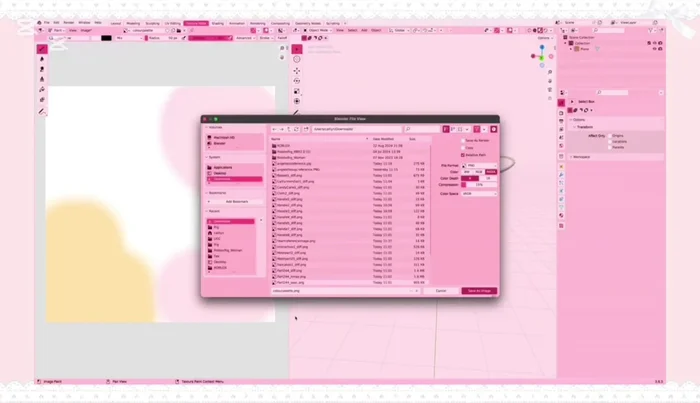
- Create a new color palette (256x256) and paint the textures using Blender's texture paint mode.
- Save the color palette as an image file.
Texturing and Coloring Final Checks and Export
- Check face orientation and recalculate normals if needed.
- Export the model as a Wavefront OBJ file.
Final Checks and Export


Read more: Elegant Russian Spiral Necklace Tutorial: A Step-by-Step Guide
Tips
- Use the geometry settings to adjust the thickness of the chain and clasp *before* scaling.
- Don't decimate too much, or your model will lose detail.
- Ensure your UV unwraps don't overlap to prevent texture issues.
- Save your color palette as a separate image for easier re-use and troubleshooting.