Step back in time and unleash your creativity with this whimsical vintage journal page project! We'll transform ordinary, discarded materials into a charming, one-of-a-kind keepsake, breathing new life into forgotten treasures and celebrating the art of repurposing. Forget the sterile blankness of a new page; imagine instead the rich textures and aged beauty of recycled papers, adorned with delicate ephemera and imbued with your personal stories. Think faded photographs, pressed flowers, antique lace, and snippets of forgotten letters – all contributing to a unique narrative woven from the past. This is more than just crafting; it's a journey into mindful creation and sustainable artistry.
This delightful project perfectly embodies the "reduce, reuse, recycle" mantra, offering a satisfying blend of nostalgia and eco-consciousness. To begin crafting your own magical vintage journal page, follow the simple, step-by-step guide below.
Preparation and Safety Guidelines
- Security envelope with window
- Washi tape
- Scissors
- Sharpie marker (wide chisel nib)
- Glue stick
- Vintage ledger paper
- Distress ink
- Brush
- Parchment paper
- Bone folder
- Corner rounder
- Flowers and leaves (handmade or craft store)
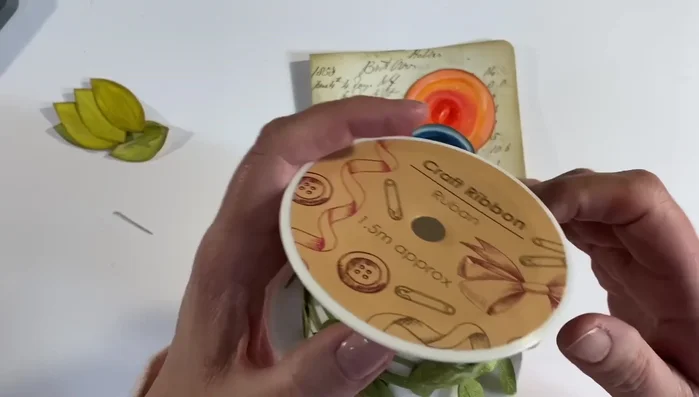
- Craft ribbon
- Dimensional tape
- Always wash or clean vintage paper before handling and using it to avoid potential exposure to harmful substances or mold.
- Be mindful of the paper's fragility. Handle vintage pages gently to prevent tearing or damage. Use archival-safe glues and tapes if attaching elements.
- If the paper is significantly damaged or brittle, consider framing it instead of directly repurposing it to preserve its condition.
Step-by-Step Instructions
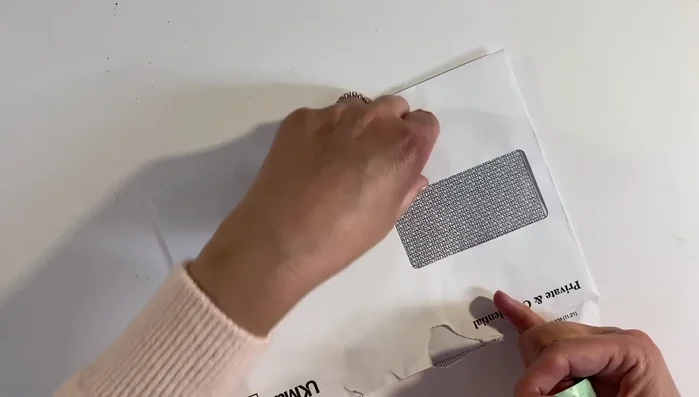
Prepare the Envelope Frame
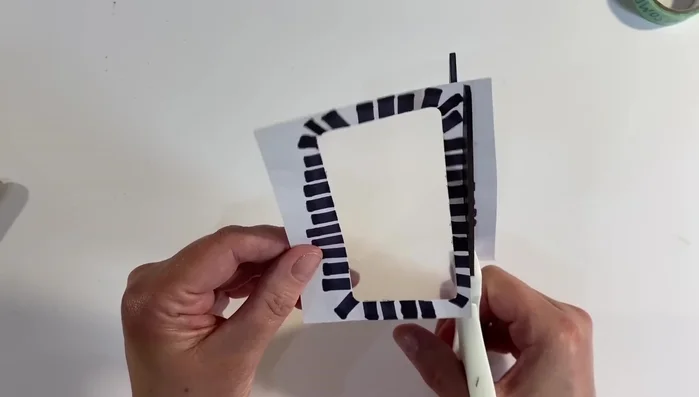
- Apply washi tape to the inside of the security envelope window, butting it up to the paper. Trim and create rounded edges.
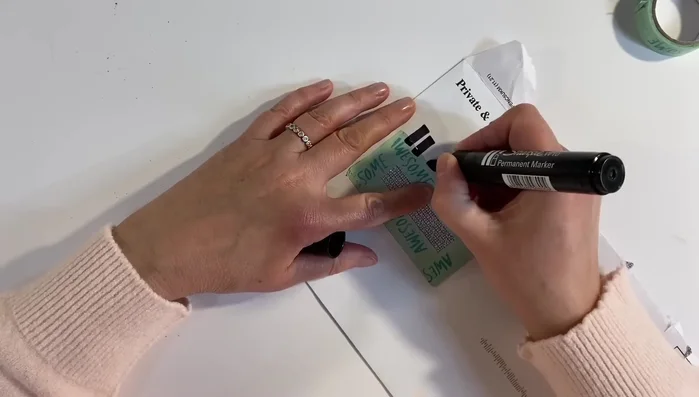
- Use a Sharpie marker to add lines around the envelope.
- Cut out one side of the envelope, leaving only the washi-taped section.
- Peel away the washi tape from the inside of the envelope.

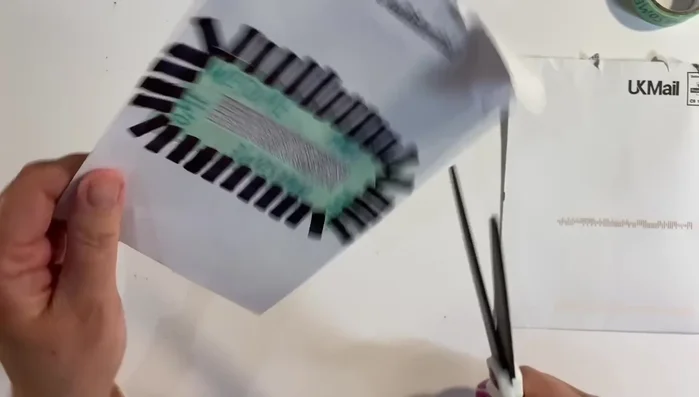
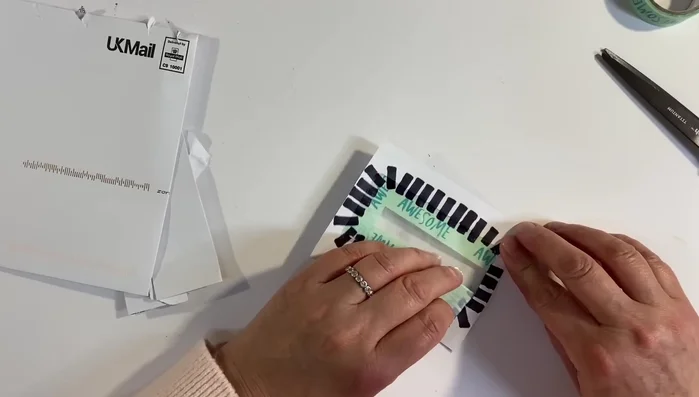
Prepare the Envelope Frame - Cut around the outside of the remaining envelope piece, creating a frame for the flowers.
Prepare the Envelope Frame Prepare the Journal Page
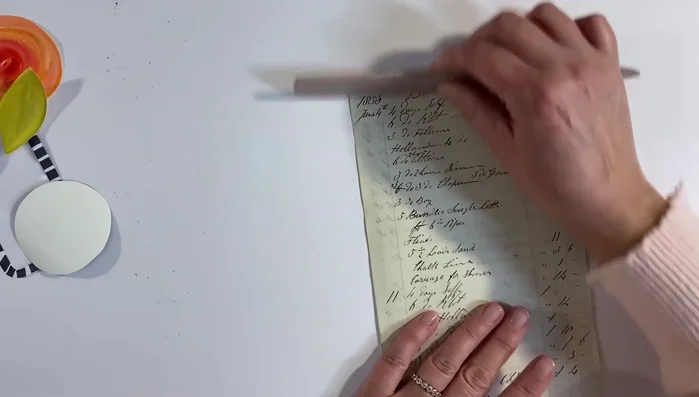
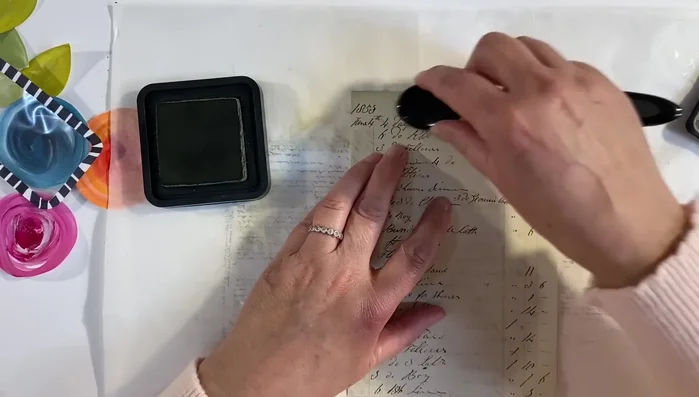
- Glue vintage ledger paper onto a plain journal page.
- Use a bone folder to smooth the ledger paper and trim excess.
- Distress the edges of the vintage ledger paper using distress ink.
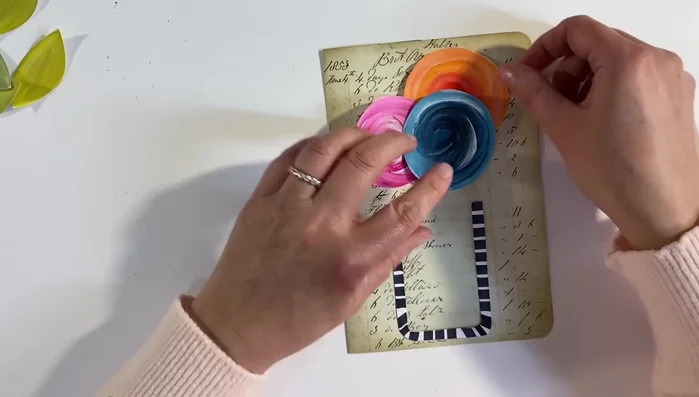
Prepare the Journal Page Create the Flower Arrangement
- Cut and arrange handmade flowers and leaves to create a flower arrangement.
- Cut and add craft ribbon as stems for the flowers.
Create the Flower Arrangement Assemble the Journal Page
- Arrange and glue the flower arrangement onto the vintage ledger page.
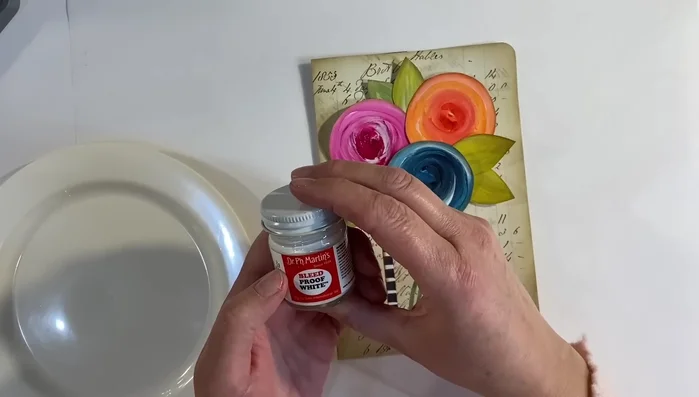
Assemble the Journal Page Add Finishing Touches
- Add white splatters to the page for added texture and visual interest.
- Add a dictionary word bloom as a finishing touch.
Add Finishing Touches


Read more: DIY Wonky House Brooches: The Fastest & Easiest Method
Tips
- Use parchment paper repeatedly for applying glue and ink.
- Take photos of your arrangement before gluing to remember placement.
- Use an emery board to smooth any rough edges.