Step aside, mass-produced jewelry! Are you ready to unleash your inner artist and create stunning, one-of-a-kind earrings? This tutorial will guide you through the surprisingly simple process of making elegant porcelain clay earrings, perfect for adding a touch of handmade charm to any outfit. Forget expensive jewelry-making classes; with readily available materials and a few basic techniques, you can craft beautiful, personalized accessories that reflect your unique style. Whether you're a seasoned crafter or a complete beginner, this project is approachable and rewarding.
Porcelain clay offers a versatility that allows for intricate designs and delicate details, making it the ideal medium for crafting sophisticated earrings. Its smooth texture and ability to hold its shape once fired ensure a professional-looking finish, even for first-timers. Ready to transform simple clay into chic, wearable art? Let's dive into the step-by-step instructions and begin crafting your dream earrings!
Preparation and Safety Guidelines
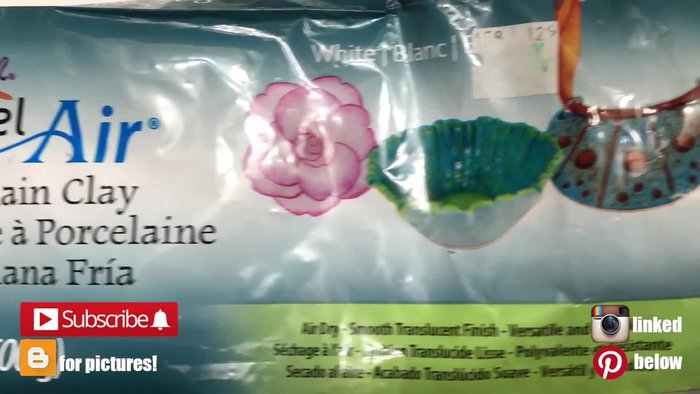
- Porcelain clay (or polymer clay)
- Parchment paper
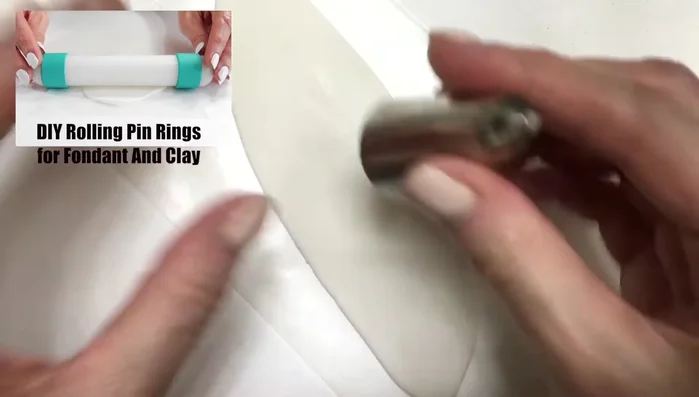
- Two rings for consistent thickness
- Decorating/baking tool (e.g., Wilton 1M)
- Pen (for cutting)
- Exacto knife
- Toothpick
- Eye pins
- Sewing pen
- Off-white acrylic paint
- Detail brush (optional)
- Pliers
- Ear wires
- Always work in a well-ventilated area. Porcelain clay dust can be irritating to the lungs.
- Use gloves to protect your skin from the clay and any glaze used.
- Ensure your workspace is clean and free from dust and debris to prevent imperfections in your earrings.
Step-by-Step Instructions
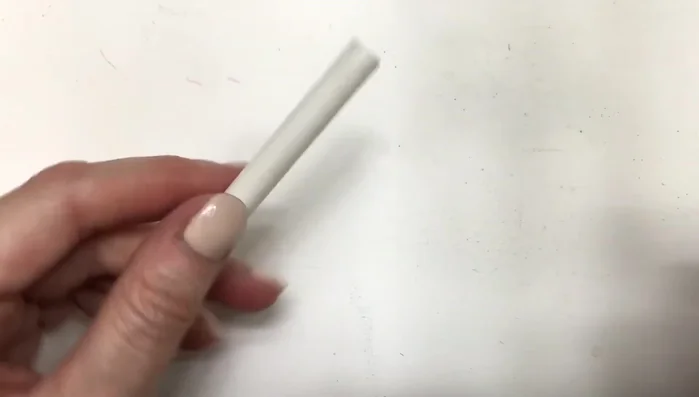
Prepare the Clay
- Roll out porcelain clay to consistent thickness using parchment paper and rings.

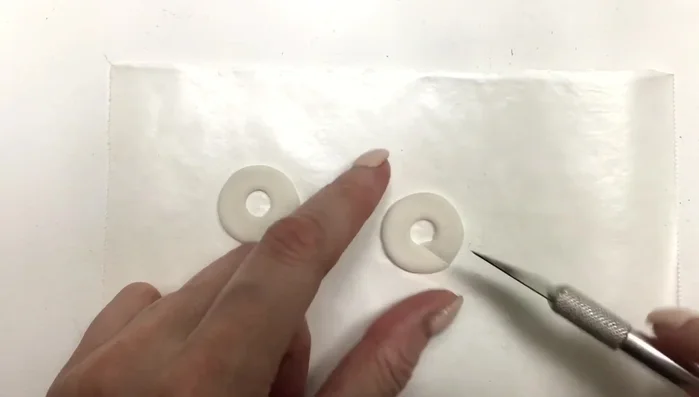
Prepare the Clay Cut and Shape the Earrings
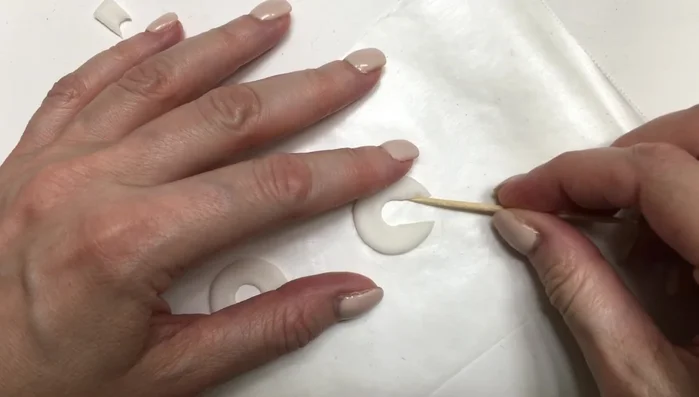
- Cut out two earring shapes using a decorating tool.
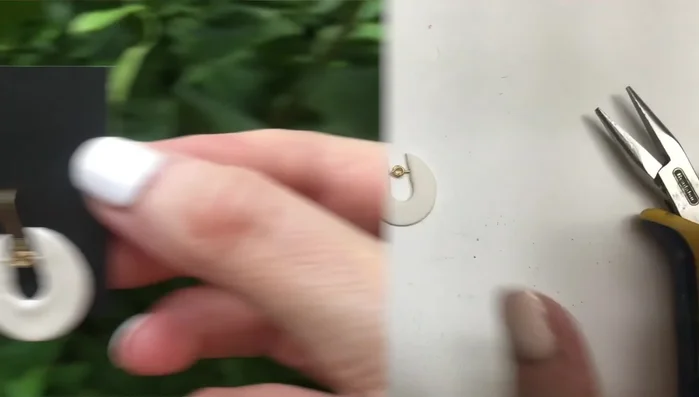
- Use a pen to cut out a small circle in the center of each shape.
- Smooth the edges of the shapes using a sewing pen.
- Use an exacto knife to cut two straight lines to create the earring hoops.
Cut and Shape the Earrings - Smooth the edges of the hoops again using a toothpick.
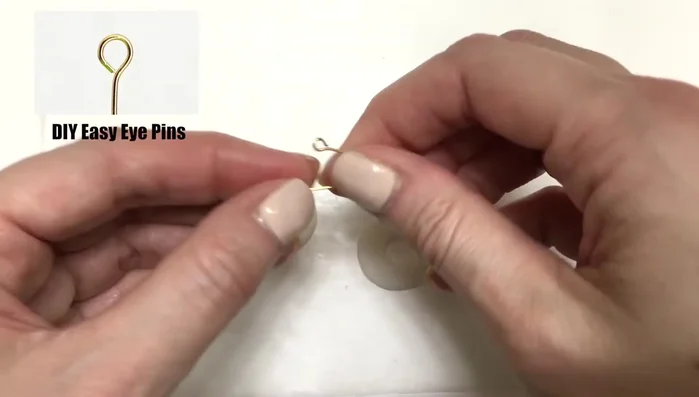
Cut and Shape the Earrings Prepare and Attach Eye Pins
- Cut and shape four eye pins.
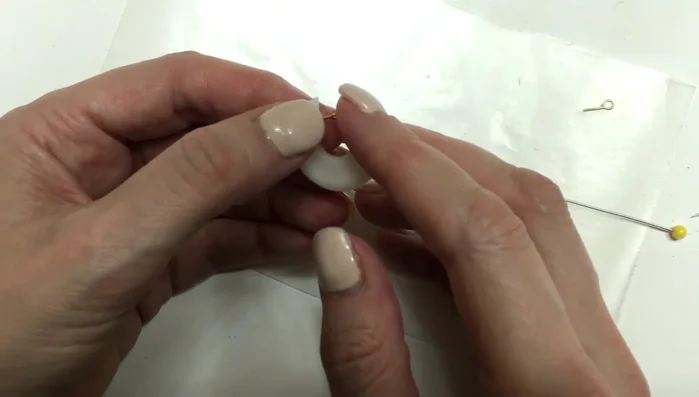
- Make holes from the inside of the clay shapes to insert eye pins.
- Insert eye pins into the holes, ensuring they are secured. For polymer clay, consider baking the pins beforehand or pre-making holes.
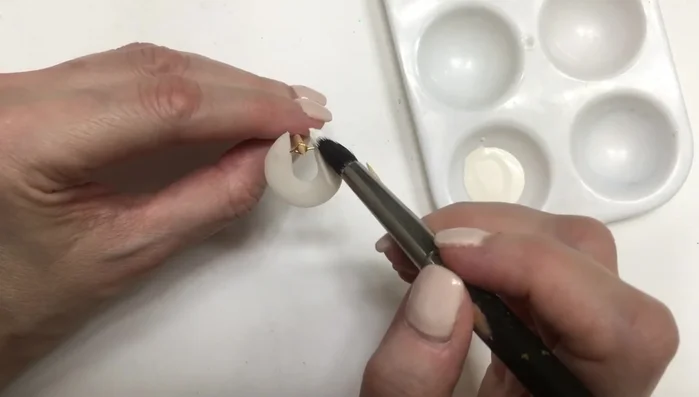
Prepare and Attach Eye Pins Dry and Finish
- Let the clay dry completely; it may shrink slightly.
- Paint the earrings with off-white acrylic paint, applying multiple coats.
- Attach ear wires to the eye pins using pliers.
Dry and Finish


Read more: Twisted Wire Spiral Earrings: A Step-by-Step Guide
Tips
- Use rings to ensure consistent clay thickness for professional-looking earrings.
- If using polymer clay, bake the eye pins in place or pre-make holes to ensure secure attachment.
- Allow the clay to fully dry before attaching ear wires to prevent the earrings from warping.
- Use a detail brush for more precise painting if desired.