Scrimshaw, the art of etching on bone or ivory, holds a captivating history, steeped in maritime tradition and intricate detail. While genuine scrimshaw relies on ethically questionable materials, this tutorial offers a guilt-free alternative: creating a stunning faux bone brooch using readily available polymer clay. Embrace the beauty of this ancient craft without compromising your values, crafting a unique piece of jewellery that mimics the look of genuine scrimshaw with remarkable accuracy. Imagine the satisfying process of shaping the clay, painstakingly etching your design, and finishing it to a polished gleam.
This DIY project allows you to explore the artistry of scrimshaw while enjoying the versatility and affordability of polymer clay. We'll guide you through each step, from creating the bone-like base to adding intricate details and achieving a convincingly aged finish. Ready to embark on this creative journey? Let's delve into the step-by-step instructions to make your very own faux bone scrimshaw brooch!
Preparation and Safety Guidelines
- Sculpey Primo granite clay
- Faux bone slab
- Clay cutter
- Copper leafing sheets
- Pasta machine
- Acrylic block
- Deli wrap
- Rolling pin
- Small tile
- Archival ink
- Silicone stamps
- Aluminum cabochons
- Silicone baking mat
- X-Acto blade
- Texture sponge
- Ball stylus
- French barrette (optional)
- Brooch pin
- Clay tools
- Always work in a well-ventilated area when baking polymer clay. The fumes can be harmful if inhaled.
- Use oven mitts or gloves when handling hot clay and tools after baking. The clay and tools will retain heat.
- Ensure your oven is clean before baking polymer clay to prevent discoloration or damage to your project. Clean any spills immediately.
Step-by-Step Instructions
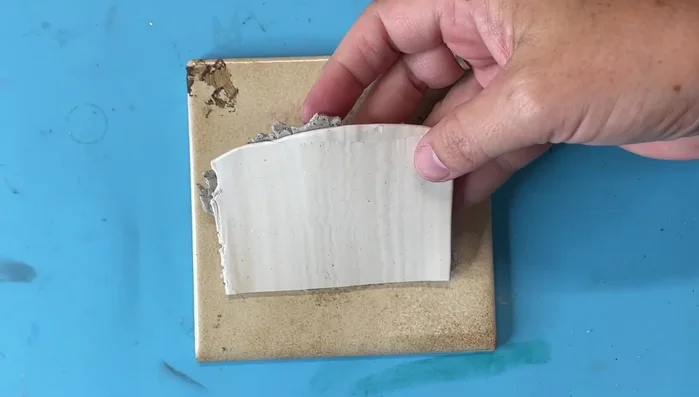
Prepare the Clay
- Condition the clay and sandwich it with another piece for thickness.
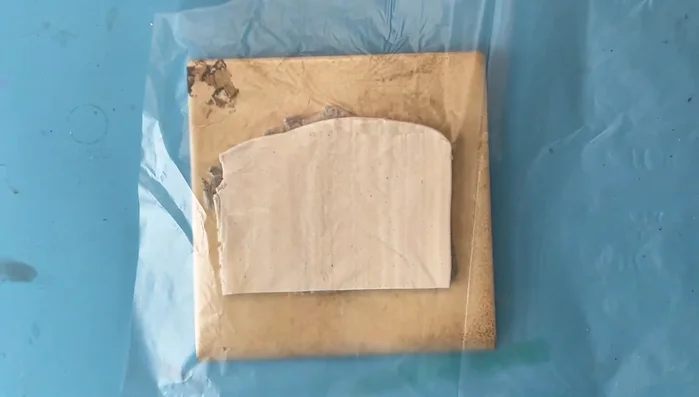
- Lightly attach the clay to a small tile for baking.

Prepare the Clay Shape the Bird
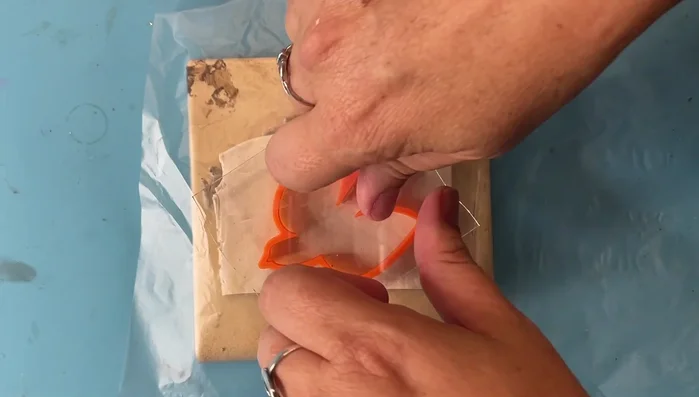
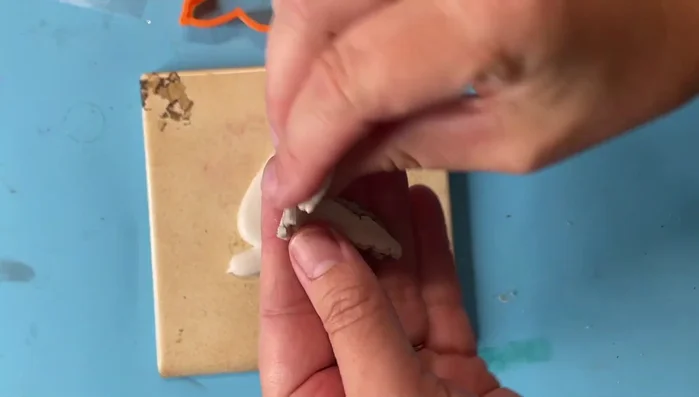
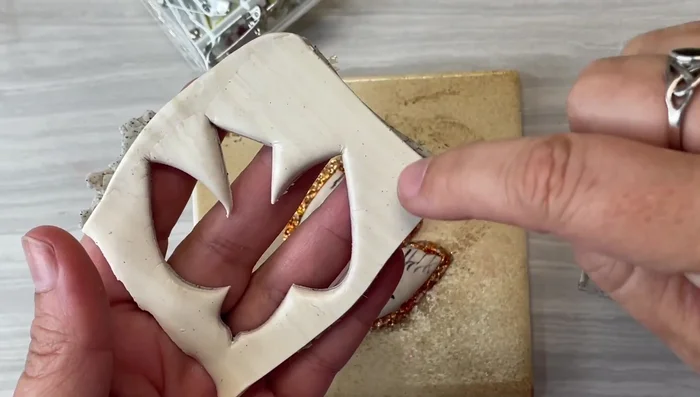
- Use deli wrap to create a bevel on the bird shape before cutting.
- Cut out the bird shape using the cutter, ensuring it goes through both clay layers.
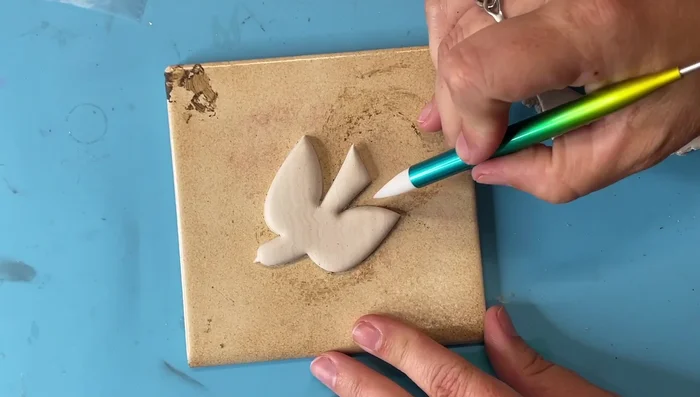
- Clean up excess clay around the bird shape.
Shape the Bird Add Copper Accents
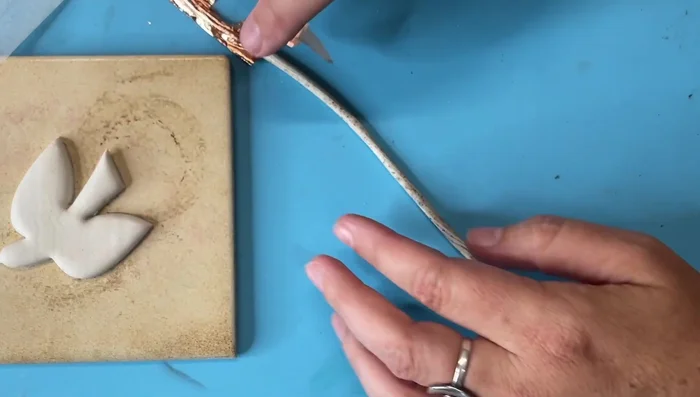
- Roll out a snake of clay and apply copper leafing.
- Apply the copper leafed clay around the edges of the bird.
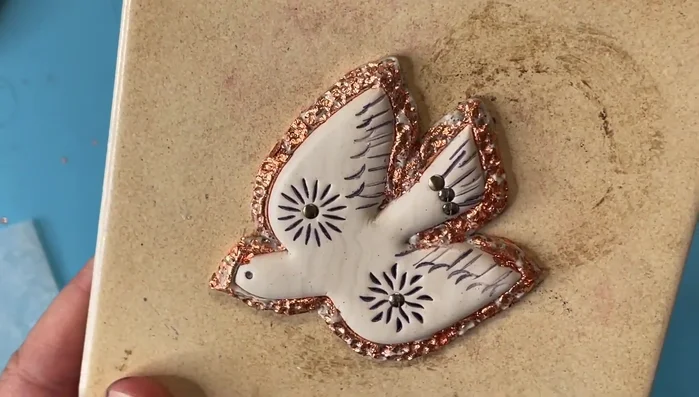
Add Copper Accents Create Scrimshaw Design
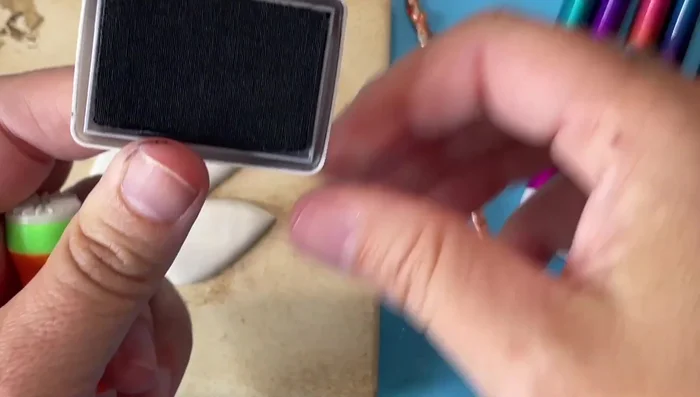
- Use archival ink and stamps to add a scrimshaw-like design to the bird.
Create Scrimshaw Design Add Embellishments
- Add aluminum cabochons while the clay is still uncured.
Add Embellishments Create Clay Edging
- Create a clay edging around the bird, ensuring good contact with the base.
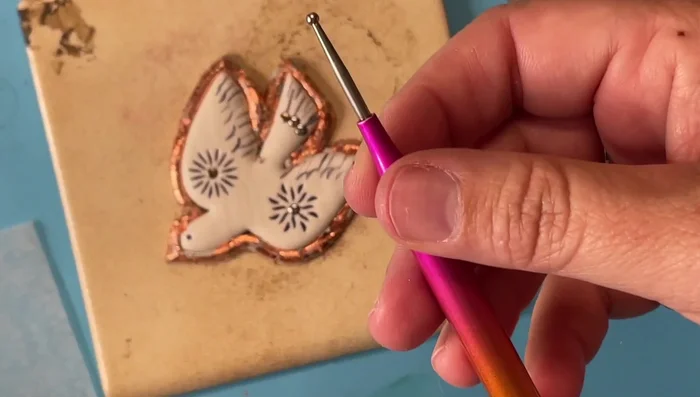
Create Clay Edging Add Texture
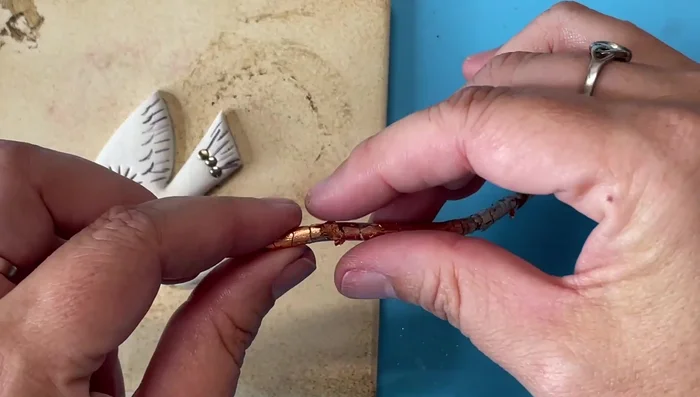
- Use a ball stylus to add a hammered metal texture to the copper leafing.
Add Texture Refine and Finalize
- Refine the shape and texture of the bird using clay tools.
Refine and Finalize Bake the Bird
- Bake the bird.
Bake the Bird Prepare Brooch Backing
- Prepare a clay backing for the brooch pin.
Prepare Brooch Backing Attach Brooch Pin
- Attach the brooch pin backing and secure with clay.
- Finish shaping and texturing the backing, ensuring smooth edges and good contact.
Attach Brooch Pin


Read more: DIY Wonky House Brooches: The Fastest & Easiest Method
Tips
- Use a silicone baking mat for easier filming and preventing movement.
- Clean up clay as much as possible before baking.
- Clay-to-clay bonding is stronger and more reliable than glue.
- Use texture tools to prevent fingerprints and create interesting textures.
- Consider the orientation of the pin before attaching it to ensure it functions correctly.