Polymer clay offers a fantastic medium for crafting unique and stylish jewelry, and today we're diving into the wild side with a fun and easy tutorial on creating stunning leopard print earrings. Forget expensive designer pieces – you can achieve a similar look with readily available materials and a little bit of creativity. This project is perfect for both beginners and experienced crafters, allowing you to personalize your jewelry and express your individual style. The process is surprisingly straightforward, even for those new to polymer clay.
Prepare to unleash your inner artisan and add a touch of fierce elegance to your wardrobe! We'll guide you through each step, from preparing your clay and creating the leopard print design to baking and assembling your beautiful, handmade earrings. Let's get started with the detailed, step-by-step instructions below.
Preparation and Safety Guidelines
- Polymer clay (Sculpey brand recommended)
- Candle or rolling pin
- Jump rings
- Jewelry/metal glue
- Knife
- Cookie cutter or small lid (deodorant lid used in video)
- Earring posts
- Pliers
- Parchment paper
- Oven
- X-acto knife (optional)
- Polymer clay needs to be baked according to the manufacturer's instructions to harden. Improper baking can result in fragile earrings.
- Always work in a well-ventilated area as some polymer clays may release fumes during baking.
- Avoid touching the clay with bare hands as much as possible. Use tools or gloves to prevent fingerprints and ensure a clean finish.
Step-by-Step Instructions
Prepare the Clay
- Soften the polymer clay by heating it up to make it easier to roll.
- Roll out the clay using a candle or rolling pin to a desired thickness. A rolling pin provides a more even result.

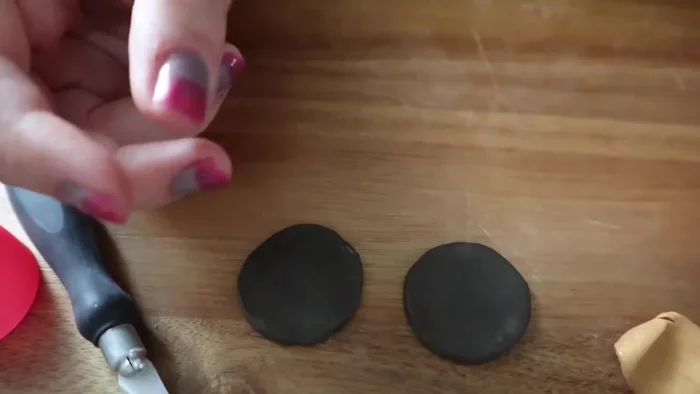
Prepare the Clay Create the Base Circle
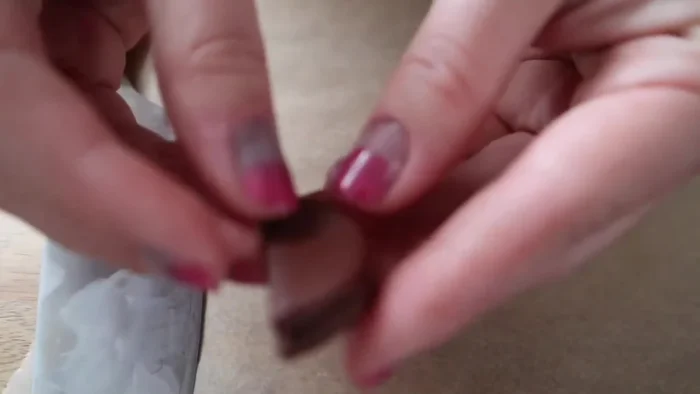
- Press a cookie cutter or small lid into the clay to create a circle.
- Peel away the excess clay to carefully remove the circle shape.
- Clean up and fix any uneven edges by pressing and rolling or using an X-acto knife to trim.
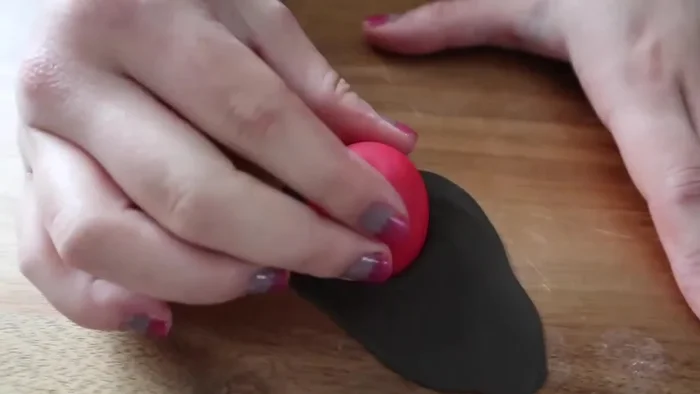
Create the Base Circle Add Leopard Print
- Create a leopard print design by adding small pieces of a different colored clay onto the main circle.
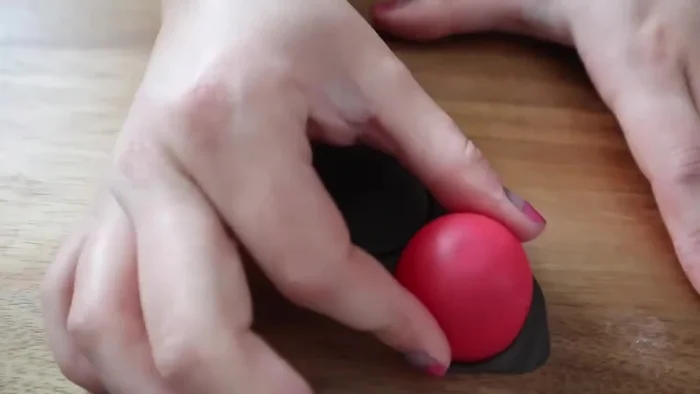
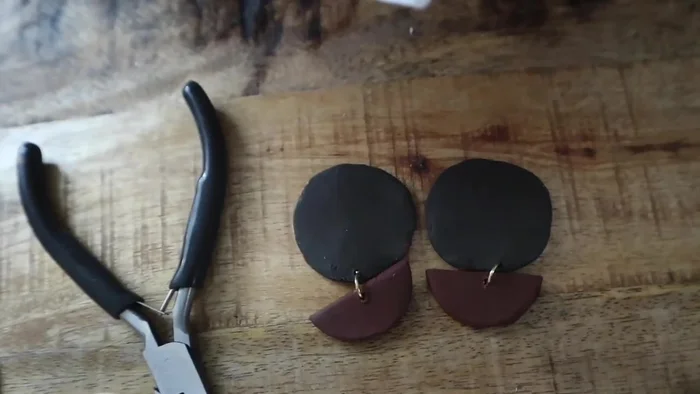
Add Leopard Print Create the Top Piece
- Roll out a second color of clay and use the same cookie cutter or lid to create additional circles.
- Cut the second color circles in half to create half-moon shapes.
- Ensure the half-moon shapes fit within each other for symmetrical earrings.
Create the Top Piece Prepare for Baking
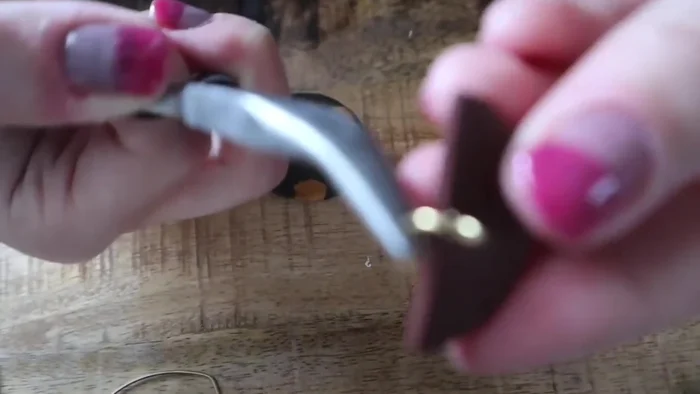
- Make holes in each piece for the jump rings using a tool (an existing earring is used in the video). Ensure holes are large enough to easily fit the jump rings.
Prepare for Baking Bake the Clay
- Bake the clay pieces according to the manufacturer's instructions (275 degrees for 15 minutes in this example).
Assemble the Earrings
- Use jump rings and pliers to connect the main circle and half-moon shapes.
Assemble the Earrings Attach Earring Posts
- Glue earring posts onto the back of the earrings and allow them to dry.
Attach Earring Posts


Read more: Twisted Wire Spiral Earrings: A Step-by-Step Guide
Tips
- Apply the pattern to the clay *before* cutting it out for a cleaner, more even result.
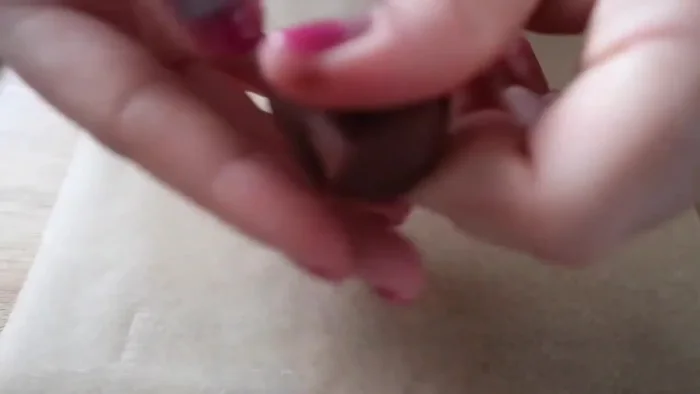
- Using parchment paper makes it easier to cut and remove the clay shapes.
- Make sure your jump rings are large enough to easily fit through the holes in your clay pieces, and large enough to form a loop around two pieces.
- Use a higher grit sandpaper to smooth the edges of your baked clay pieces.
- Use high-quality earring posts, especially if you have sensitive ears.