Spring has sprung, and what better way to celebrate the vibrant season than with a pair of dazzling, handmade earrings? This tutorial will guide you through the process of creating stunning polymer clay earrings featuring a unique napkin transfer technique. Forget expensive jewelry stores – you can craft beautiful, personalized pieces at home, using readily available materials and simple techniques. The delicate floral patterns and pastel colours achievable through napkin transfer are perfectly suited to the fresh energy of spring, adding a touch of handmade charm to any outfit. This is a perfect project for both beginners and experienced crafters alike, allowing for endless customization and creative expression.
Prepare to be amazed by how easy it is to achieve professional-looking results! From selecting your favourite napkin design to baking the finished earrings, we'll walk you through each step with clear instructions and helpful tips. Let's dive into the detailed, step-by-step process to create your own breathtaking spring-inspired DIY polymer clay earrings.
Preparation and Safety Guidelines
- Polymer clay
- Napkin (2-ply, floral print)
- Cutters
- Parchment paper
- Oven
- Bowl of cool water
- Washcloth
- Sealer (poly acrylic, resin, or Sculpey glaze)
- Jump rings
- Earring posts/glue (Loctite 60 second glue or Sculpey Bake & Bond)
- Clay conditioning tools
- Polymer clay needs to be baked according to the manufacturer's instructions to harden properly. Improper baking can result in brittle or soft earrings.
- Always work in a well-ventilated area, as some polymer clays and transfer mediums may release fumes during baking.
- Avoid touching the hot clay or earrings immediately after baking. Use oven mitts to remove from the oven and allow to cool completely before handling.
Step-by-Step Instructions
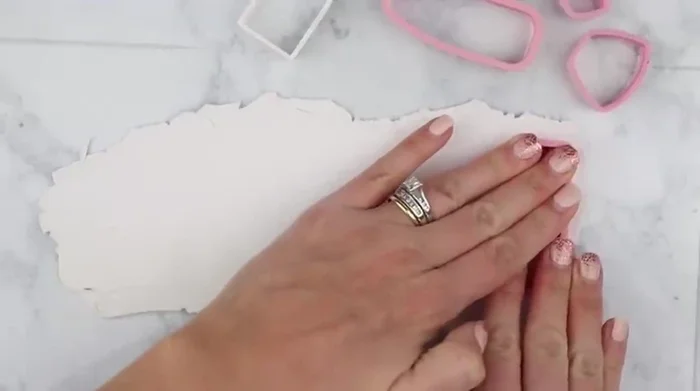
Prepare the Clay
- Condition your polymer clay.
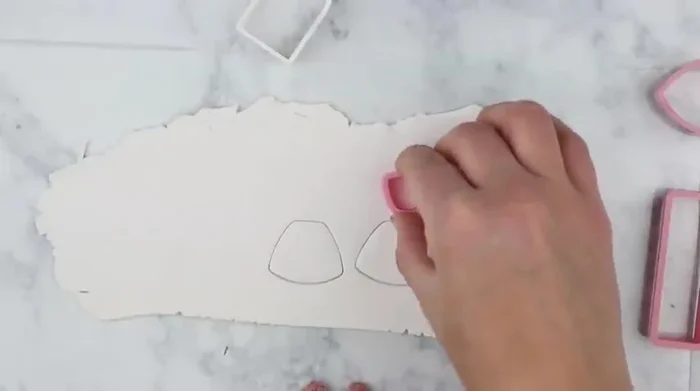
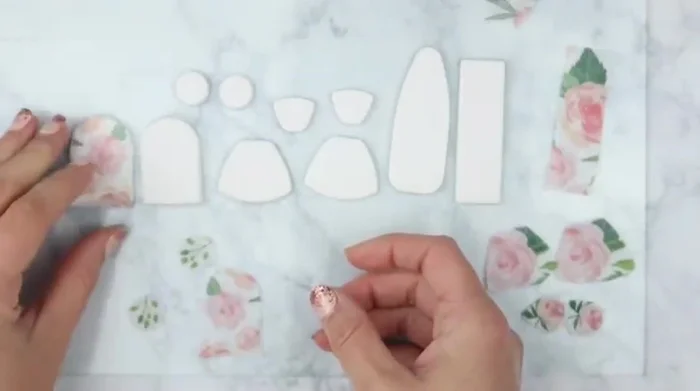
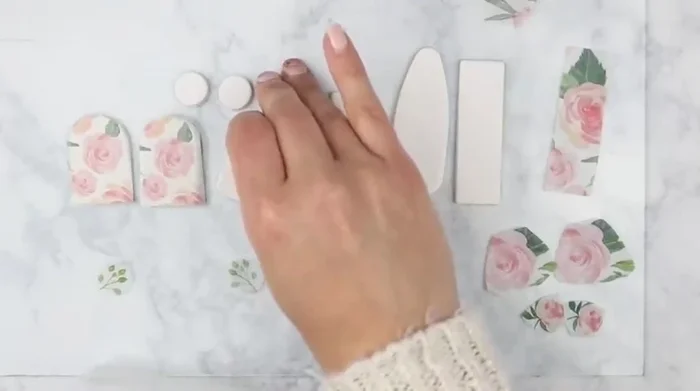
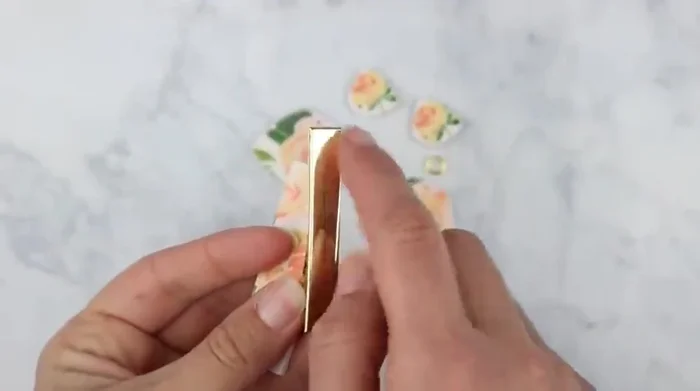
- Cut out earring shapes from your base clay.

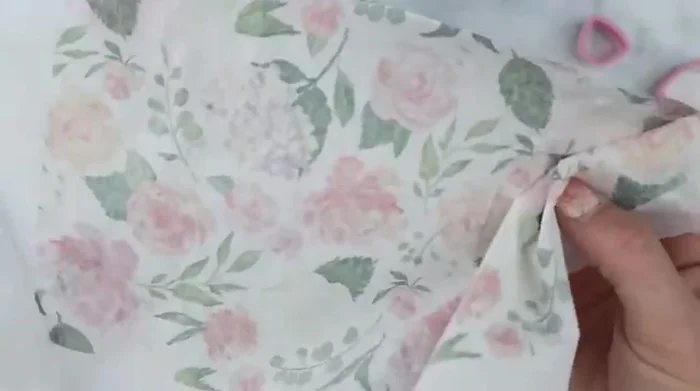
Prepare the Clay Prepare the Napkin Design
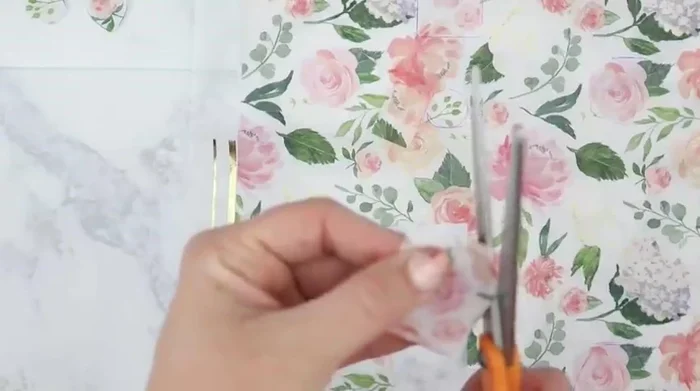
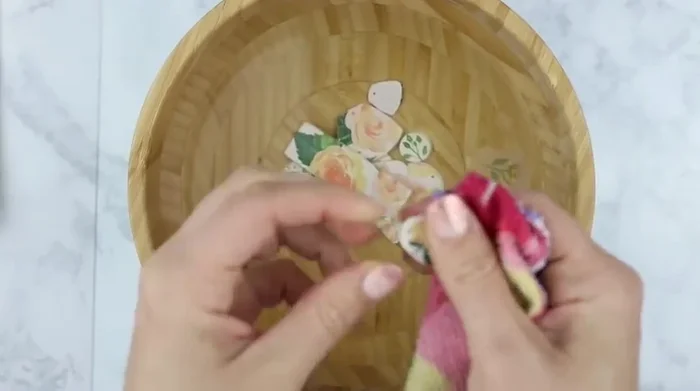
- Separate the top layer of your napkin and trace around the cutters, positioning them over the desired floral designs.
- Carefully cut out the traced napkin pieces, ensuring no ink remains on the napkin.
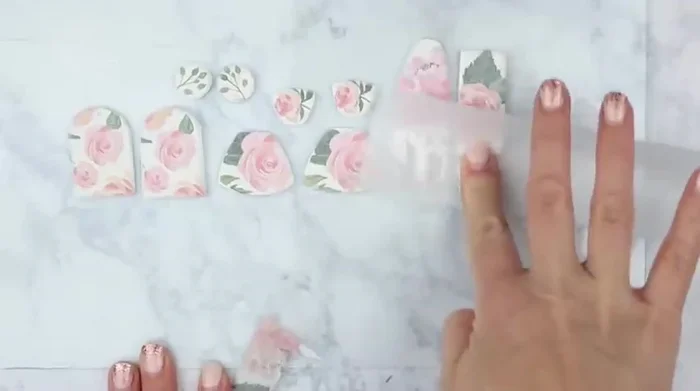
Prepare the Napkin Design Transfer the Design
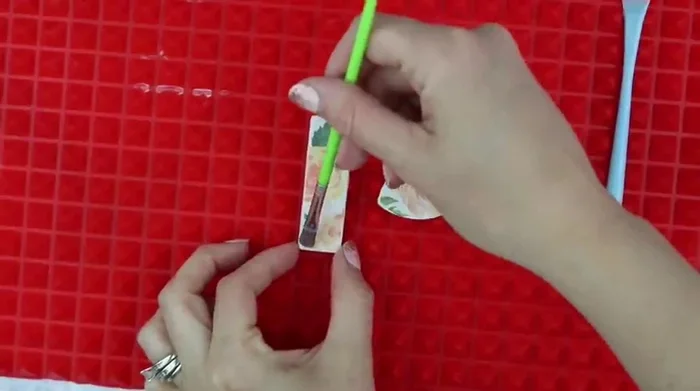
- Place the printed side of the napkin pieces down onto the clay, then gently rub them onto the surface using a piece of parchment paper. Avoid pressing too hard to prevent misshaping.
Transfer the Design Prepare for Baking
- Optionally, punch holes for jump rings before baking.
Prepare for Baking Bake the Clay
- Bake the clay pieces in a preheated oven at 275°F (135°C) on a piece of cardstock on a cookie sheet (with another cookie sheet on the top rack for protection).
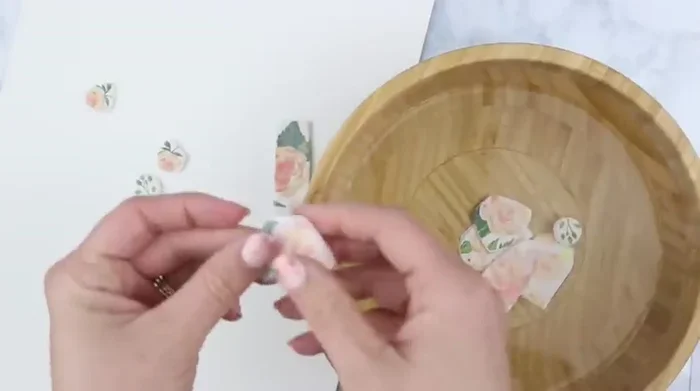
Bake the Clay Remove the Napkin
- Once baked and cooled, soak the pieces in a bowl of cool water to loosen the napkin.
- Gently rub the softened napkin off the clay using a washcloth.
Remove the Napkin Finish and Seal
- Seal the clay pieces with a water-based poly acrylic, resin, or Sculpey gloss glaze.
Finish and Seal Attach Findings
- Attach earring posts or clips using glue (Loctite 60 second glue or Sculpey Bake & Bond).
Attach Findings
Read more: Twisted Wire Spiral Earrings: A Step-by-Step Guide
Tips
- Conditioning your clay ensures it's pliable and easy to work with.
- Go slowly when cutting out the napkin pieces to prevent leaving ink on the clay.
- Avoid pressing too hard when adhering the napkin to prevent misshaping the clay.
- Soaking the baked clay in water before removing the napkin prevents discoloration.