Prepare to be captivated by the luminous beauty of handcrafted elegance! This tutorial unveils the secrets to creating stunning drop earrings featuring cushion-cut nano gems, all crafted from the versatile medium of polymer clay. Imagine the delicate shimmer of these miniature jewels, perfectly complemented by the warm, earthy tones of carefully sculpted clay. We'll guide you through the process of shaping, baking, and assembling these exquisite pieces, resulting in earrings that are both sophisticated and surprisingly easy to make. The unique texture of the polymer clay offers a subtle contrast to the polished gleam of the nano gems, creating a truly mesmerizing effect.
These earrings are perfect for adding a touch of understated luxury to any outfit, making them ideal for both everyday wear and special occasions. Ready to transform your creative vision into reality? Let's dive into the step-by-step instructions and begin crafting your own pair of enchanting Phoenix Clay drop earrings.
Preparation and Safety Guidelines
- Phoenix torch fireable clay
- Applicator brush
- Ball burs
- Stone setting bur
- Tiny brush
- Scalpel
- Cushion cut stone punch
- Lost In Wonderland texture sheet
- Nano gems (blue sapphire)
- Crystal drop template
- Elegant chandelier graduated template
- Water
- Oil
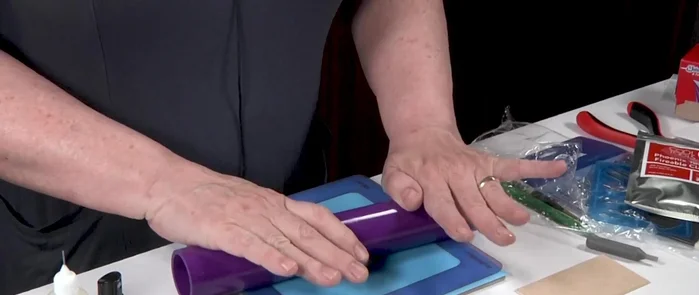
- Tiles
- Silicon roller
- Teflon Cool Tools roller
- Always use a well-ventilated area when working with polymer clay and baking. Inhaling fumes can be harmful.
- Ensure your oven is clean before baking to prevent any potential contamination of your earrings. Use oven mitts to handle hot components.
- Nano gems are small and can be easily misplaced. Work in a clean, well-lit area to avoid losing pieces. Consider using a sticky mat or similar to help collect them if dropped.
Step-by-Step Instructions
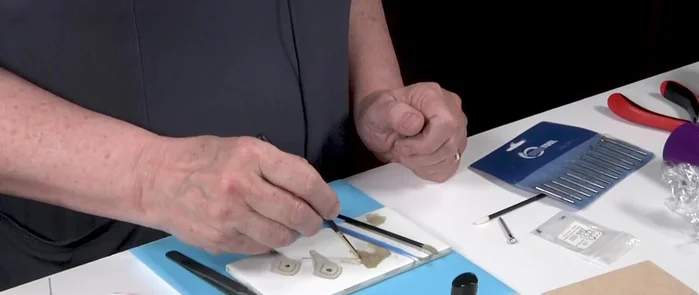
Prepare the Clay
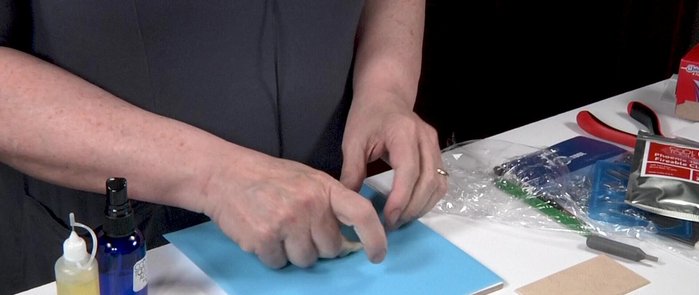
- Condition the clay by rolling it out to make it softer.
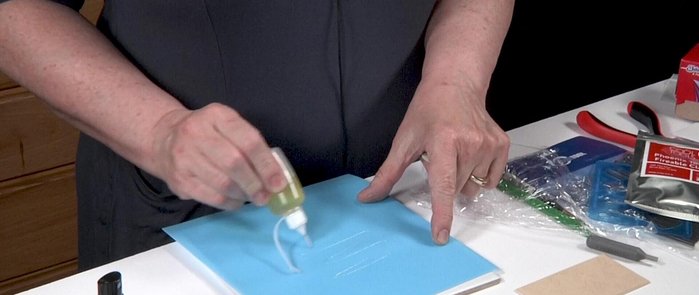
- Add oil to the clay.
- Roll out the clay to desired thickness using four cards.

Prepare the Clay Cut and Shape the Earrings
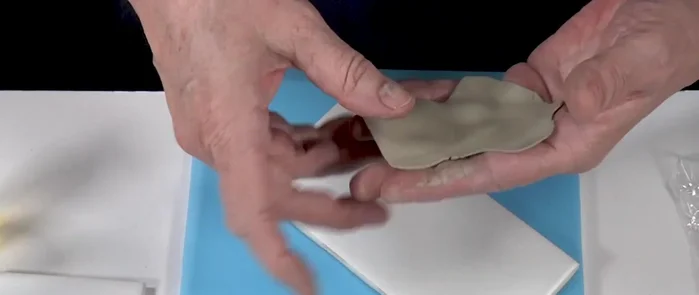
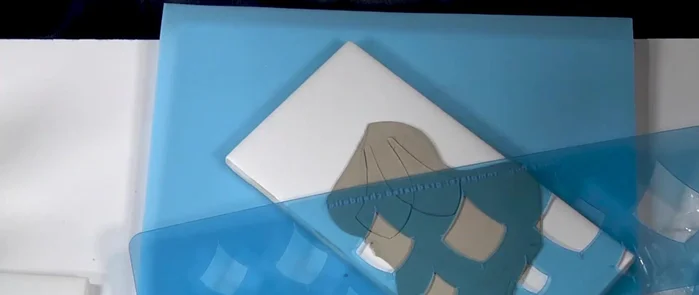
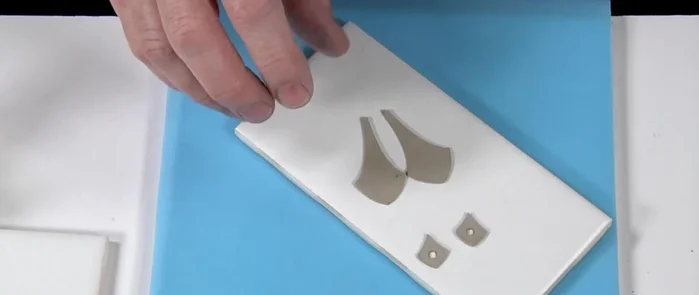
- Cut out two earring shapes using the crystal drop template on an oiled tile.
- Cut out bezels for the stones using the stone cutter and punch out the stone setting.
- Remove the clay pieces carefully from the cutting mat.
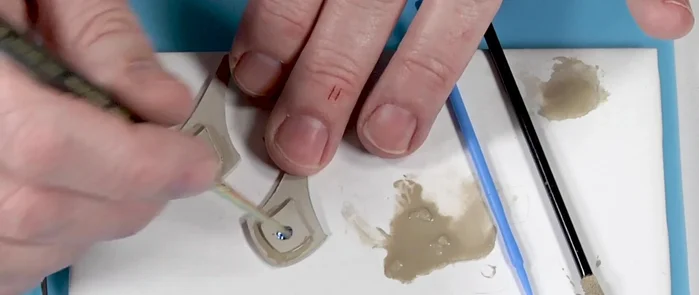
Cut and Shape the Earrings Assemble the Earrings
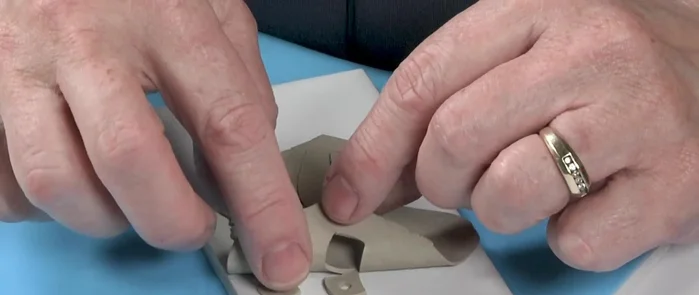
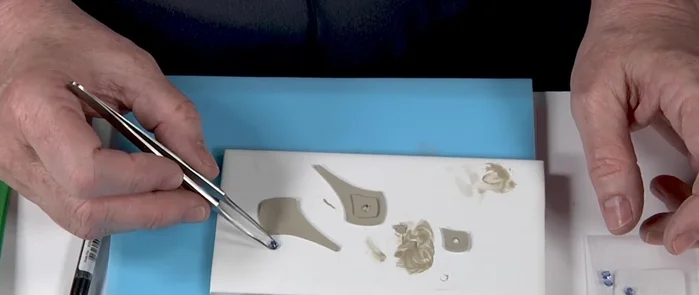
- Join the two earring shapes together using clay slip and applicator brushes.
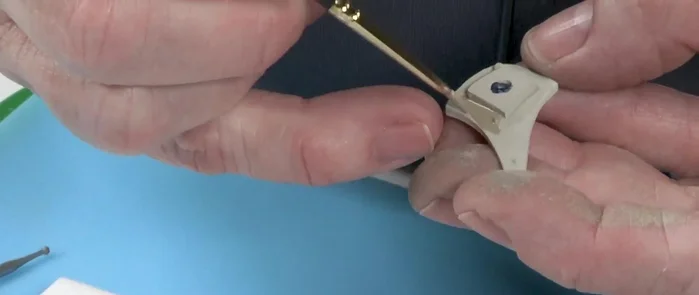
- Set the nano gems into their bezels.
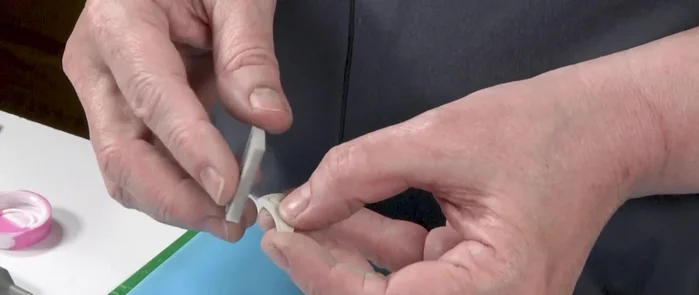
Assemble the Earrings Reinforce and Add Detail
- Reinforce the edges of the earrings three times with thick clay slip and allow to dry.
- Add a small ball to the bottom of the earring using slip and applicator brushes. Reinforce three times.
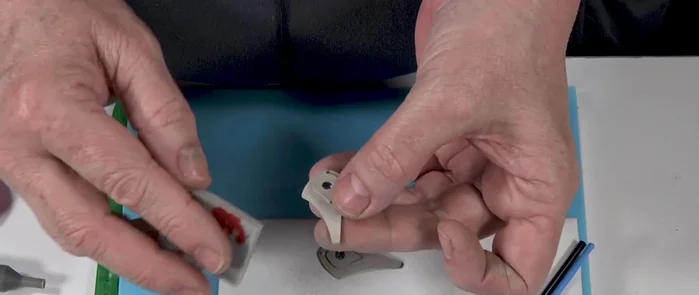
Reinforce and Add Detail Finishing Touches
- Refine the surface of the earrings using wet sanding and baby wipes.
- Drill holes in the earrings using a setting bur.
Finishing Touches Final Refinement and Firing
- Refine the earrings for a final time and fire at 1380° for 10 minutes.
Final Refinement and Firing
Read more: Twisted Wire Spiral Earrings: A Step-by-Step Guide
Tips
- Conditioning the clay makes it easier to work with.
- Using oil on the tile prevents sticking and damage to the cutting mat.
- Phoenix clay shrinks 15-20%, so plan accordingly.
- Wetting the clay before joining helps create a stronger bond.
- Reinforcing the edges multiple times prevents chipping and cracking during firing.