Love the look of beaded jewelry but intimidated by the thought of needles and intricate knotting? This tutorial introduces you to a wonderfully simple and satisfying alternative: no-needle beaded crochet! Forget the frustration of tangled threads and tiny hooks; this method uses just your fingers and a clever technique to create stunning beaded necklaces and bracelets. It's perfect for beginners, offering a quick and rewarding way to craft beautiful accessories tailored to your personal style. You can effortlessly customize colors and bead sizes to match any outfit or occasion.
This ingenious technique relies on a simple looping process, allowing you to quickly build length and incorporate diverse beads with ease. Ready to transform simple beads into elegant jewelry? Let's dive into the step-by-step process and learn how to create your first no-needle beaded crochet necklace and bracelet.
Preparation and Safety Guidelines
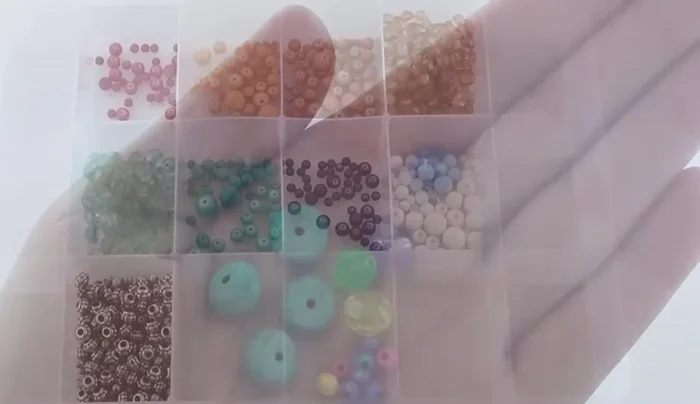
- beads (any kind)
- size 3 crochet thread
- size D (3.25 mm) crochet hook
- clear nail polish (optional)
- metal clasp or lobster clasp and jump rings (optional)
- pliers (optional)
- Always supervise children when working with small beads to prevent choking hazards.
- Ensure your chosen beading cord or thread is strong enough to hold the weight of the beads and won't break easily. Test the strength before starting your project.
- Be mindful of the tension on your cord while crocheting. Too tight can cause breakage, too loose will result in a flimsy necklace or bracelet.
Step-by-Step Instructions
Prepare the Thread and Beads
- String beads onto crochet thread. Use nail polish to harden the thread ends for easier bead sliding.

Prepare the Thread and Beads Start the Chain
- Make a slipknot and chain one. Slide the first bead up towards the hook.
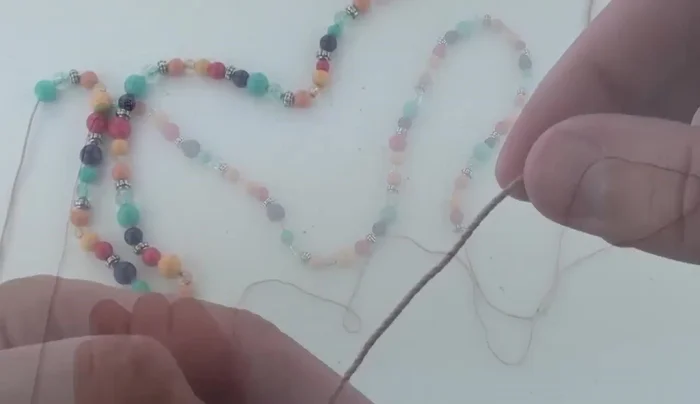
Start the Chain Create the Beaded Chain
- Yarn over and pull through the loop. Chain two.
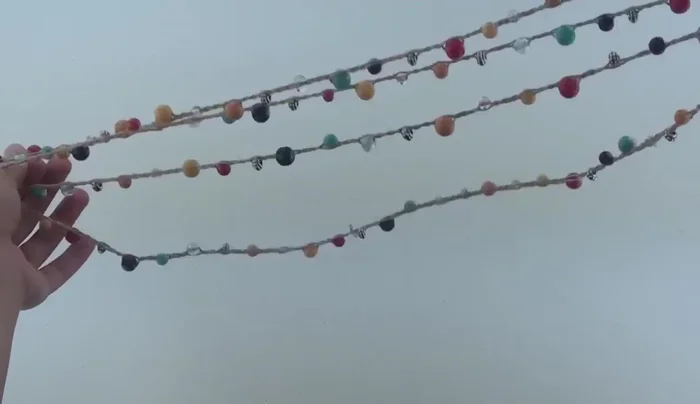
- Repeat steps 2 and 3 until your desired length is reached. Each bead is encased within a chain stitch followed by two chain stitches.
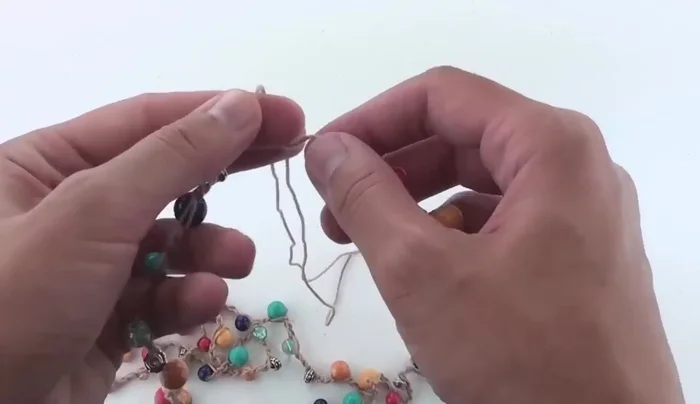
Secure the Chain
- Chain one after the last bead. Leave an 8-inch tail, cut the yarn, and pull the ends tightly to secure the knot.
Finish and Secure the Ends
- Tie the beginning and ending thread ends together several times and secure with clear nail polish or jewelry glue.
Finish and Secure the Ends Attach the Clasp
- For a clasp, use either a round/oval clasp or a lobster clasp with jump rings. Attach the clasp(s) securely.
Attach the Clasp
Read more: Elegant Russian Spiral Necklace Tutorial: A Step-by-Step Guide
Tips
- Using thin crochet thread can be easier than expected. This project is perfect for beginners.
- Apply clear nail polish to the thread ends to make bead stringing easier and prevent fraying.
- For a more secure knot, use clear nail polish or strong jewelry glue.
- To open a jump ring, lift one side down and one side up. Close it by reversing the movement.
- Use pliers to open and close stubborn jump rings.