Macrame, once a nostalgic craft of the 70s, is experiencing a thrilling resurgence, and nowhere is this more evident than in the world of edgy, glamorous accessories. Forget dainty, delicate designs; today's macrame jewelry boasts bold silhouettes and unexpected textures, perfect for adding a touch of rebellious chic to any outfit. This exciting trend offers a fantastic opportunity for DIY enthusiasts to create unique, statement pieces that perfectly reflect their personal style, and what better way to start than with a pair of eye-catching earrings?
These aren't your grandmother's macrame projects! We're diving into the creation of stunning, edgy glamour macrame earrings, effortlessly blending bohemian vibes with a modern, sophisticated aesthetic. Prepare to unleash your creativity with this easy, step-by-step guide, where you'll learn to transform simple cords into captivating accessories. Let's get started and create those show-stopping earrings!
Preparation and Safety Guidelines
- 1 meter Irish wax linen (2 meters for a full kit)
- 11/0 Miyuki seed beads
- Tier cast crimpable ends
- Ear wires
- Teeny-tiny rhinestone cup chain (approx. 3mm)
- Super new glue (or Loctite/E6000)
- Faux suede
- Scissors
- Chain nose pliers
- Flat nose pliers
- Clipboard (or alternative flat surface)
- Always use sharp scissors to prevent frayed ends and ensure clean cuts. Dull scissors can lead to uneven knots and potentially injure you.
- Be mindful of the length of your earring wires. Excessively long wires can pose a choking hazard, especially for children. Trim to a safe length after knotting.
- Avoid wearing macrame earrings while sleeping or showering to prevent damage to the earrings and potential skin irritation from prolonged moisture exposure.
Step-by-Step Instructions
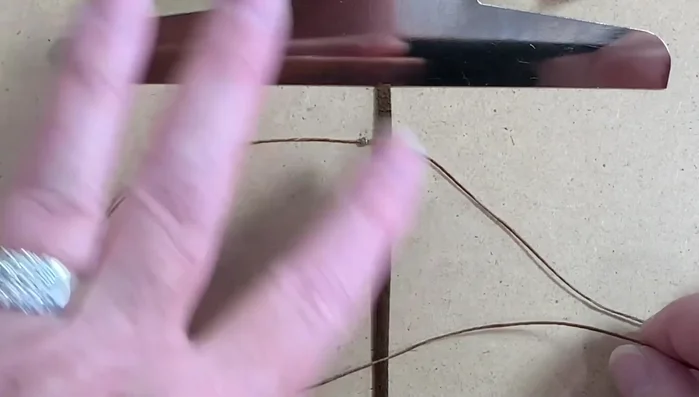
Prepare the Linen
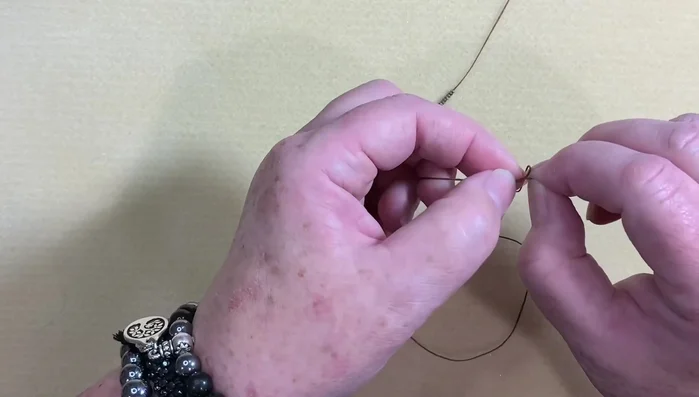
- Cut the ends of the Irish wax linen to create sharp corners.
- String 18 seed beads onto each end of the linen.
- Tie a small knot at the end of the linen to secure the beads.

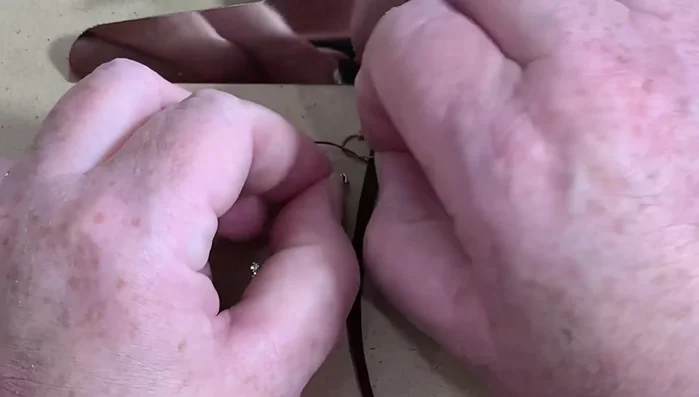
Prepare the Linen Begin Macrame Pattern
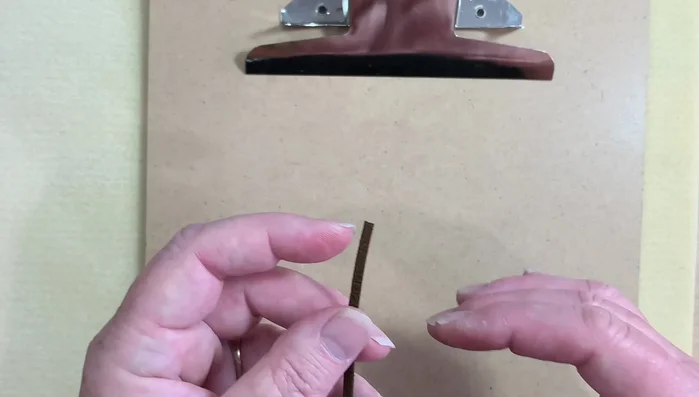
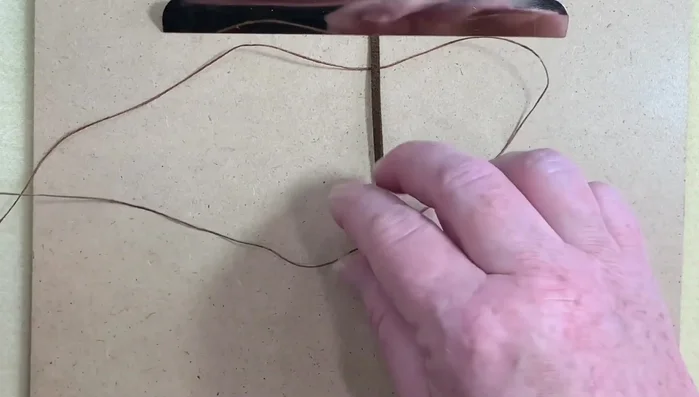
- Place the linen under the faux suede on the clipboard, finding the center point of the linen.
- Create a 'P' shape with the right linen strand over the suede, followed by a 'P' shape with the left strand.
- Bring the right strand under and up through the loop created by the 'P' shapes to form a knot. Maintain control of the suede throughout this process.
- Tighten the knot, ensuring even tension on both sides.
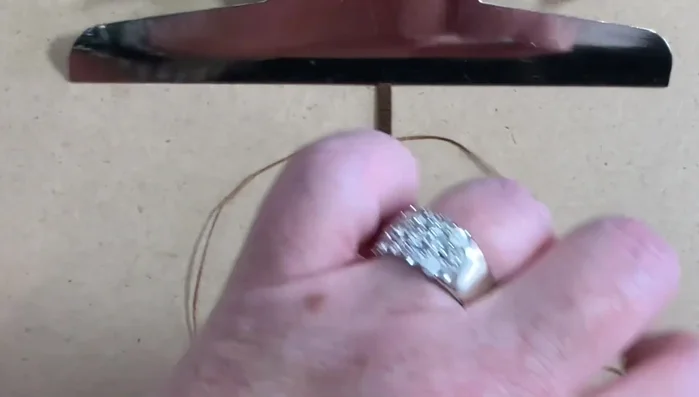
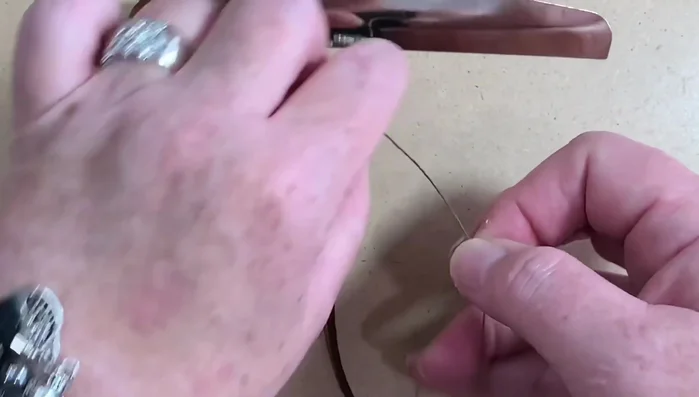
Begin Macrame Pattern - Pull up one bead on each side. This is the hardest part of the process.
Begin Macrame Pattern Add Rhinestone Chain and Continue Macrame
- Continue macrame pattern of alternating 'P' and 'Q' shapes (reverse 'P'), pulling each strand under and through the loop to form knots.
- Insert the rhinestone chain under the macrame work, ensuring it lies flat and centered. Tighten.
- Continue adding beads and repeating the 'P' and 'Q' macrame pattern until desired length is reached. Maintain even spacing of beads and chain.
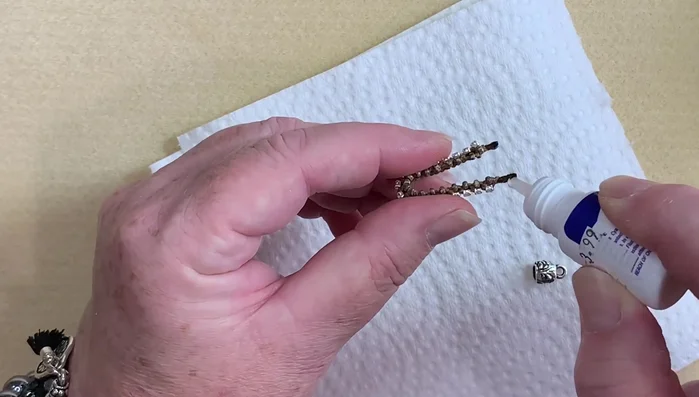
Add Rhinestone Chain and Continue Macrame Finish and Secure the Ends
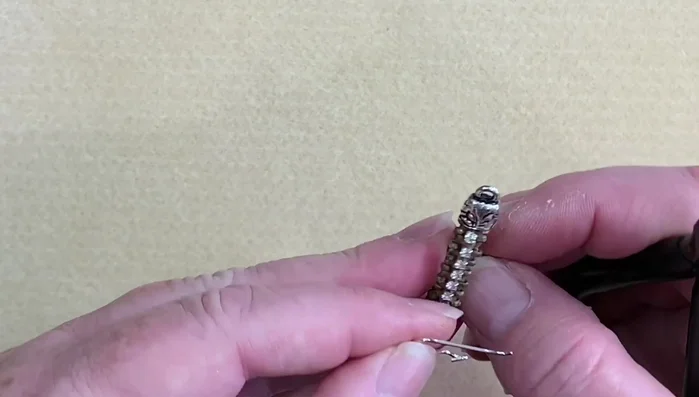
- Tie a tight knot at the end of the macrame work, trimming the excess linen close to the knot.
- Use flat nose pliers to flatten the end of the linen and crimp it.
- Fold the linen end over and insert it into the crimpable end. Trim any excess linen.
- Apply a small amount of glue to the inside of the crimpable end and quickly insert the flattened linen, holding firmly for 30 seconds.
Finish and Secure the Ends Attach Ear Wires
- Attach ear wires.
Attach Ear Wires

Read more: Twisted Wire Spiral Earrings: A Step-by-Step Guide
Tips
- Use a clipboard or other flat surface tilted towards you for easier macrame.
- The little bump after tightening a knot indicates the side to start on for the next knot.
- Don't pull too tight initially to avoid distorting the suede.
- Work quickly when applying glue to prevent the suede from puffing up.
- Dry fit the crimpable end before gluing to ensure a proper fit.