Leather tassel necklaces are undeniably chic and effortlessly add a touch of bohemian elegance to any outfit. Their handcrafted nature makes them uniquely personal, and the satisfying process of creation is just as rewarding as wearing the finished piece. Whether you’re a seasoned crafter or a curious beginner, the allure of creating your own statement necklace is undeniable. This timeless accessory is surprisingly simple to make, requiring only a few basic materials and a bit of patience. Regal's design, with its sophisticated simplicity, is particularly appealing.
This tutorial provides a detailed, step-by-step guide to crafting your own Regal leather tassel necklace. We'll walk you through each stage of the process, from selecting and preparing your materials to the final knotting and finishing touches, ensuring you create a stunning piece you'll be proud to wear. Let's begin crafting your exquisite, personalized necklace!
Preparation and Safety Guidelines
- Regal's bracelet wire
- Eson cords
- 2mm brown leather (1 meter)
- Regal's ends
- Regal's extras
- Lobster clasp
- Small jump rings
- Leather ends
- 4mm and 6mm beads (Dalmatian Jasper, metal, wood, agate)
- Two pairs of flatnose pliers
- Scissors
- Always supervise children when working with small parts like the tassels and jump rings to prevent choking hazards.
- Use sharp scissors or jewelry pliers carefully to avoid cuts or injuries. Keep tools out of reach of children.
- Be mindful of the type of leather used. Some leathers may be fragile or react negatively to certain adhesives or finishes. Check compatibility before starting your project.
Step-by-Step Instructions
Prepare Tassel Cords
- Cut two 20cm lengths of eslon cord. Cut the thread diagonally for a sharper point.

Prepare Tassel Cords Attach Tassels to Bracelet Band
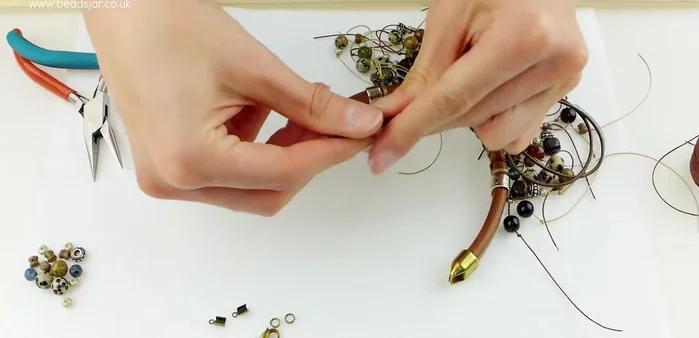
- Create a loop with one cord, pass it over the Regal's band, and back through the loop. Secure with a knot.
- String beads onto each cord, creating the tassel drops. Vary bead sizes and types for visual interest. Secure each bead with a knot close to the bead.
- Repeat steps 2 & 3 for desired number of tassels:
Attach Tassels to Bracelet Band Prepare Necklace Leather
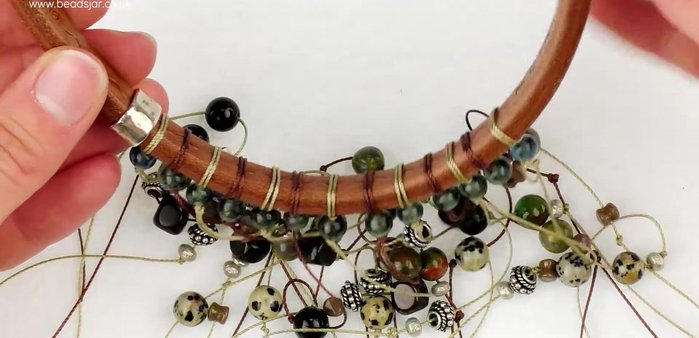
- Cut a 50cm length of 2mm brown leather. Determine necklace length (e.g., 16 inches).
Prepare Necklace Leather Attach Dimpled Beads
- Slide a dimpled bead onto each leather end of the Regal's bracelet band.
Attach Dimpled Beads Attach Leather Ends to Bracelet
- Attach the prepared leather ends to the Regal's ends using glue. Let it dry.
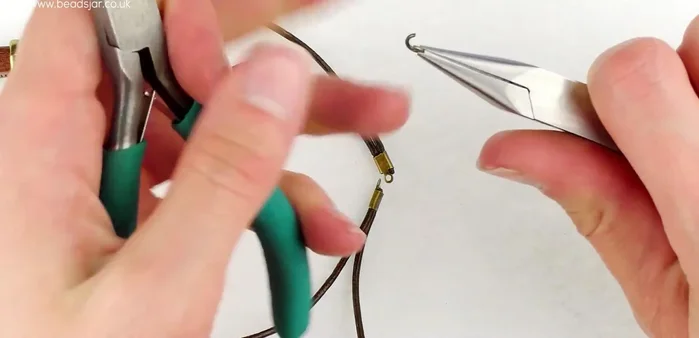
Attach Clasp
- Attach a jump ring to each leather end. Attach one jump ring to the lobster clasp.
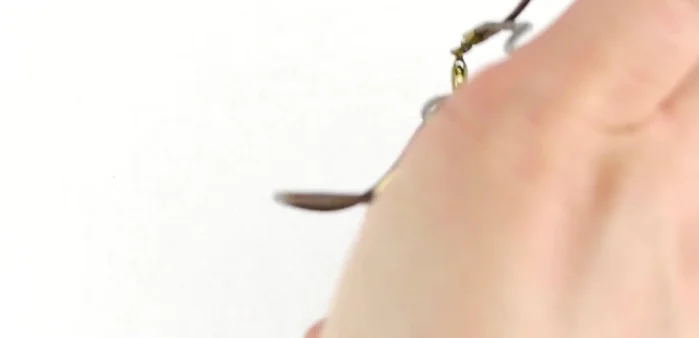
Attach Clasp Trim Tassels
- Trim the excess length of the eslon cords to create a cascading effect.
Trim Tassels


Read more: Elegant Russian Spiral Necklace Tutorial: A Step-by-Step Guide
Tips
- Stagger the beads on the tassels to avoid them sitting directly on top of each other.
- Use different sizes and types of beads to create visual interest.
- You can leave the knots loose initially and adjust bead placement later.
- Ensure the jump rings are securely closed to prevent the leather ends from escaping.