Looking for a stylish and affordable way to upgrade your jewelry collection? Creating your own earrings is a fun, rewarding, and surprisingly easy craft project, and this tutorial will show you exactly how to make a stunning pair featuring the earthy elegance of hematite beads and the sparkling allure of glass beads. Hematite, with its deep, metallic sheen, offers a sophisticated grounding element, perfectly complemented by the vibrant colors and textures you can find in glass beads. This allows for endless customization, letting you create earrings that perfectly reflect your personal style.
Forget expensive boutique prices! This DIY project requires minimal materials and tools, making it perfect for beginners and seasoned crafters alike. We’ll guide you through each step, from gathering your supplies to securing the perfect finish, ensuring you end up with a pair of beautiful, handcrafted earrings to be proud of. Ready to get started? Let's dive into the easy, step-by-step process!
Preparation and Safety Guidelines
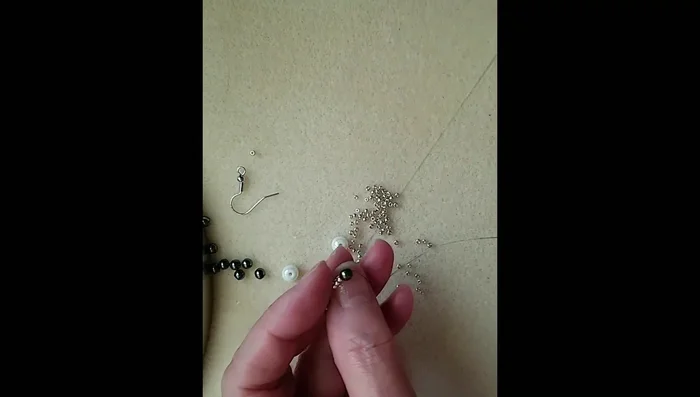
- Hematite beads
- Glass marble beads (6mm)
- Seed beads (size 11 & 15)
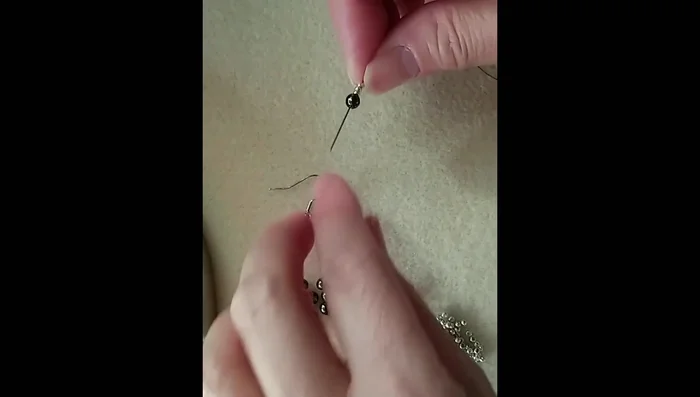
- Earring hook
- String/thread
- Avoid inhaling dust from hematite beads. Hematite is a relatively safe stone, but dust can irritate the lungs. Work in a well-ventilated area or wear a dust mask.
- Clean your hands thoroughly before and after handling beads to avoid transferring oils or dirt that could dull the beads or damage the wire.
- If using wire, be mindful of sharp ends. Use wire cutters carefully and store any leftover wire safely out of reach of children and pets.
Step-by-Step Instructions
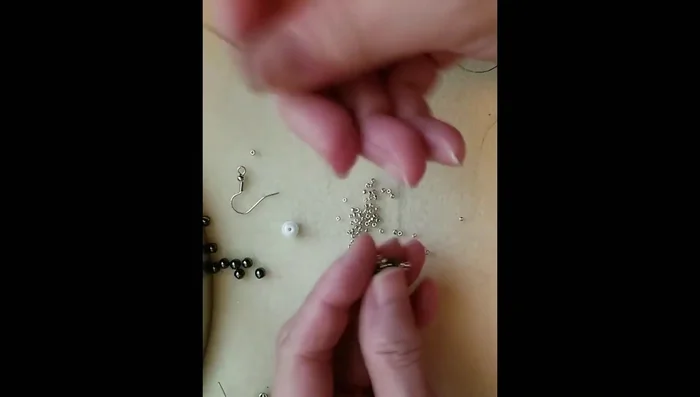
Create Initial Loops
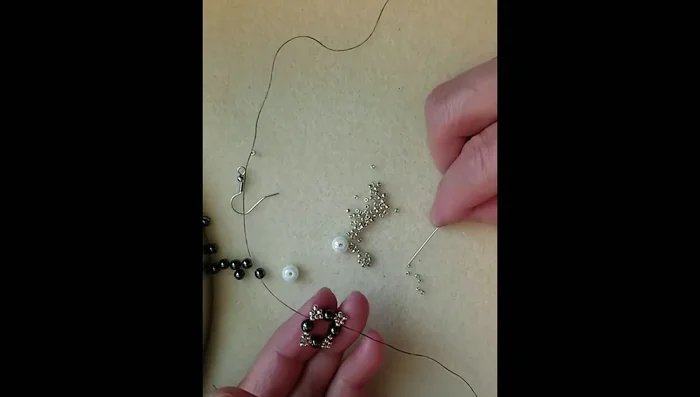
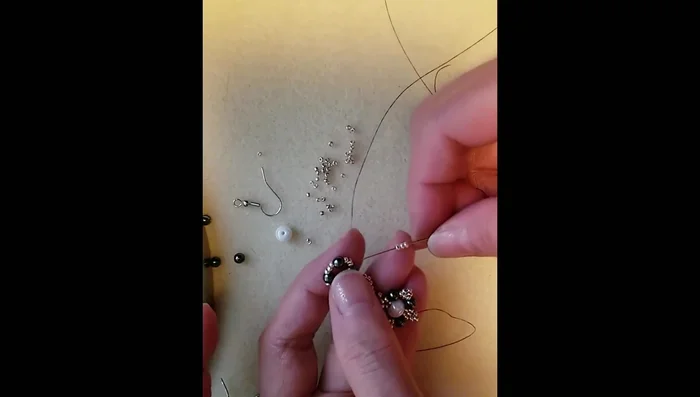
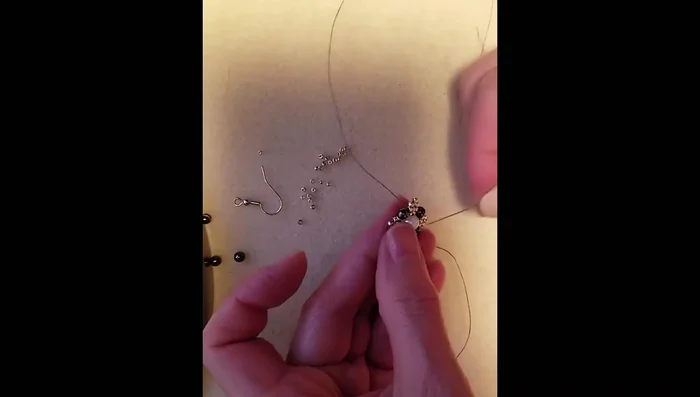
- String three size 11 seed beads, then one hematite bead, then repeat this sequence three times.
- Pass the thread back through the three seed beads, creating a loop.
- Repeat step 2 to make three similar loops, passing through the hematite bead in the middle.

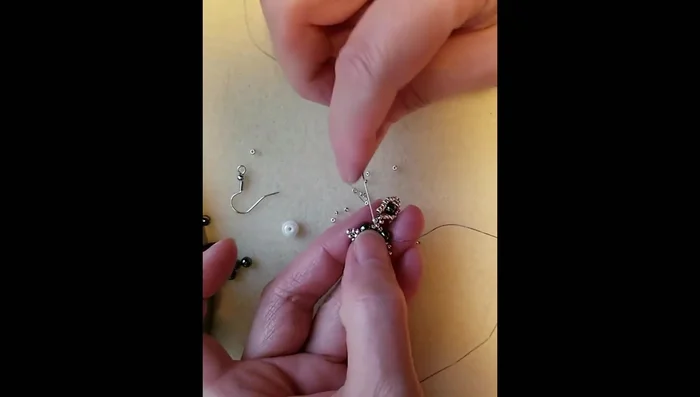
Create Initial Loops Add Glass Marble Section
- Add a size 15 seed bead, the 6mm glass marble, and another size 15 seed bead. Pass the thread through the three initial seed beads of the first loop.
- Repeat step 4 for the remaining loops.
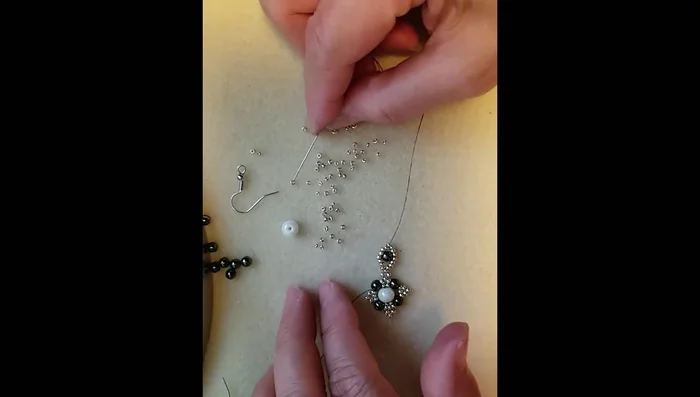
Add Glass Marble Section Add Hematite and Seed Bead Section 1
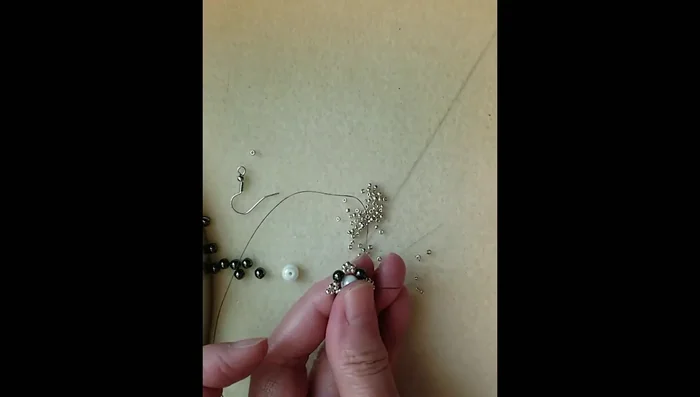
- Add three size 11 seed beads, one hematite bead, and three more size 11 seed beads. Pass the thread through the hematite bead.
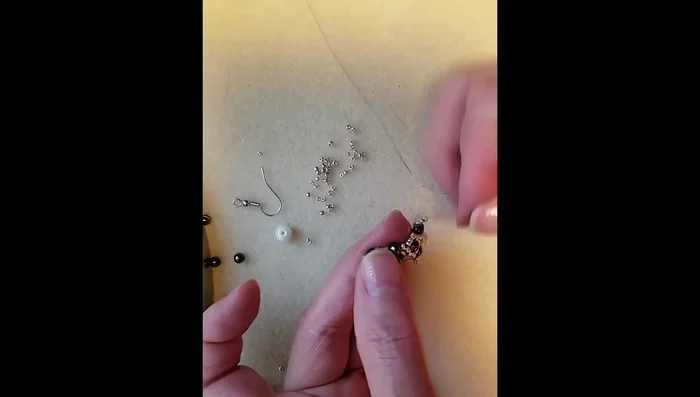
Add Hematite and Seed Bead Section 1 Add Long Seed Bead Section
- Add seven size 11 seed beads, pass the thread through the hematite bead, and repeat with seven more size 11 beads.
Add Long Seed Bead Section Add Small Connecting Loop
- Add one size 11 seed bead, then pass the thread through three seed beads in the previous loop.
Add Small Connecting Loop Repeat Hematite and Seed Bead Section
- Repeat the sequence of adding 1 size 11 seed bead, one hematite bead, and three size 11 seed beads. Repeat this section three times.
Repeat Hematite and Seed Bead Section Secure Initial Structure
- Pass the thread through the initial loops and secure the earring component.
Secure Initial Structure Add Small Loops Below
- Add three size 11 seed beads, pass through the hematite bead, and repeat to create three more small loops.
Add Small Loops Below Add Second Glass Marble Section
- Add a size 15 seed bead, the marble, and a size 15 seed bead. Pass the thread through the three seed beads and secure.
Add Second Glass Marble Section Attach Earring Hook
- Add five size 11 seed beads and attach the earring hook, reinforcing the connection by passing the thread through again.
Attach Earring Hook Finish and Secure
- Trim excess thread and secure the ends.
Finish and Secure


Read more: Twisted Wire Spiral Earrings: A Step-by-Step Guide
Tips
- Reinforce connections by passing the thread through multiple times.
- Secure the ends of the thread carefully.