Halloween's just around the corner, and what better way to get into the spooky spirit than with some adorable, DIY Halloween dangle earrings? Forget expensive costume jewelry – this year, you can craft your own unique and charming accessories that perfectly complement your Halloween look, whether you're going for cute and quirky or subtly spooky. These earrings are not only fun to make, but also incredibly affordable, allowing you to create multiple pairs in a variety of designs to match different outfits. Imagine the compliments you'll receive!
Forget complicated crafting techniques; this tutorial focuses on creating easily achievable, yet undeniably cute Halloween dangle earrings. We'll guide you through each step with clear instructions and helpful images, ensuring even complete beginners can achieve professional-looking results. Ready to get started on your spooky crafting adventure? Let's dive into the step-by-step process!
Preparation and Safety Guidelines
- Head pins
- 2mm spacer beads
- 8mm beads
- 6mm crystal spacer beads
- 6mm beads
- Round nose pliers
- Chain nose pliers
- Ear wires
- Bent chain nose pliers
- Always supervise children if they are participating in any crafting steps involving small parts or sharp tools.
- Ensure adequate ventilation when working with paints, glues, or other potentially harmful crafting materials. Avoid inhaling fumes.
- Use hypoallergenic earring findings if you have sensitive ears or anticipate gifting the earrings to someone with sensitive ears. Always check for any allergies before wearing or gifting.
Step-by-Step Instructions
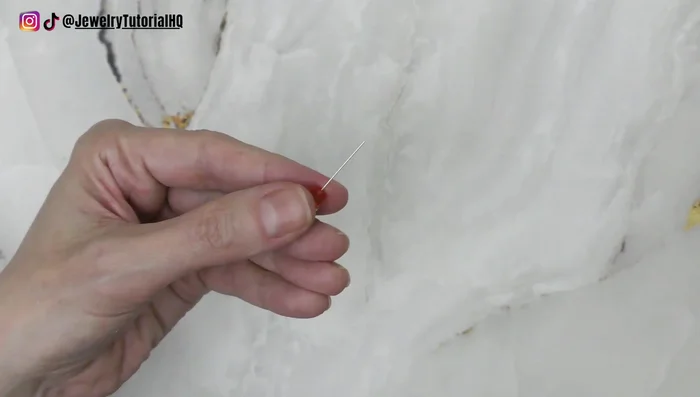
Prepare the Headpin
- Start with a head pin. Add a 2mm spacer bead (to prevent the larger bead from popping over).

Prepare the Headpin Add Beads
- Add an 8mm bead, a 6mm crystal spacer bead, and a 6mm bead.
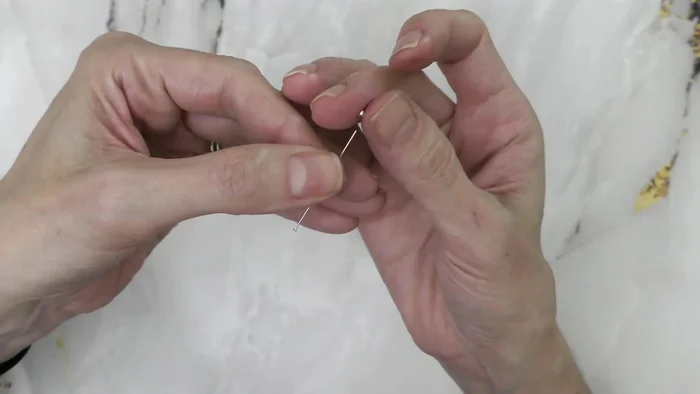
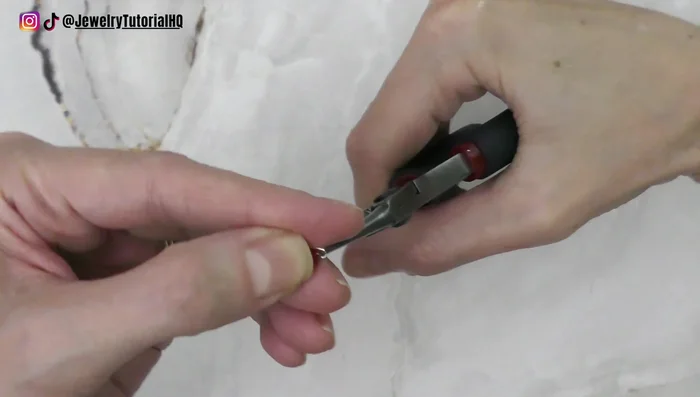
Add Beads Create the First Loop
- Use round nose pliers to grab the headpin about 2mm above the last bead. Bend a 90° angle.
- Bring the wire tail up and around the top plier jaw as far as it will go. Reposition pliers to bring the wire back around under the plier jaw, in front of the beads.
- Position the tail to form another right angle. This creates nice round loops and neat wraps.
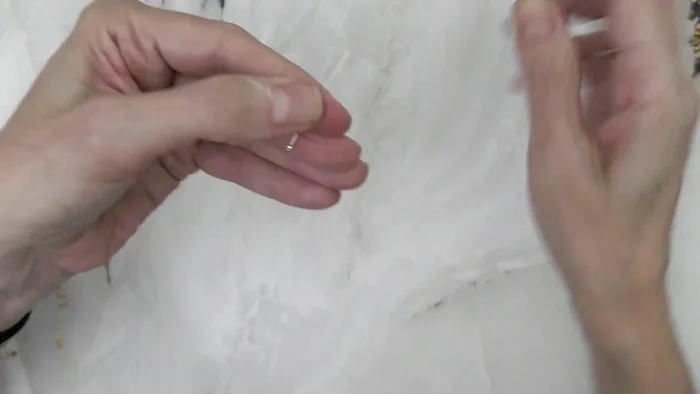
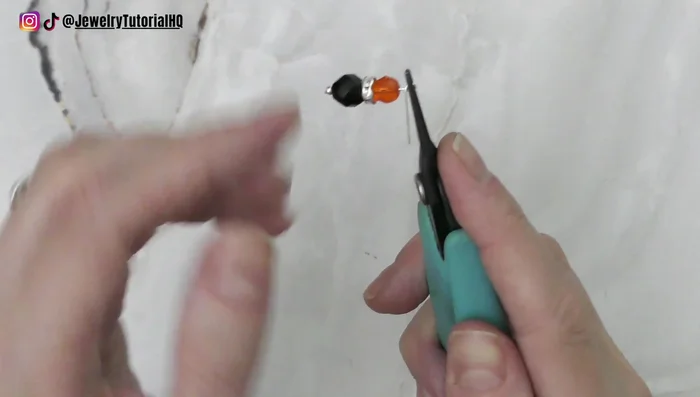
Create the First Loop Secure the Loop and Wire
- Use chain nose pliers to hold the loop. Ensure both the wire and beads are at a near 90° angle.
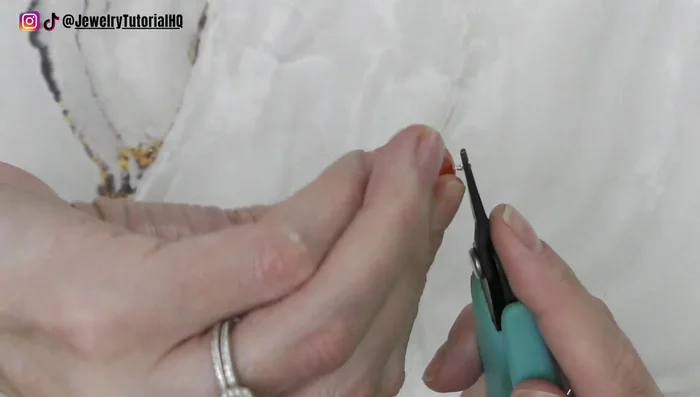
- Twist the tail around a few times, trim the extra, and tuck the end down.
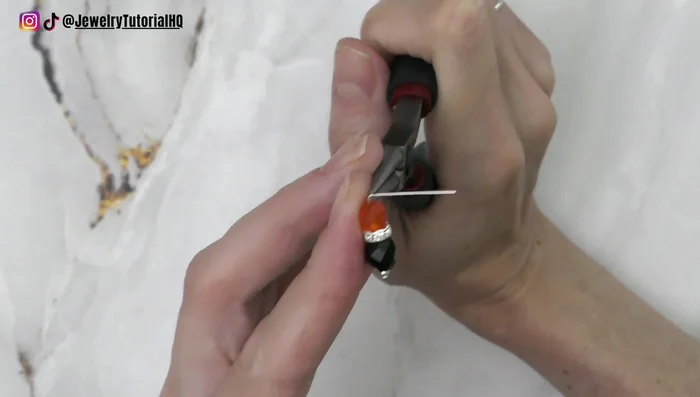
Secure the Loop and Wire Attach Earring Wire
- Add the ear wire using bent chain nose pliers. Twist the loop to the side, slide on the dangle, and twist the loop closed.
Attach Earring Wire
Read more: Twisted Wire Spiral Earrings: A Step-by-Step Guide
Tips
- Use the spacer bead as a size reference when bending the headpin.
- For best results, aim for both the wire and beads to be close to a right angle.