Green is the color of envy, but these DIY green velvet heart earrings will only inspire admiration! Nothing says sophisticated style quite like a pair of handmade earrings, and this tutorial will guide you through creating your own stunning pair featuring luxurious green velvet hearts. Imagine the compliments you'll receive as you subtly showcase your creativity with this charming, on-trend accessory. Perfect for adding a touch of elegance to any outfit, from a casual daytime look to a more formal evening ensemble, these earrings are surprisingly simple to make. They're also a wonderful gift for a friend or a thoughtful treat for yourself.
Forget expensive jewelry stores; with just a few inexpensive materials and this easy-to-follow tutorial, you'll be crafting your own pair of exquisite green velvet heart earrings in no time. Let's dive into the step-by-step process and create these beautiful, handmade treasures together!
Preparation and Safety Guidelines
- Velvet fabric (stretchy, thin polyester recommended)
- Beads (6mm green fire polish, 2mm green fire polish, Toho size 11 green seed beads)
- French wire
- Earring findings
- Needle
- Thread (Toho 1G green thread)
- Filling (synthetic fiberfill)
- Tweezers
- Scissors
- Lighter
- FriXion pen
- Felt
- Glue
- Hoop (for embroidery)
- Watercolor paper
- Always use sharp, high-quality scissors to cut the velvet fabric to prevent fraying and ensure clean lines. Dull scissors can cause uneven cuts and make it harder to work with the material.
- When working with small earring components like jump rings or ear wires, use appropriate pliers to avoid bending or damaging them. Gentle pressure is key.
- Handle the glue carefully and avoid getting it on your skin or clothes. Work in a well-ventilated area and follow the manufacturer's instructions on the glue's usage and drying time.
Step-by-Step Instructions
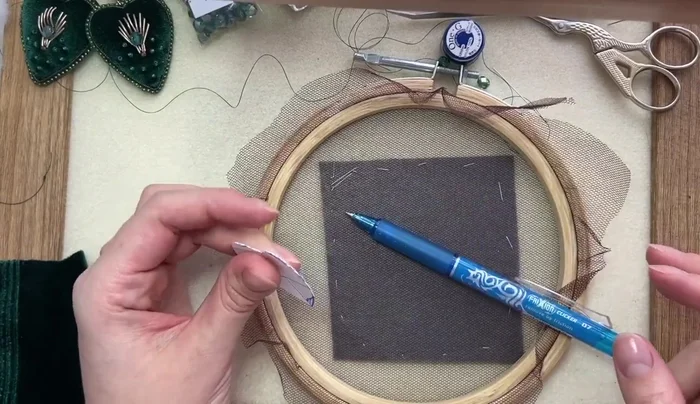
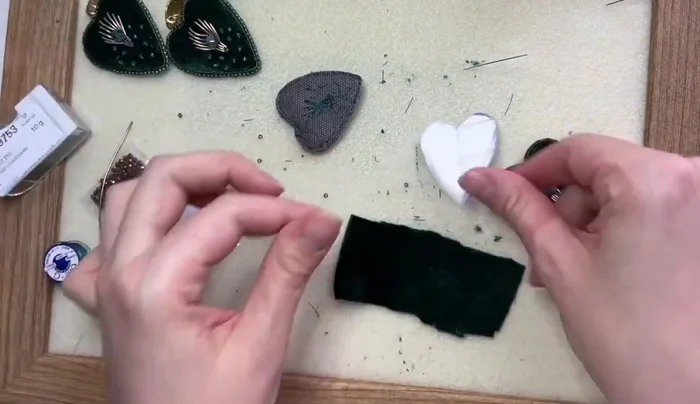
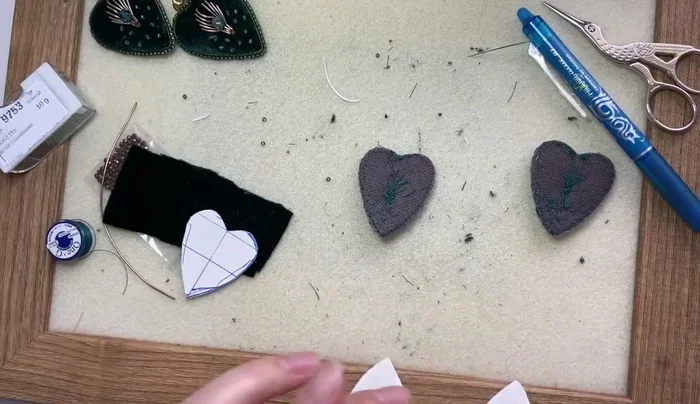
Prepare Materials and Pattern
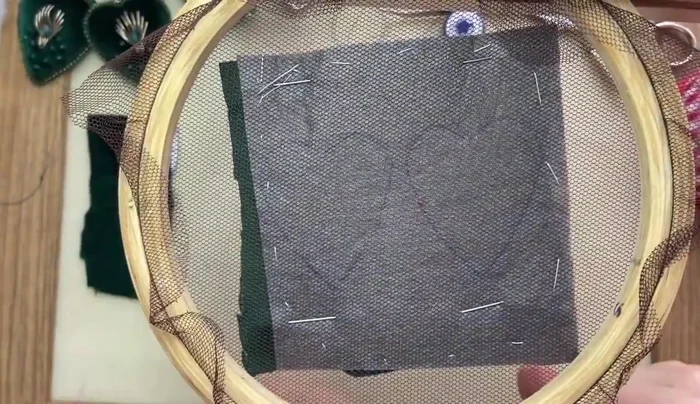
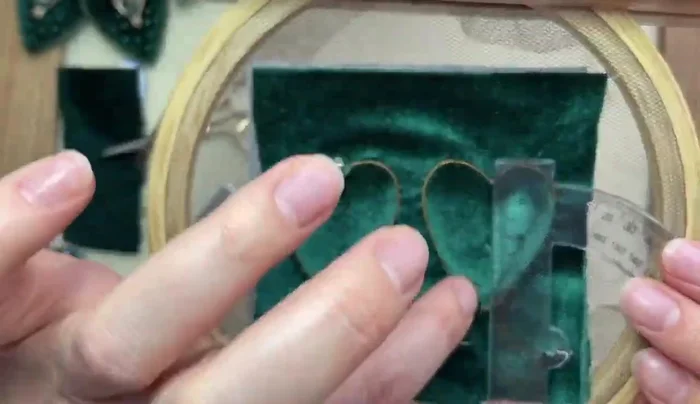
- Prepare the velvet and felt. Transfer the heart pattern onto the felt.

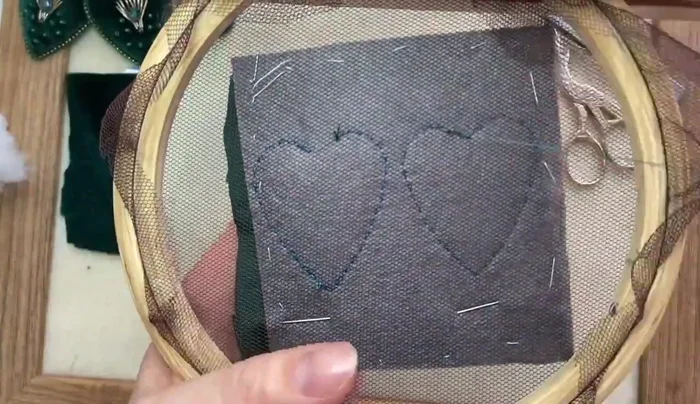
Prepare Materials and Pattern Stitch the Heart Shape
- Stitch the velvet onto the felt, creating the heart shape. Leave a small gap for filling.
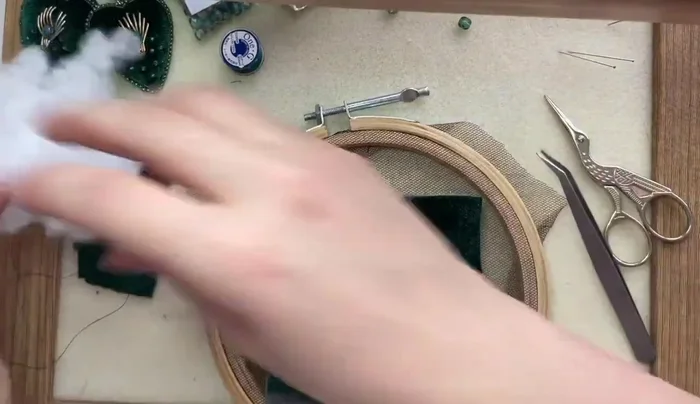
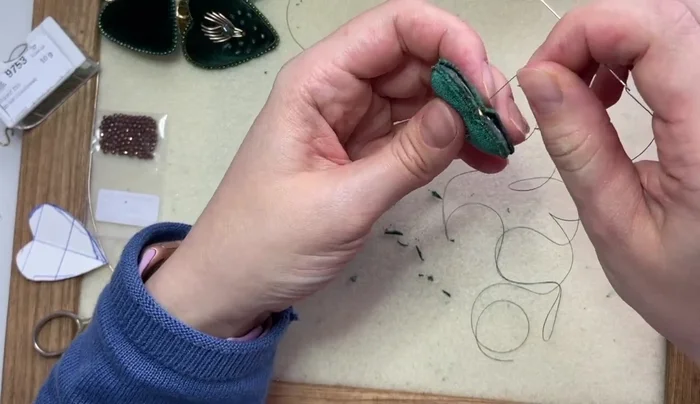
Stitch the Heart Shape Stuff and Shape the Heart
- Stuff the heart with synthetic fiberfill using tweezers. Ensure even distribution.
- Close the gap with stitches and add pearl pro along the edges.
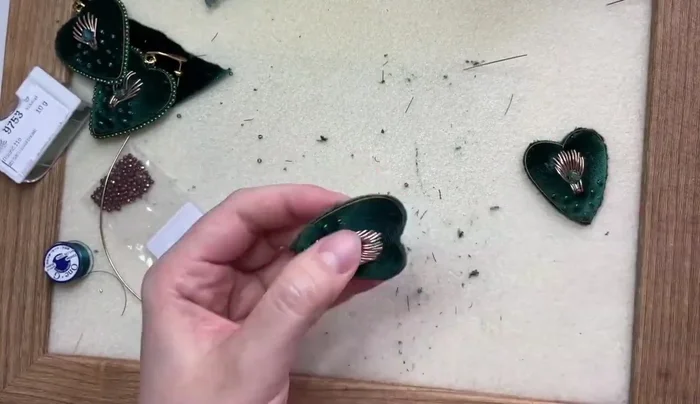
Stuff and Shape the Heart Add Center Bead
- Attach the 6mm beads to the center of each heart.
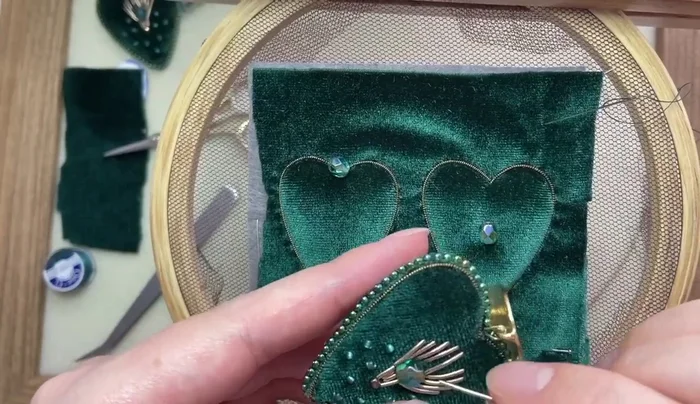
Add Center Bead Add French Wire Detailing
- Add French wire detailing, creating volume and a layered look.
- Add smaller beads (2mm fire polish) to the French wire.
Add French Wire Detailing Add Seed Bead Detailing
- Add Toho seed beads for a final decorative touch.
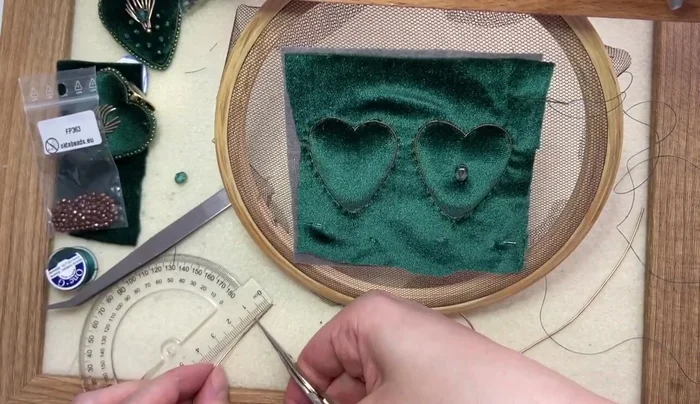
Add Seed Bead Detailing Cut and Prepare Hearts
- Cut out the hearts, leaving a small seam allowance.
Cut and Prepare Hearts Create and Attach Backing
- Create the backing for the earrings using watercolor paper and velvet.
- Attach the backing to the heart.
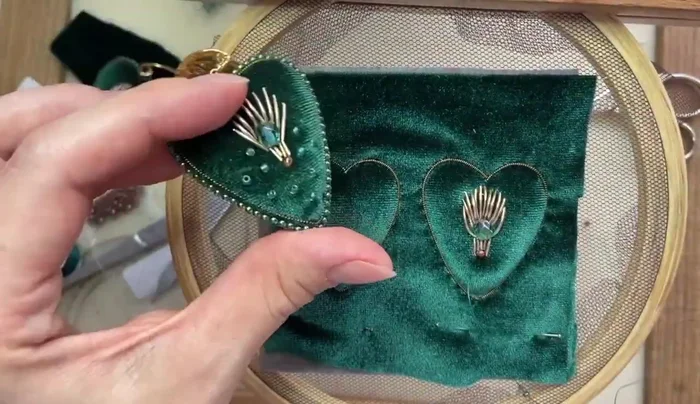
Create and Attach Backing Attach Findings
- Attach earring findings to secure the completed hearts.
Attach Findings Finish Edges
- Finish the edges of the earrings by adding more seed beads to secure and embellish.
Finish Edges

Read more: Twisted Wire Spiral Earrings: A Step-by-Step Guide
Tips
- Use a thin, stretchy polyester velvet for best results.
- Ensure the velvet pile runs in the same direction when cutting patterns.
- Don't overfill the hearts; even distribution is key for a neat finish.
- Use Toho 1G thread for its strength and durability.