Unleash your inner artist and discover the captivating world of fluid acrylic pouring on wood! This exciting technique, inspired by the vibrant and expressive style of Fiona Art, allows you to create stunning, one-of-a-kind floral masterpieces. Imagine rich, swirling colors bleeding into each other, creating breathtaking blooms that seem to leap from the wood's surface. This isn't just painting; it's a mesmerizing process of controlled chaos, where you guide the paint's flow to achieve unique and unpredictable results, making each piece a truly original work of art. Forget the limitations of traditional brushstrokes – prepare to embrace the fluidity and freedom of this captivating method.
This tutorial will guide you through each step, from preparing your wood panel and mixing your paints to achieving the signature Fiona Art style of bold blooms and delicate details. Follow along as we explore the techniques and secrets to creating your own beautiful, flower-pouring artwork on wood. Let's get started!
Preparation and Safety Guidelines
- 18-inch wood round (birch)
- Acrylic paints (Amsterdam, Golden, Americana Decor)
- Vallejo Gloss Fluid Medium
- Vallejo Pearl Medium
- Flotrol
- Small cups
- Napkins
- Skewer or toothpick
- Always work in a well-ventilated area. Pouring mediums and pigments can release fumes.
- Wear gloves and eye protection to prevent skin and eye irritation from paints and resins.
- Use a drop cloth or work surface that can be easily cleaned as resin and paints can be difficult to remove from certain surfaces.
Step-by-Step Instructions
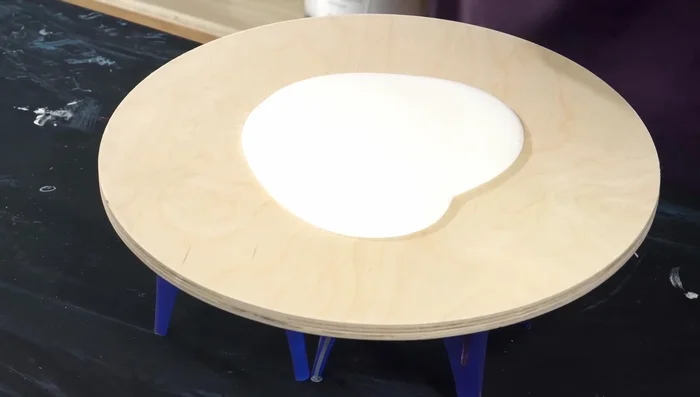
Prepare the Wood
- Apply a base coat of thinned titanium white with Vallejo pearl medium and gloss fluid medium.

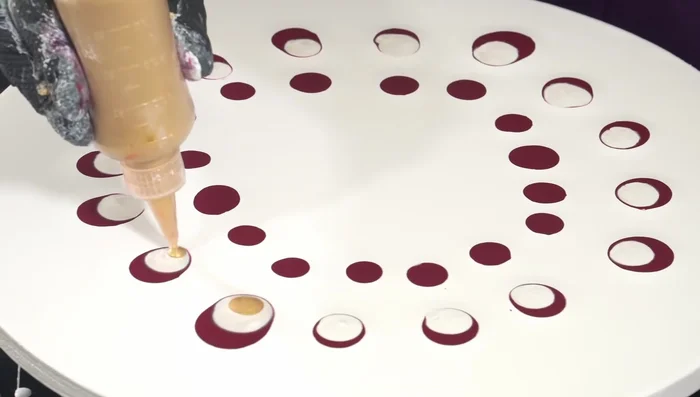
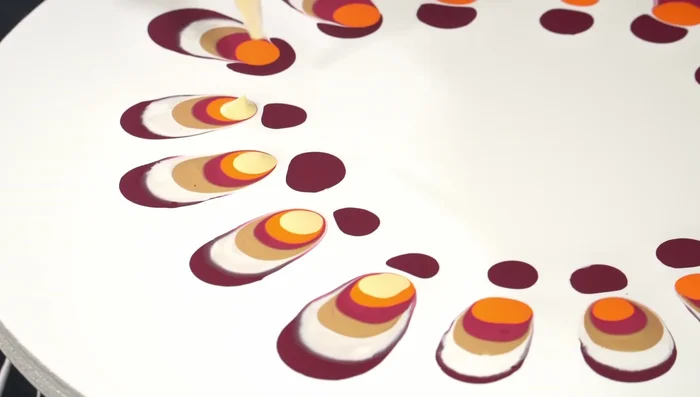
Prepare the Wood Create the Color Base
- Create four puddles of alizarin crimson, allowing them to slightly blend.
- Add puddles of white, bisecting the angles of the crimson puddles.
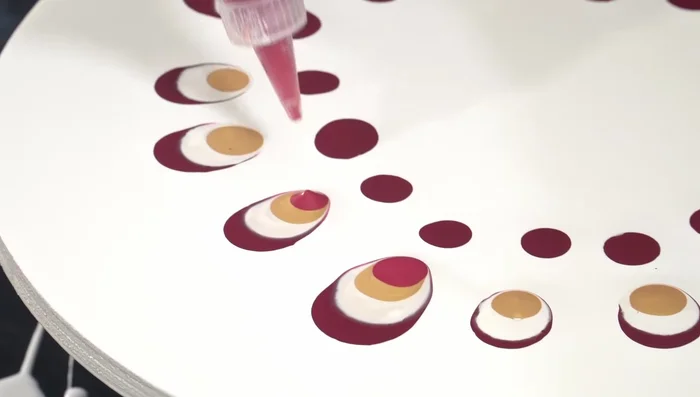
- Add puddles of gold paint.
- Add puddles of sparkly strawberry color (Quinacridone Crimson with gold and white).
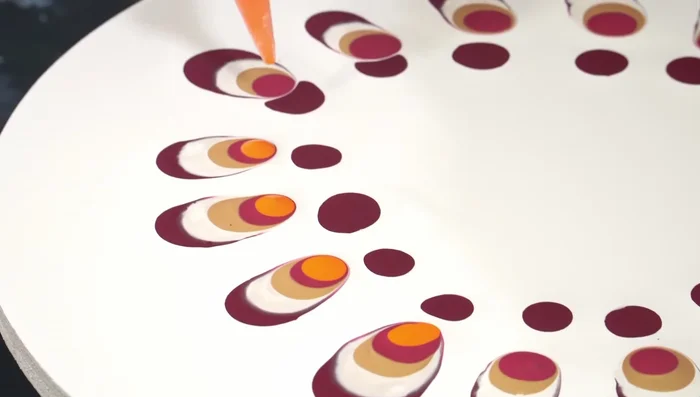
Create the Color Base - Add puddles of pyro orange.
- Add puddles of Naples yellow.
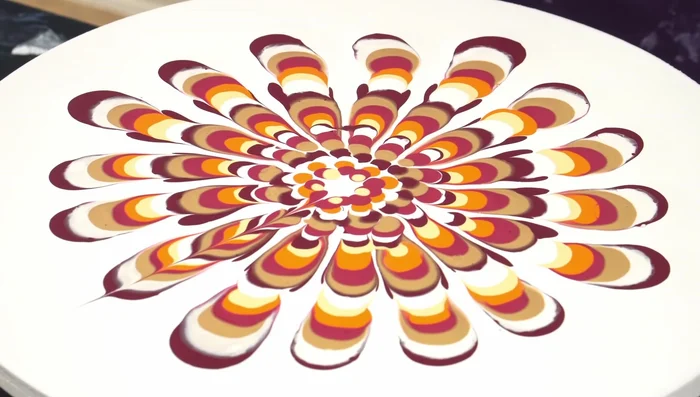
Create the Color Base Blend and Create Patterns
- Use a skewer or toothpick to subtly blend the colors and create interesting patterns.
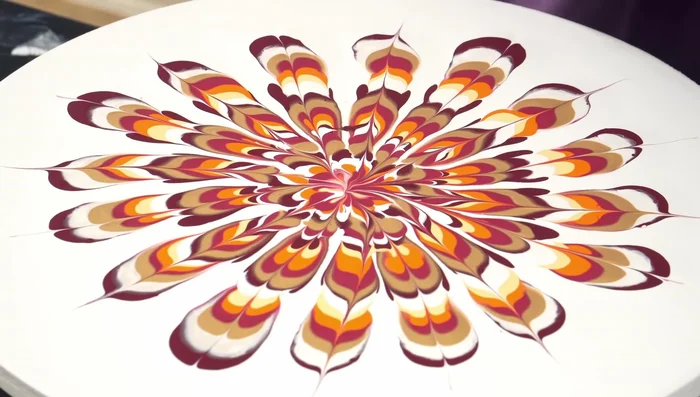
Blend and Create Patterns Fiona Flower Dip Technique
- use your finger to gently pull paint upwards from the center, creating a more cohesive look.
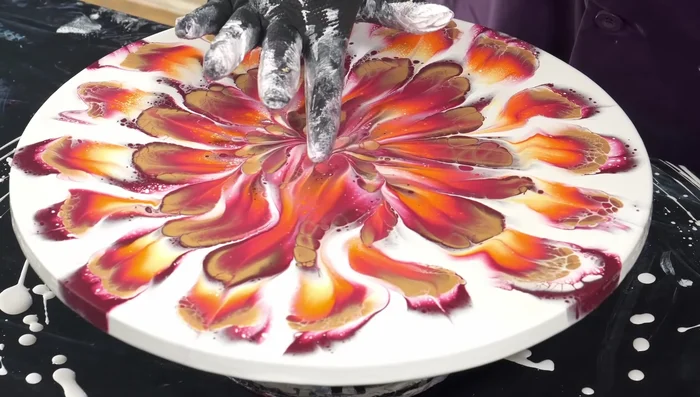
Fiona Flower Dip Technique Refine and Finish
- Use a dry napkin to lift the paint, creating the final flower design. Lift from the center outwards for some sections and from the outside inwards for others.
- Add additional small dabs of paint to enhance details or fix any imperfections.
Refine and Finish
Read more: DIY Wonky House Brooches: The Fastest & Easiest Method
Tips
- Don't be afraid to experiment with different color combinations and techniques.
- Using a dry napkin for the final lift provides more control.
- The 'Fiona Flower Dip' technique helps to create a more unified and visually appealing design.
- A little stiction (controlled blending) can create beautiful results.