Flowers are timeless symbols of beauty and grace, and now you can wear that beauty close to your heart with these quick and easy flower pendants! This tutorial will guide you through the simple process of crafting your own delicate floral jewelry, perfect for adding a touch of elegance to any outfit or a thoughtful, handmade gift for a loved one. Forget expensive jewelry stores and embrace the joy of creating something beautiful with your own two hands. Whether you're a seasoned crafter or a complete beginner, this project is designed to be accessible and enjoyable for everyone.
Using readily available materials and straightforward techniques, you’ll learn how to transform basic supplies into stunning floral pendants in a surprisingly short amount of time. Get ready to unleash your creativity and discover the simple satisfaction of crafting unique, personalized jewelry. Let's dive into the step-by-step process and begin creating your exquisite flower pendants!
Preparation and Safety Guidelines
- Filigree
- Vintage Pearl
- Copper Head Pin
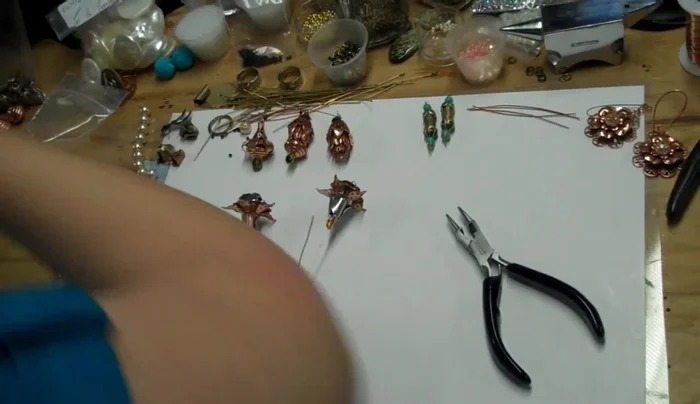
- Round Nose Pliers
- Wire Cutters
- Crimp Pliers
- Crimp Beads
- 20 Gauge Craft Wire
- 24 Gauge Copper Binding Wire
- Small Beads (various colors)
- Flower Components
- Always supervise children when handling small parts like jump rings and beads to prevent choking hazards.
- Use caution when working with sharp tools like wire cutters or pliers. Keep tools away from children and ensure proper handling to avoid cuts or injuries.
- If using resin, work in a well-ventilated area and follow the resin manufacturer's safety guidelines carefully. Avoid skin contact and wear gloves.
Step-by-Step Instructions
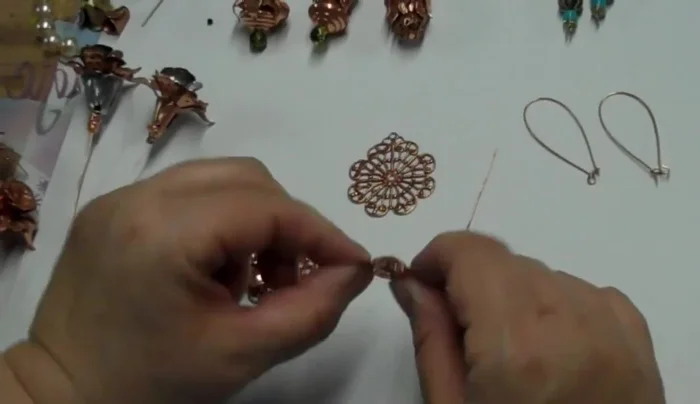
Prepare the Filigree Base
- Attach a vintage pearl to the filigree using a copper head pin. Secure the pin tightly.
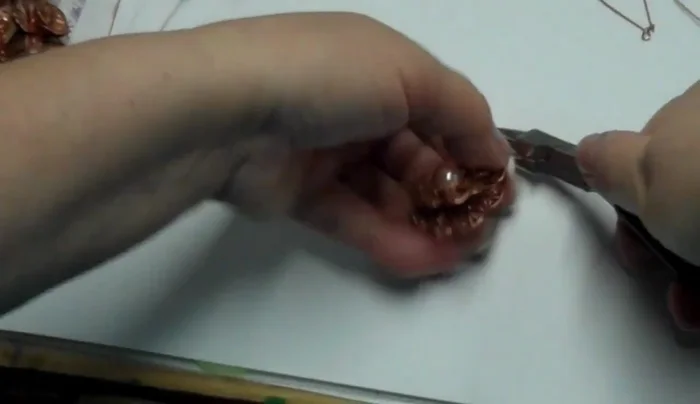
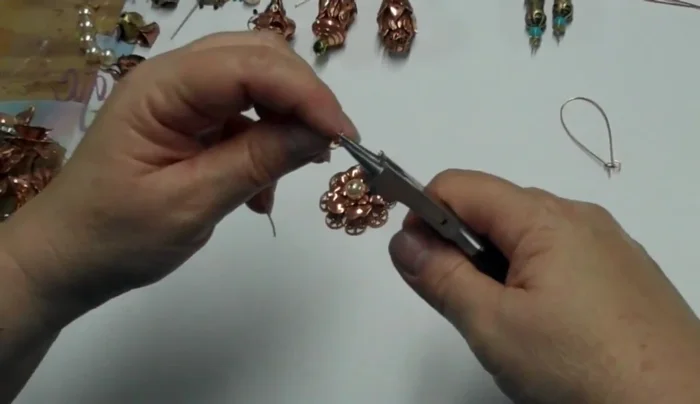
- Bend the excess head pin backward and cut it off. Roll the remaining wire into a loop using round nose pliers to form the bail.
- Thread the earring wire (or pendant bail) through the loop. Crimp the wire securely to prevent movement.

Prepare the Filigree Base Create the Flower Component
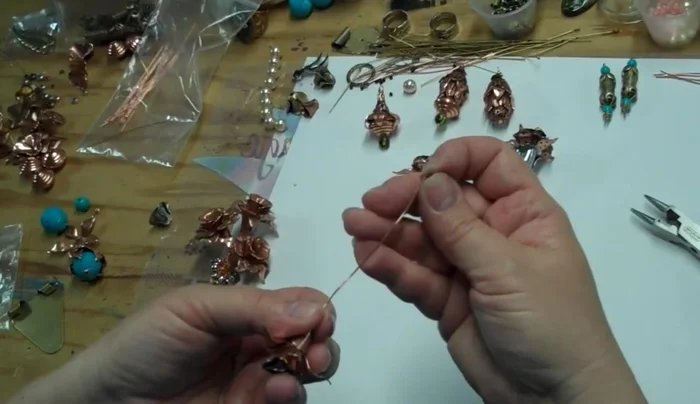
- Make an eye pin, then create a squiggly design by rolling and shaping the wire.
- Thread small beads onto the squiggly wire.
- Attach flower components (cups, petals, etc.) to the squiggly wire.
Create the Flower Component Secure the Flower
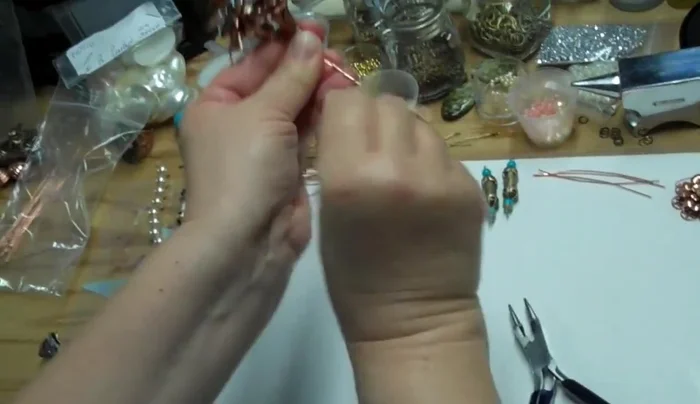
- Add a crimp bead to prevent components from sliding off. Crimp using crimp pliers.
- Wrap 24 gauge copper binding wire around the crimp, securing all components tightly.
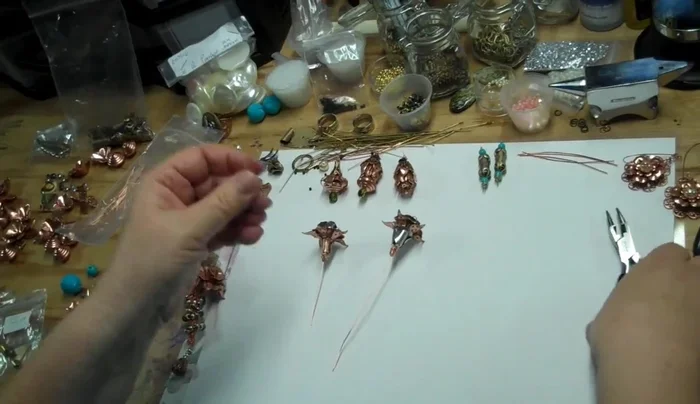
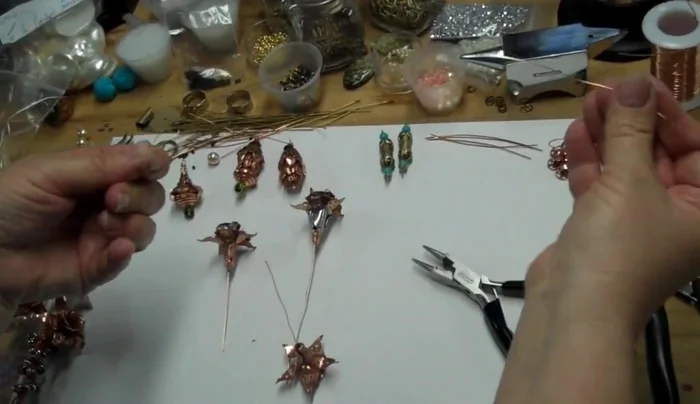
Secure the Flower Create a Bouquet (Optional)
- Combine multiple flowers using binding wire to create a bouquet.
Create a Bouquet (Optional)

Read more: DIY Wonky House Brooches: The Fastest & Easiest Method
Tips
- For a flowing design, leave the bail slightly loose.
- Use 24 gauge copper binding wire for secure wrapping and plating compatibility.
- Experiment with different bead colors and flower components for unique designs.