Embroidered jewelry is experiencing a delightful resurgence, offering a unique blend of handcrafted charm and personal style. This captivating art form allows for incredible creativity, transforming simple materials into stunning wearable accessories. Today, we'll delve into the enchanting world of embroidery with a project that combines elegance and practicality: a DIY embroidered rose bracelet brooch. This delicate piece, perfect for adding a touch of handmade beauty to any outfit, is surprisingly easy to create, even for beginners. Imagine the satisfaction of wearing a beautiful brooch you’ve crafted yourself!
This tutorial will guide you through each stage of the process, from preparing your materials to securing the final stitch. We'll cover essential embroidery techniques, focusing on creating a realistic rose, and show you how to seamlessly integrate it into a stylish bracelet brooch. So grab your needles, threads, and let's embark on this delightful crafting journey together; let's begin with a step-by-step guide to making your very own embroidered rose bracelet brooch!
Preparation and Safety Guidelines
- embroidery cloth
- red thread
- yellow thread
- pink thread
- green thread
- dark green thread
- light green thread
- bracelet
- ribbon
- foam
- hot glue
- flannel cloth
- Use sharp needles with caution. Keep needles away from children and pets, and store them safely when not in use.
- Be mindful of your fingers when working with needles. Take your time and avoid rushing to prevent accidental pricks.
- If using fabric glue or other adhesives, ensure adequate ventilation and follow the manufacturer's instructions carefully.
Step-by-Step Instructions
Embroider the Roses
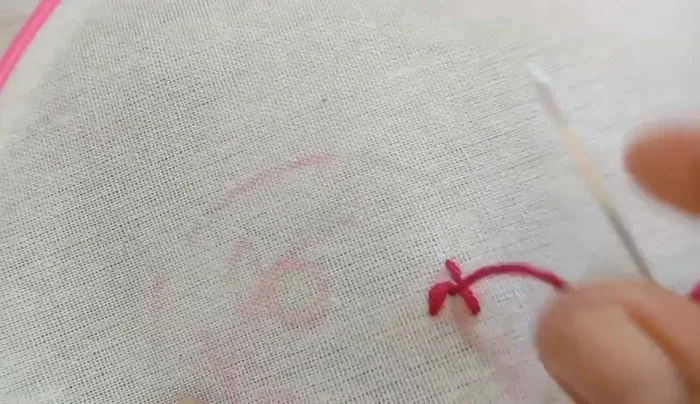
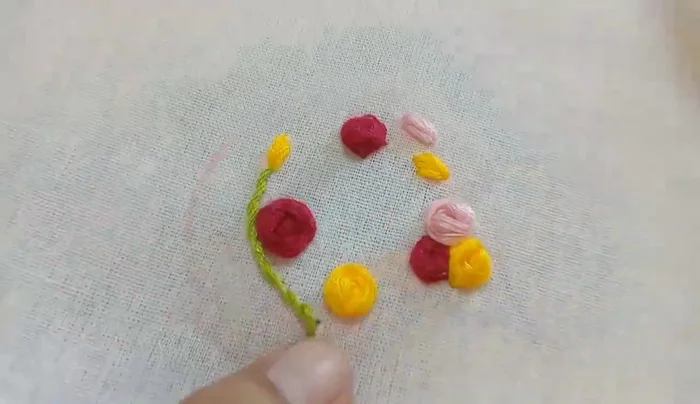
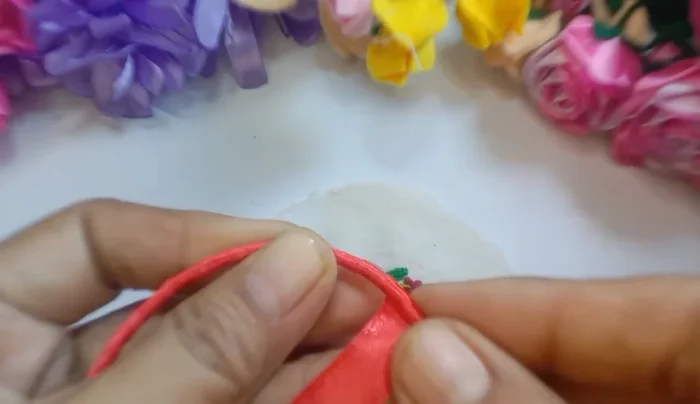
- Prepare embroidery cloth and begin embroidering roses.
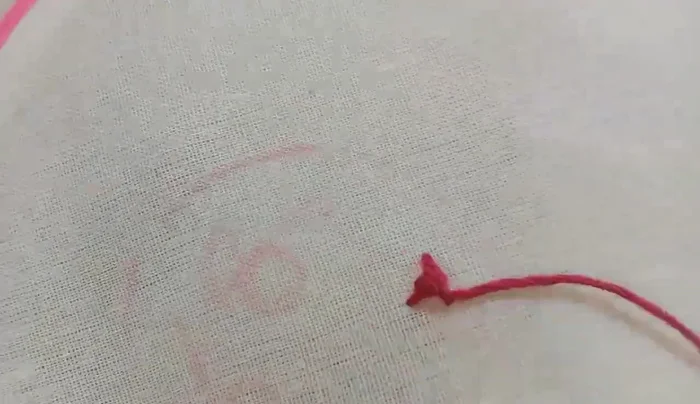
- Embroider red roses using one whole strand of red thread, divided into three segments, and create a circle.
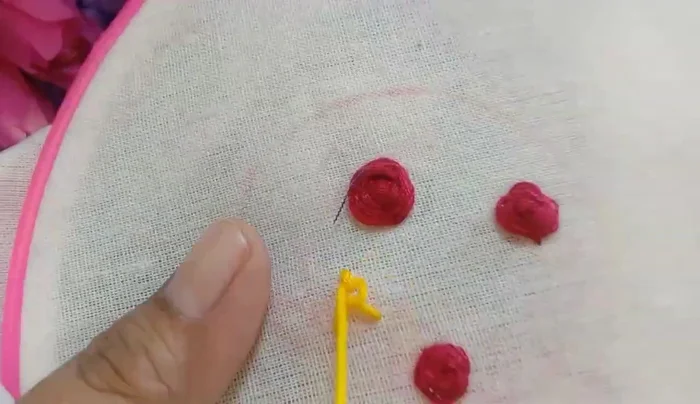
- Create more red rose flowers.
- Embroider yellow roses using the same technique as the red roses.

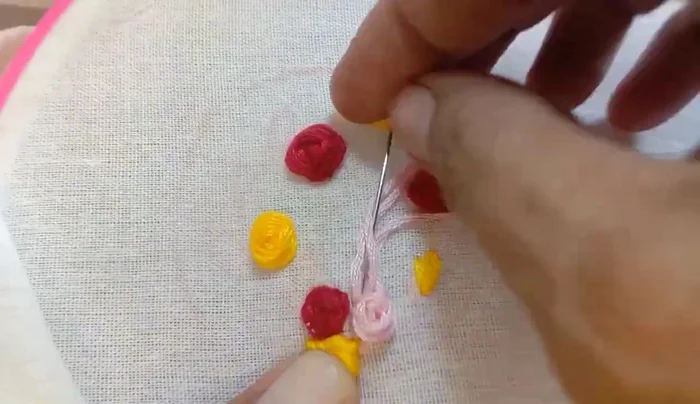
Embroider the Roses - Embroider pink roses and buds.
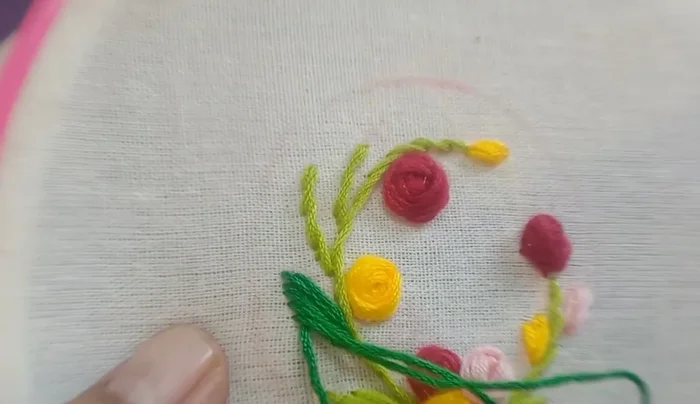
Embroider the Roses Embroider the Stem and Leaves
- Embroider the stem using green thread, creating a circular shape.
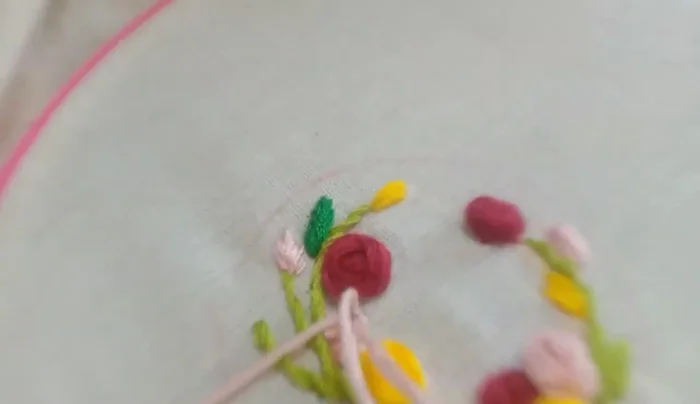
- Add leaves using green and dark green thread.
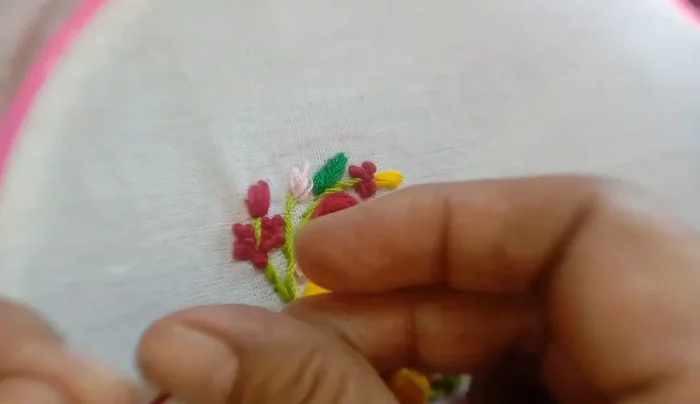
Embroider the Stem and Leaves Add Finishing Touches to Embroidery
- Add pink and red flower pistils to fill out the design.
Add Finishing Touches to Embroidery Prepare the Bracelet Base
- Cut the embroidered piece, add 2 cm to the first circle, and wrap the bracelet with ribbon.
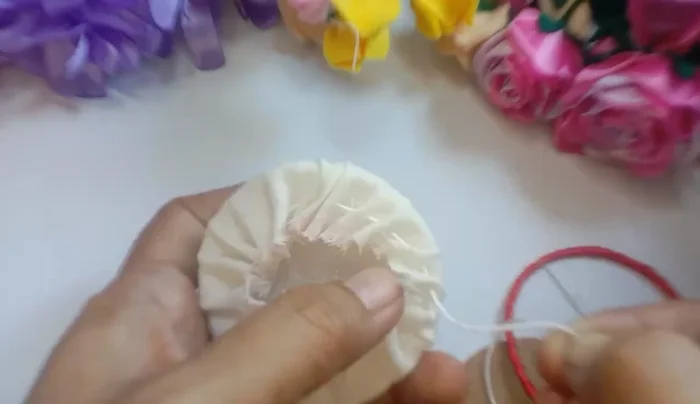
- Measure and attach foam to the embroidered piece, securing it with rough stitches.
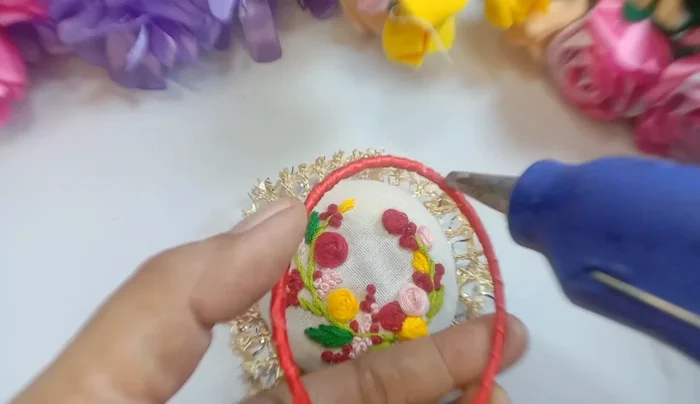
Prepare the Bracelet Base Assemble the Brooch
- Tidy up the stitches, add ribbon, and attach it around the brooch using hot glue.
- Cover the back with pinned flannel cloth and attach the ribbon-wrapped bracelet to the front.
Assemble the Brooch

Read more: DIY Wonky House Brooches: The Fastest & Easiest Method
Tips
- N/A