Earrings are a timeless accessory, capable of elevating any outfit from casual to chic. But achieving that perfect, professional finish often hinges on the seemingly small detail: the earring loop. A poorly made loop can lead to frustrating tangles, a weakened earring, or even accidental loss of a cherished piece. Whether you’re a seasoned jewelry maker or just starting out, mastering the art of creating flawless earring loops is key to crafting beautiful, durable, and confident-making earrings. It's not as daunting as it may seem!
Creating perfectly formed loops is essential for both the aesthetics and longevity of your earrings. This guide provides a comprehensive, easy-to-follow approach to achieving consistently beautiful and secure loops, regardless of your chosen wire type or earring style. Get ready to transform your earring-making process with this step-by-step guide, ensuring each pair is as stunning as the design itself.
Safety Guidelines
- Always use pliers specifically designed for jewelry making. Using the wrong tools can damage your wire and potentially injure you.
- Wear safety glasses to protect your eyes from flying wire pieces, especially when cutting or shaping.
- Be mindful of sharp wire ends. Always file or round off any sharp points after cutting to prevent injury.
Methods: Creating Perfect Loops with 20 Gauge Wire
Tools Needed
- 20 gauge wire
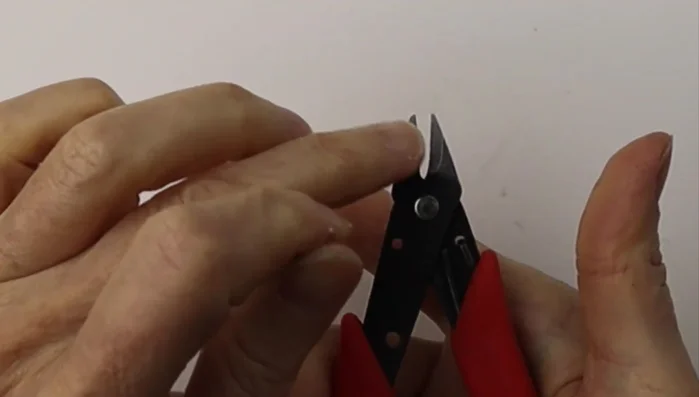
- Flush Cutters
- small and large round nose pliers
- flat pliers
- six step looping pliers
Step-by-Step Instructions
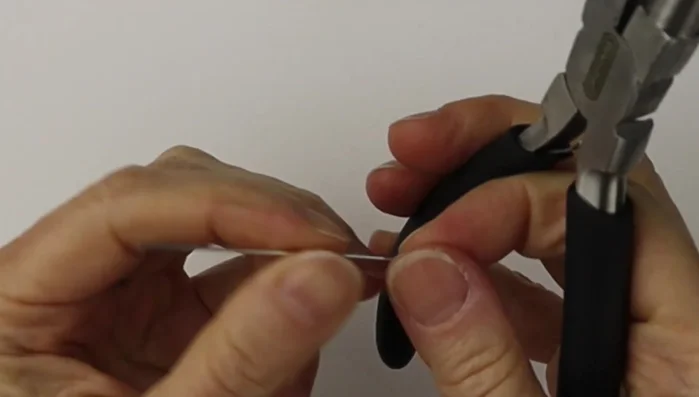
Prepare the Wire
- Cut the end of the wire flush using flush cutters.
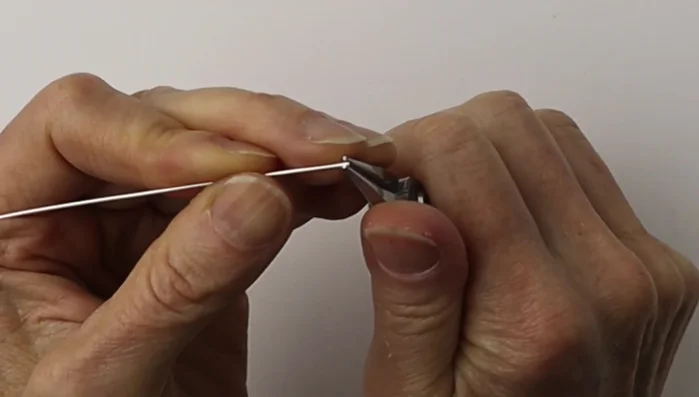
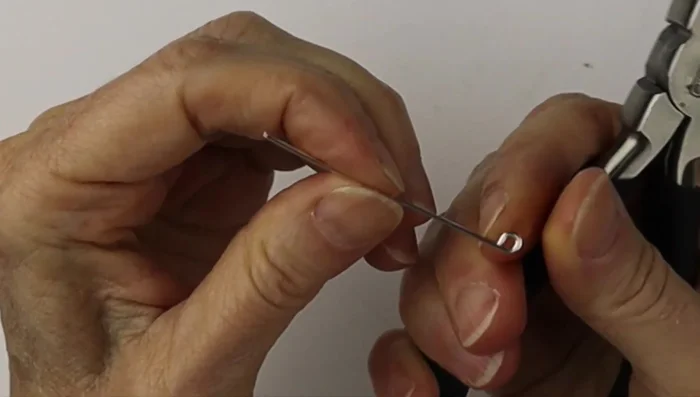
- Use small round nose pliers to make a small loop at the wire's end.
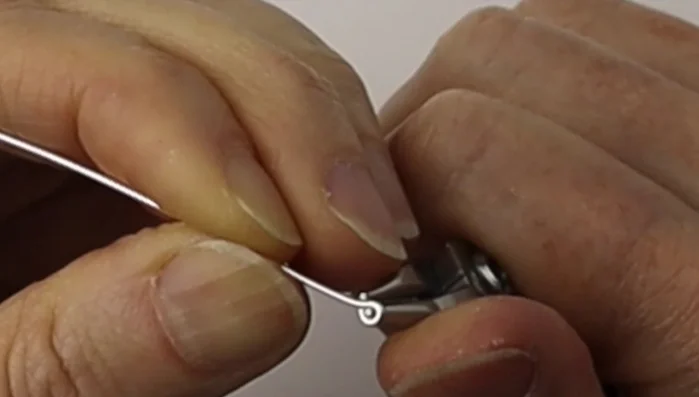
- Center the loop with a flick of the wrist and flatten it using flat pliers to avoid sharp ends.

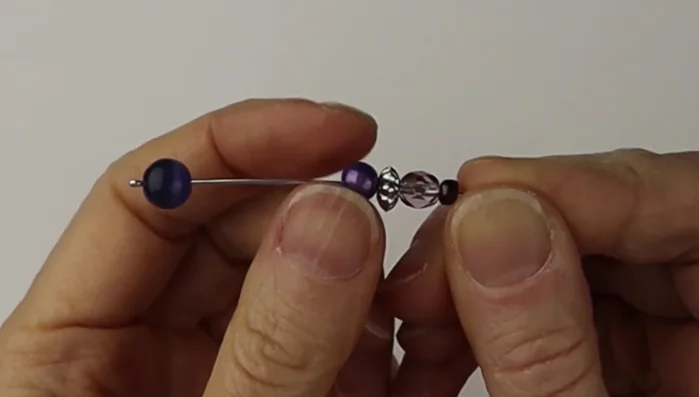
Prepare the Wire Add Beads and Form the Loop
- Add beads.
- Cut the wire to about 3/8 to 1/2 inch and use larger round nose pliers (or looping pliers) to bend the wire back and around, curving it slowly to center.
- Use flat pliers to pinch the loop shut.
Add Beads and Form the Loop


Tips
- Use a 20-gauge wire as a nice alternative to head pins.
- Go slowly when curving the wire around to ensure it's centered.
Methods: Making Earring Hooks with Six Step Looping Pliers
Tools Needed
- Six step looping pliers
- wire cutters
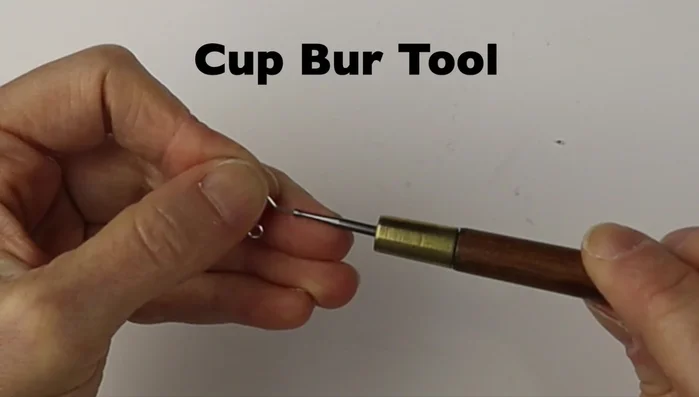
- cup burr tool or file
Step-by-Step Instructions
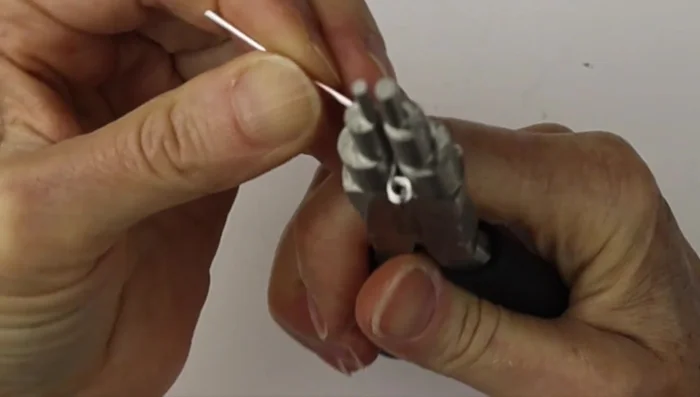
Create the Earring Hook Loops
- Use the smallest size on the six step looping pliers to create a simple curve.
- Line up two wires of the same size to make the earring hooks.
- Create a larger loop and bend the wire back at a slight angle.
- Clip the wires flush.
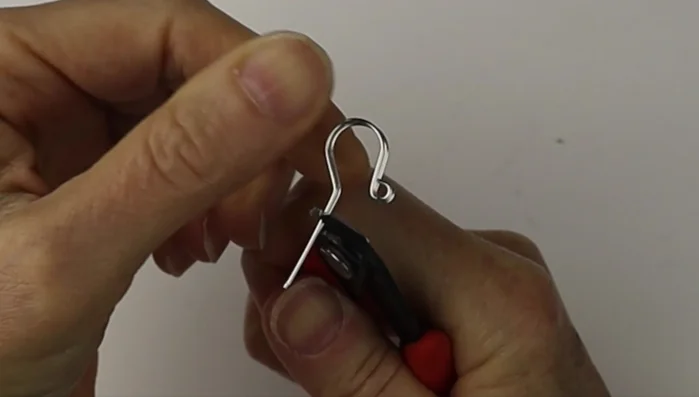
Create the Earring Hook Loops Refine the Earring Hooks
- Soften the ends with a cup burr tool or file.
- Harden the wire using nylon jaw pliers or a hammer.
Refine the Earring Hooks

Tips
- Use hypoallergenic wire for the hooks.
- Consider using half-hard wire for durability.
Read more: 4 Genius Ways to Back Your Faux Leather Earrings (No More Ugly Backs!)