Indulge your creativity and embrace the charm of vintage aesthetics with this easy-to-follow tutorial on crafting a delightful DIY necklace. This unique piece combines the delicate beauty of vintage lace and the warm texture of natural fiber, resulting in a truly one-of-a-kind accessory perfect for adding a touch of bohemian elegance to any outfit. Imagine the compliments you'll receive as you showcase this handcrafted treasure, a testament to your artistic flair and resourcefulness. We'll guide you through the process of transforming simple materials into a stunning piece of wearable art, perfect for gifting or keeping for yourself.
This DIY Vintage Lace & Fiber Nest Necklace project is surprisingly simple, even for beginners! Forget expensive jewelry stores – you'll be amazed at how easily you can create this beautiful necklace using readily available materials. Ready to learn how to craft your own exquisite nest necklace? Let's dive into the step-by-step instructions!
Preparation and Safety Guidelines
- White covered floral wire (20, 22, or 26 gauge)
- Yarn (doll hair yarn recommended)
- Scrap lace
- Glue
- Beads
- Wire cutters
- Needle & thread
- Narrow tape for hanger
- Ribbon for bow
- Always supervise children when working with small parts like beads or findings to prevent choking hazards.
- Use sharp scissors and cutting tools with caution. Keep fingers away from blades.
- If using wire, be mindful of sharp ends and take care not to prick yourself. Consider using jewelry wire with a protective coating.
Step-by-Step Instructions
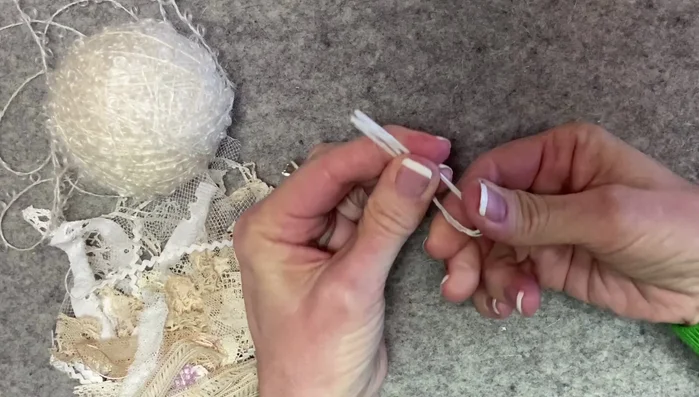
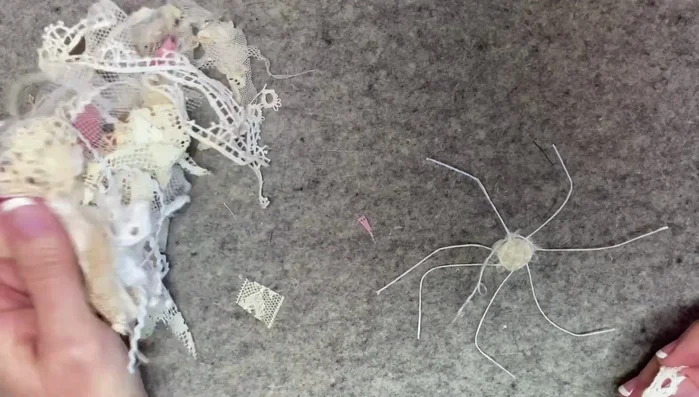
Prepare the Wire Base
- Cut four 6-inch lengths of white covered wire. Bend each in half to find the center. Weave one piece around the center to secure, leaving seven spokes.

Prepare the Wire Base Weave Yarn Center
- Start in the center of the wire spokes with a length of yarn (approx. 30 inches or 1 yard), weaving over and under the spokes until a small circle forms (about 1 inch).
Weave Yarn Center Add Lace
- Start weaving scrap lace around the yarn base, incorporating different colors and textures for visual interest. Secure each piece of lace with weaving or a dab of glue as needed.
Add Lace Shape the Nest
- Gradually shape the wire spokes upward to create a bowl-like form. Add small pieces of lace to fill gaps and reinforce the shape.
Shape the Nest Trim Wires and Secure
- Trim the wire spokes to about 1/4 to 1/2 inch. Fold some wires inward to secure the lace and create a neater finish.
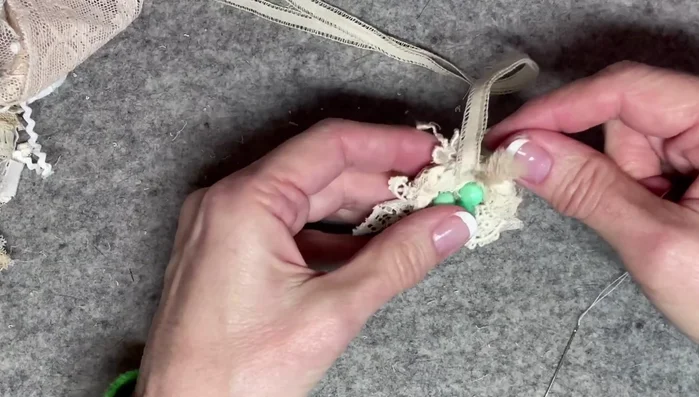
Trim Wires and Secure Add Beads and Conceal Wires
- Sew three beads to the top of the nest, forming a triangle shape. Use the same thread to conceal any exposed wires by weaving small lace pieces over them.
Add Beads and Conceal Wires Create Hanging Loop
- Fold a 30-inch length of narrow tape in half, tie a knot, and sew the loop to the top of the nest.
Create Hanging Loop Finishing Touches
- Secure loose ends of thread and lace, tucking them neatly into the nest. Add a bow to the top for decoration.
Finishing Touches


Read more: Elegant Russian Spiral Necklace Tutorial: A Step-by-Step Guide
Tips
- Use any type of fiber for the nest center: Yarn, string, jute, cord, baker's twine, floss— experiment to find your favorite!
- Save scrap lace from previous projects: This adds unique character and reduces waste.
- Don't be afraid to experiment with different lace types and colors: The beauty of this project is its versatility.