Vintage brooches, with their intricate designs and nostalgic charm, are more than just accessories; they're miniature works of art. Often tucked away in jewelry boxes, these beautiful pieces deserve to be showcased and admired. Transforming a collection of forgotten brooches into a stunning piece of wall art is easier than you might think, and the result is a uniquely personal and eye-catching addition to your home décor. Forget generic store-bought art; let your creativity shine with this delightful DIY project.
This guide will walk you through creating your own exquisite vintage brooch wall decor, transforming a simple surface into a captivating display of your cherished collection. From choosing the right base material to carefully arranging and securing your brooches, we'll cover every step of the process, ensuring you achieve a beautiful and lasting piece of art. Let's begin with a step-by-step guide to crafting your unique vintage brooch masterpiece.
Preparation and Safety Guidelines
- 8x8 wood blank
- Sage green chalk paint
- Soft white chalk paint
- IOD inks (custom brown mix)
- IOD Vintage Texture stamp
- Resin
- IOD air dry clay (optional)
- Gloves
- Brooch
- Cream chalk paint
- Gold leaf paint
- Fine art brush
- Sealer (optional)
- Katarina transfer
- Pen
- Applicator tool
- Water-based sealer
- Quick and thick glue
- Always handle vintage brooches gently to avoid damaging delicate stones or metalwork. Use soft cloths and avoid harsh chemicals.
- Ensure the pins on your brooches are securely fastened before attaching them to the wall to prevent accidental injury or damage.
- If using adhesive, test it in an inconspicuous area first to ensure it won't damage your brooches or the wall surface. Consider the weight of the brooches when selecting adhesive.
Step-by-Step Instructions
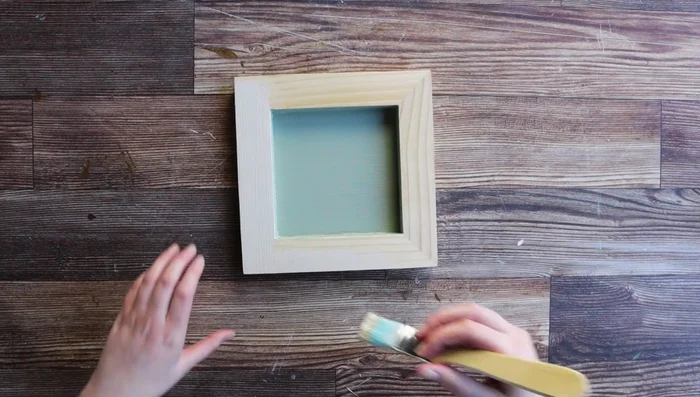
Prepare the Shadow Box
- Paint the interior of an 8x8 shadow box with sage green chalk paint, then the outer frame with soft white chalk paint. Let it dry completely.
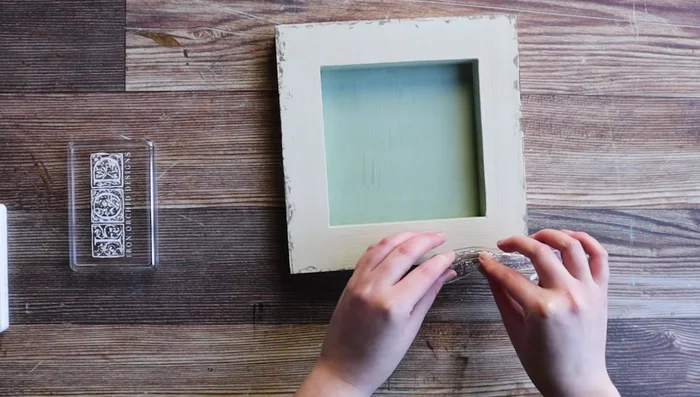
- Add aging effects by using custom-mixed IOD inks and applying the Vintage Texture stamp to the shadow box edges.

Prepare the Shadow Box Prepare the Brooch
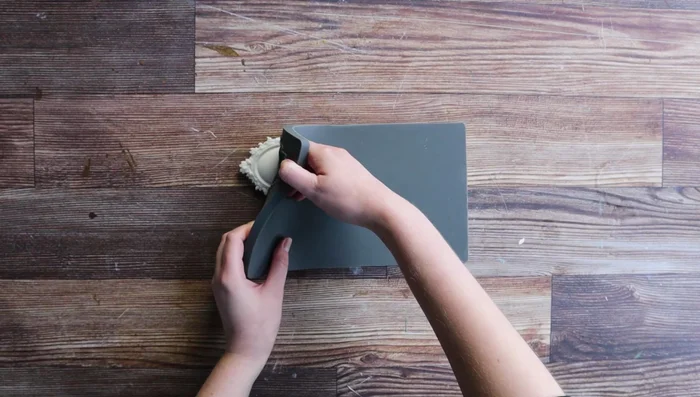
- Pour resin (or use IOD air dry clay) into your chosen brooch(es). Remember to wear gloves and use a 1:1 ratio.
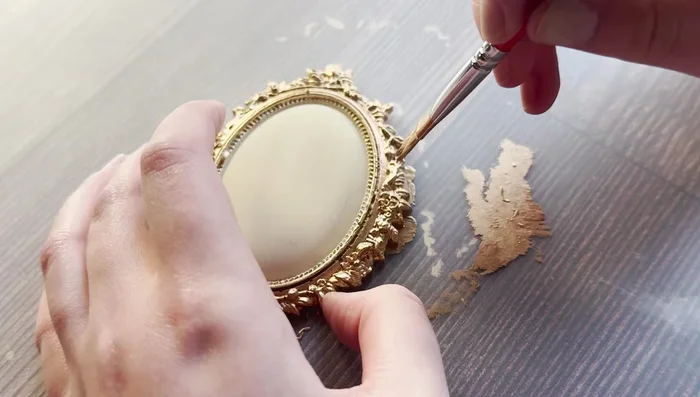
- Paint the interior of the brooch with cream chalk paint and let it dry. Then, carefully paint gold leaf around the edge using a fine art brush.
- Seal the interior of the brooch before applying the transfer to improve adhesion.
Prepare the Brooch Apply the Transfer
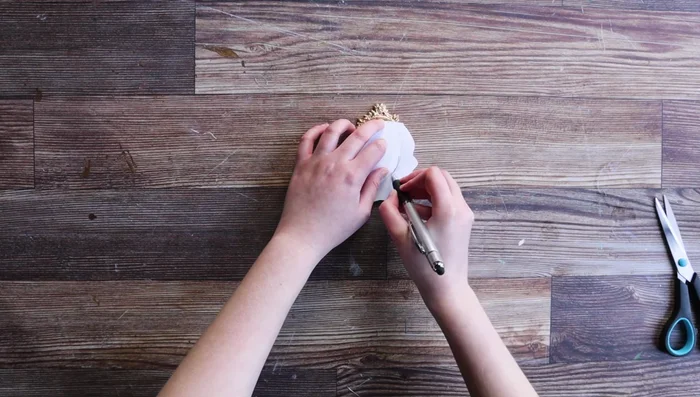
- Cut out a small floral bouquet from a Katarina transfer, trace it onto the back of the brooch, and then remove the backing.
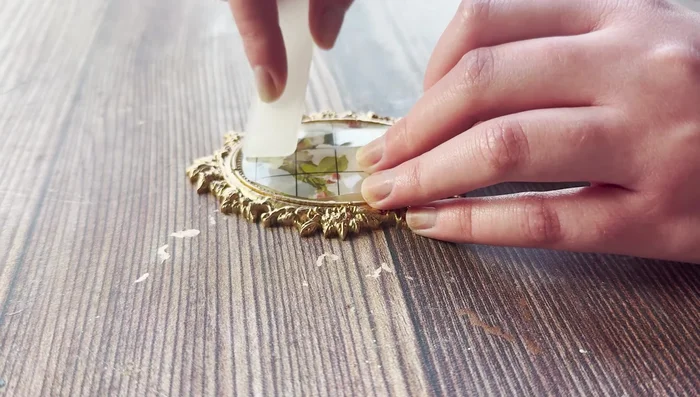
- Apply the transfer to the brooch using an applicator tool, ensuring proper alignment. Seal with a water-based sealer, avoiding the gold paint.
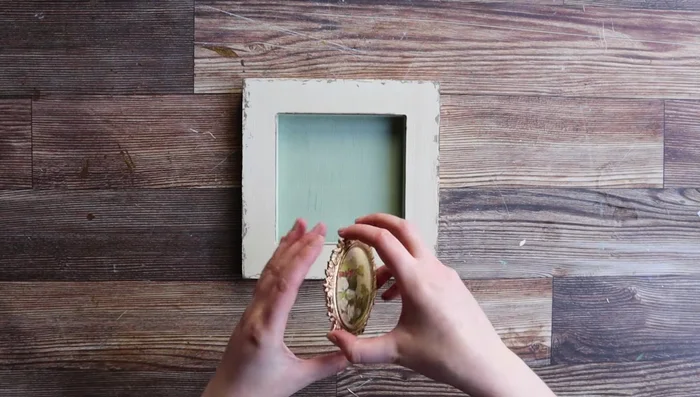
Apply the Transfer Assemble the Decor
- Apply quick-drying glue generously to the back of the brooch and attach it to the shadow box.
Assemble the Decor
Read more: DIY Wonky House Brooches: The Fastest & Easiest Method
Tips
- Consult your local stockist for paint and sealer recommendations.
- Watch the tutorial on how to make custom IOD ink colors for your project.
- Creating a set of three shadow boxes would enhance the visual appeal.