Have you ever admired the delicate sparkle of a crystal necklace, wishing you could create a similar piece yourself? Now you can! This tutorial will guide you through the process of crafting your own stunning DIY sparkling crystal necklace, a project perfect for beginners and experienced crafters alike. Whether you're looking for a unique accessory to add to your wardrobe, a thoughtful handmade gift, or simply a fun and rewarding crafting experience, this project offers a satisfying blend of creativity and simplicity. The materials are readily accessible, and the techniques are easy to follow, even for those new to jewelry making.
Forget expensive designer pieces! With a few basic supplies and a little patience, you can achieve professional-looking results. This project allows for personalization, enabling you to choose your favorite crystals, colors, and chain styles to create a truly unique necklace that reflects your personality. Let's get started with the step-by-step instructions below, and soon you'll be proudly wearing your very own sparkling creation.
Preparation and Safety Guidelines
- Crystal beads (8mm & 6mm, various colors)
- Bead wire (49 strands)
- Crimp beads
- Crimping pliers
- 20 gauge round sterling silver wire
- Polishing cloth
- Figure eight links (pre-made)
- Swan clasp
- Head pins
- 22 gauge wire (optional)
- Always supervise children when working with small parts like beads and jump rings. Choking hazards exist.
- Use pliers carefully to avoid pinching your skin or damaging the wire. Work on a flat, well-lit surface.
- If using wire that requires soldering, ensure adequate ventilation and use appropriate safety equipment (eye protection, gloves).
Step-by-Step Instructions
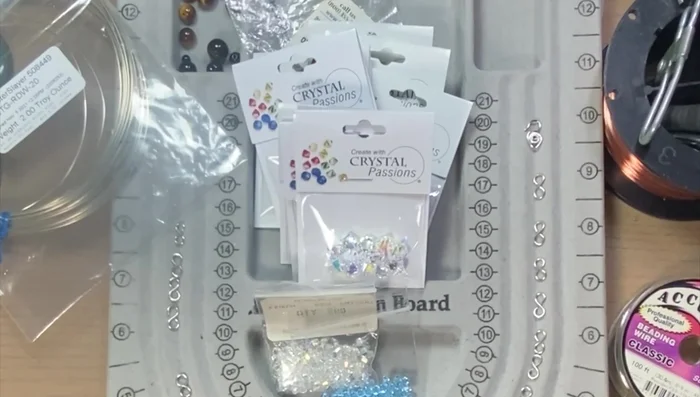
Gather Materials
- 12 each of 8mm top-drilled bicone crystals (clear with AB flash and aquamarine), 12 each of 6mm top-drilled bicone crystals (clear with AB flash and aquamarine), crimp beads, bead wire, pre-made figure eight links.

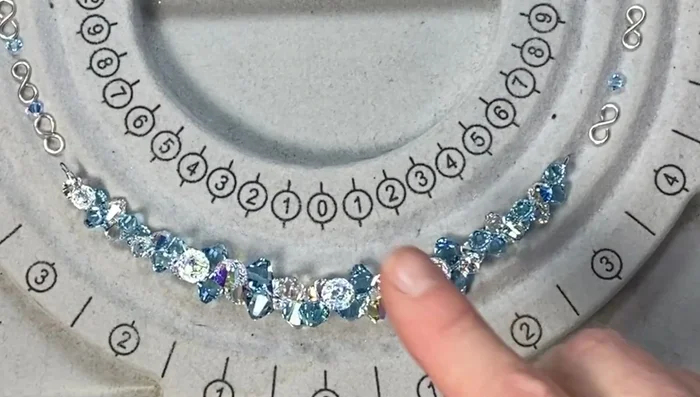
Gather Materials Prepare Beads
- Lay out the beads in an alternating pattern of two 8mm and two 6mm beads. Alternating colors (clear and aquamarine).
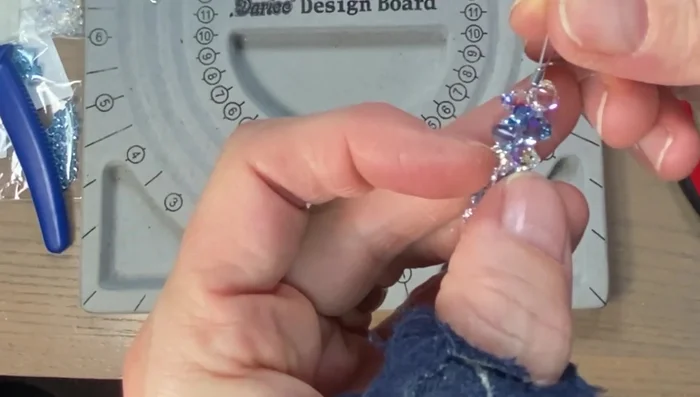
Prepare Beads String Beads
- Thread a crimp bead onto the bead wire, leaving a tail. String the prepared beads onto the wire, ensuring they lay snugly together. Alternating colors and sizes as planned.
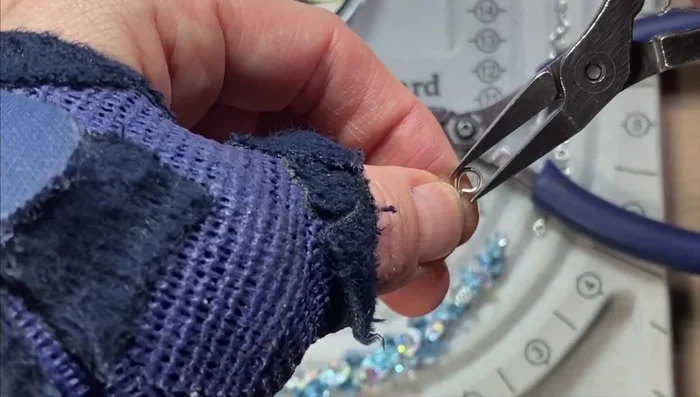
String Beads Crimp Wire
- Once all the beads are strung, thread the wire back through the crimp bead and crimp it tightly using crimping pliers.
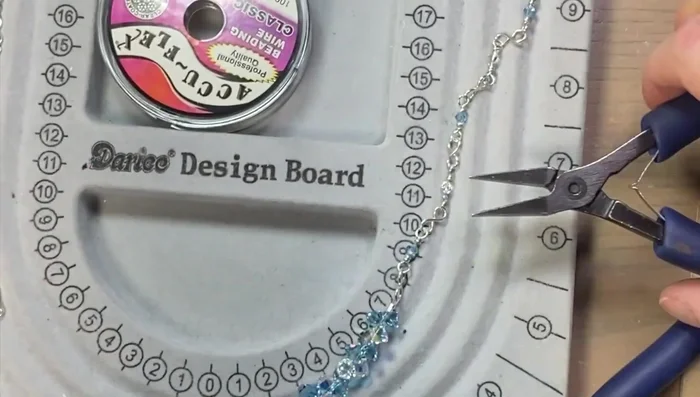
Crimp Wire Create Bead Links
- Cut 20-gauge wire into pieces. Create loops and attach 4mm crystals to make bead links, creating a total of 12.
Create Bead Links Attach Links
- Attach the bead links and figure eight links alternately along the beaded wire.
Attach Links Add Clasp
- Attach the swan clasp to one end of the necklace.
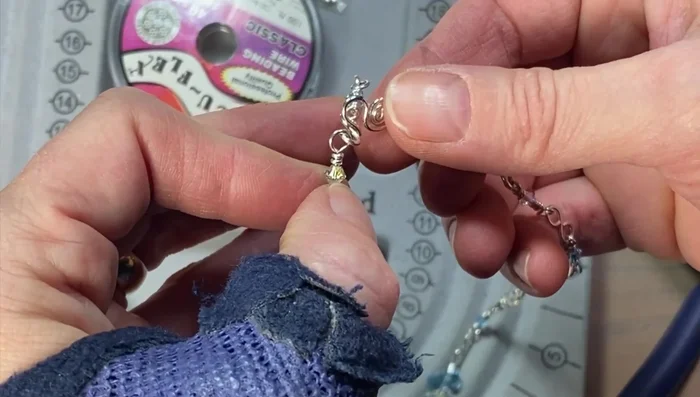
Add Clasp Finishing Touches
- Add a small wrapped loop with a crystal on the other end to complete the necklace. Trim any excess wire, and ensure all edges are smooth to prevent irritation.
Finishing Touches

Read more: Elegant Russian Spiral Necklace Tutorial: A Step-by-Step Guide
Tips
- Use sturdy bead wire and crimp beads to ensure the necklace is durable.
- Ensure beads are snug to create a cohesive look.
- Smooth out any sharp wire ends to prevent discomfort.