Rhinestone earrings are a timeless accessory, capable of elevating any outfit from casual daytime wear to dazzling evening glamour. But the price tags on designer pieces can often be surprisingly steep. Fortunately, achieving that effortlessly chic look doesn't require a hefty investment; with a little creativity and some readily available materials, you can craft your own stunning pair of rhinestone earrings at a fraction of the cost. Forget settling for mass-produced jewelry; embrace the satisfying process of creating something unique and personal. This DIY project allows you to completely customize your earrings, choosing your favorite rhinestone colours, shapes, and settings to perfectly match your style.
This step-by-step guide will walk you through the entire process, from selecting your materials to adding those final dazzling touches. Whether you're a seasoned crafting enthusiast or a complete beginner, you'll find this project surprisingly simple and immensely rewarding. Get ready to unleash your inner jewelry designer and create a pair of earrings that are as unique as you are!
Preparation and Safety Guidelines
- Rhinestones
- Imitation leather
- Earring chip tip
- Large pusher
- Curdent
- Scissors
- Scotch tape
- E7000 glue
- Felt tip
- Toothpick
- Always work in a well-lit area to avoid eye strain and ensure accurate placement of rhinestones.
- Avoid touching the adhesive with your fingers to prevent contamination and ensure a strong bond. Use a toothpick or tweezers for precise application.
- If using strong adhesives, ensure adequate ventilation and avoid contact with skin or eyes. Have a damp cloth ready to immediately wipe away any spills.
Step-by-Step Instructions
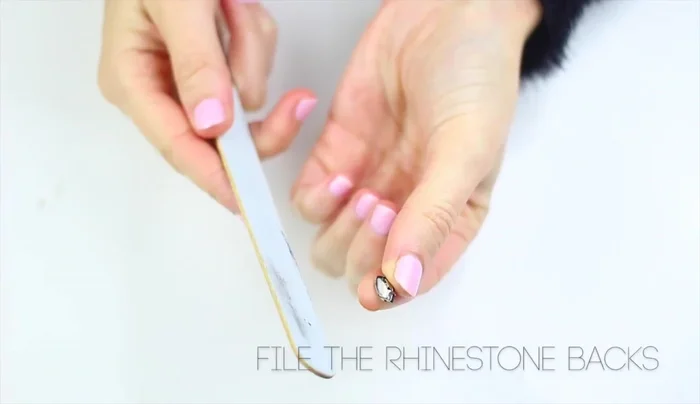
Prepare Rhinestones
- File the back of the rhinestones to improve adhesion.
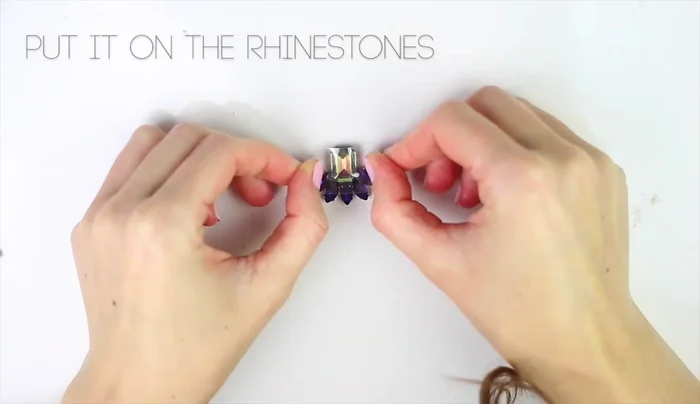
- Glue all the rhinestones together using a toothpick, being careful not to apply glue everywhere.

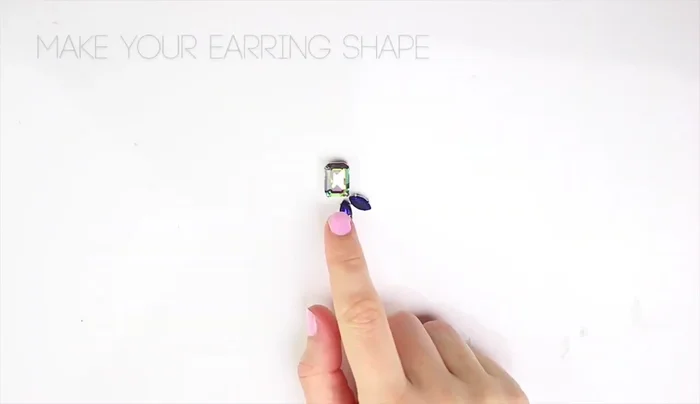
Prepare Rhinestones Design and Secure Rhinestone Layout
- Glue and position the rhinestones to create your desired design. Take a photo for reference.
- Secure the rhinestones with scotch tape, maintaining their shape.
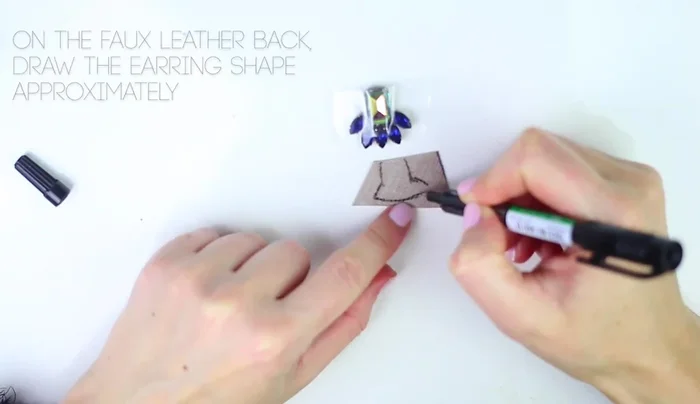
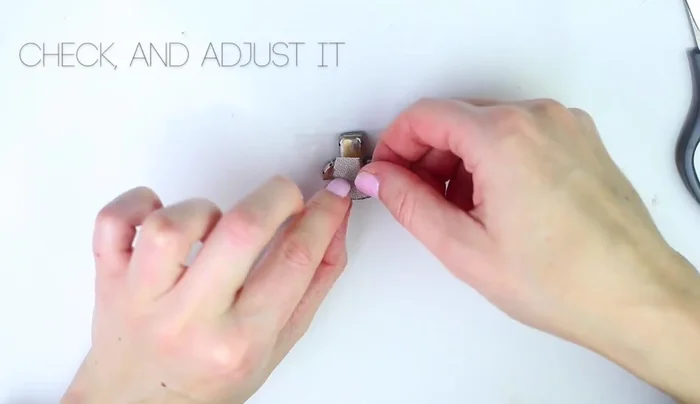
Design and Secure Rhinestone Layout Cut and Attach Leather Backing
- Transfer the rhinestone outline onto the imitation leather and cut it out.
- Check that the leather covers all rhinestones and adjust if necessary.
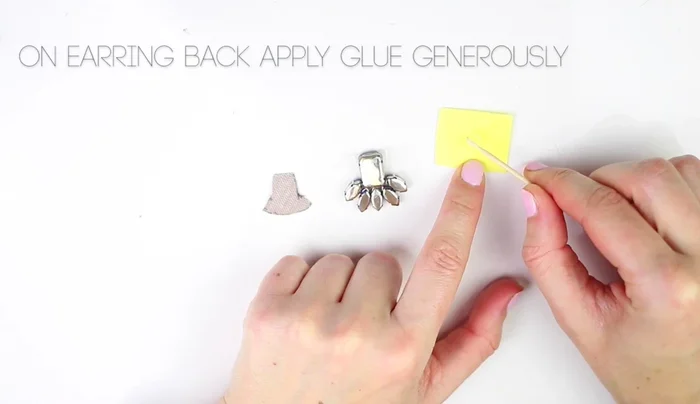
- Apply E7000 glue generously to the rhinestones and adhere the imitation leather backing.
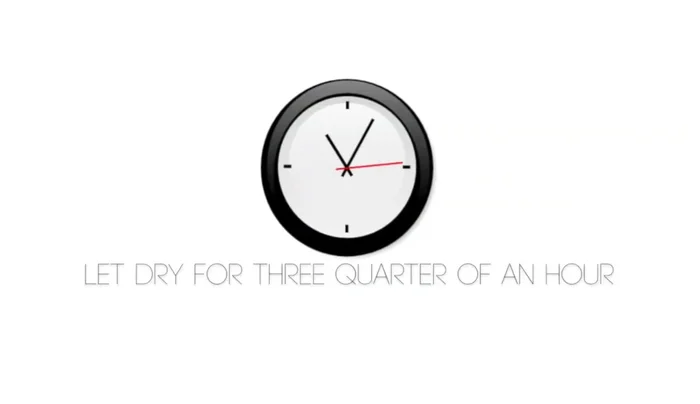
- Let it dry for 3/4 of an hour. Add glue to corners if needed.
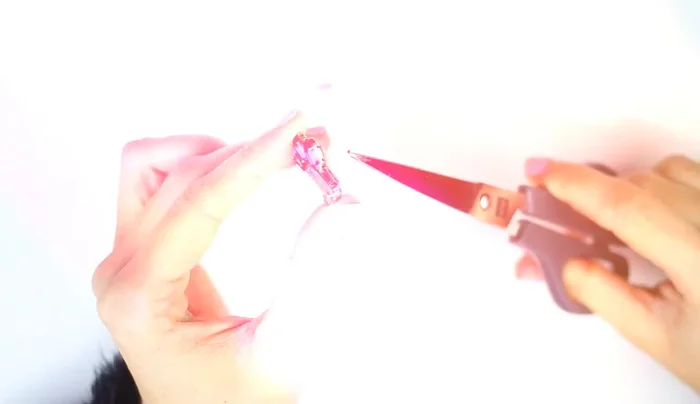
Cut and Attach Leather Backing - Hold the creation for a few minutes for adhesion. Trim excess leather.
Cut and Attach Leather Backing Attach Earring Findings
- Glue the earring chip onto the creation, positioning any pre-made loop accurately.
- Add a second loop if necessary and let it dry overnight.
Attach Earring Findings Finishing Touches
- Let it dry for an hour.
- Use a wide pusher to secure the earring backing.
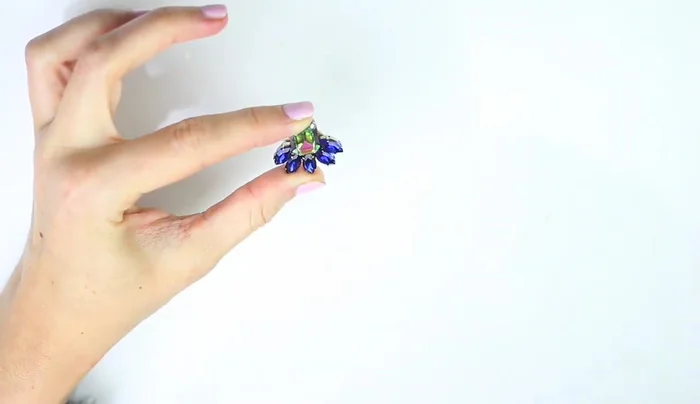
Finishing Touches


Read more: Twisted Wire Spiral Earrings: A Step-by-Step Guide
Tips
- Take a photo of the rhinestone arrangement before gluing for accurate replication.
- Use a toothpick to precisely apply glue, avoiding excess.
- Use a wide pusher for a secure backing.
- Consider wearing your earrings with a bun to showcase them better.