Rainbow dango – those delightful, colorful Japanese mochi balls – are undeniably charming. Now imagine those vibrant spheres transformed into eye-catching earrings, delicately wrapped in shimmering wire. This tutorial will guide you through the simple yet rewarding process of creating your own pair of DIY rainbow dango wire-wrapped earrings, perfect for adding a touch of whimsical elegance to your everyday style or as a unique handmade gift. Forget expensive jewelry stores and embrace the satisfaction of crafting something beautiful with your own hands.
These adorable earrings are easier to make than you might think, requiring only a few readily accessible materials. We'll walk you through each step, from preparing your dango beads to expertly securing them with wire, ensuring you achieve a professional-looking finish. Ready to get started? Let's dive into the step-by-step instructions and transform those colorful beads into stunning, wearable art!
Preparation and Safety Guidelines
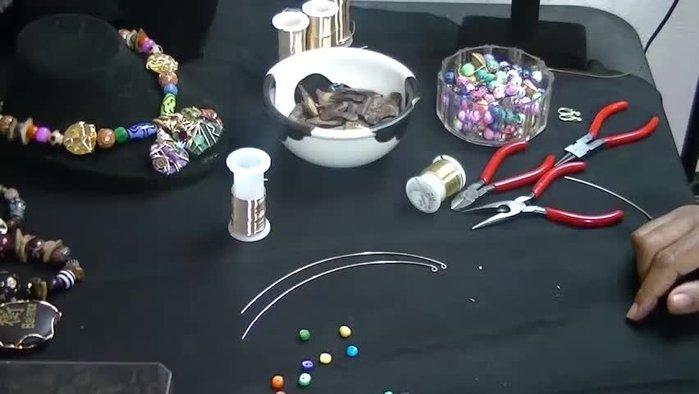
- Wire
- Beads (various colors and sizes)
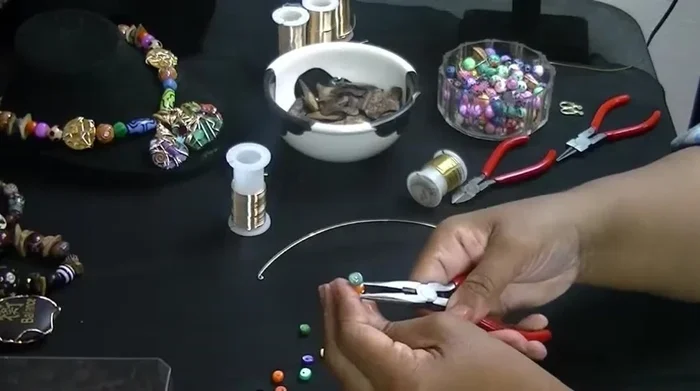
- Pliers
- Fish hooks
- Always use pliers with care to avoid pinching your skin. Work slowly and deliberately.
- Be mindful of sharp wire ends. Trim them carefully with wire cutters and file down any rough edges to prevent injury.
- Avoid wearing the earrings while sleeping or showering to prevent damage or potential irritation.
Step-by-Step Instructions
Prepare Materials
- Prepare wire and beads.

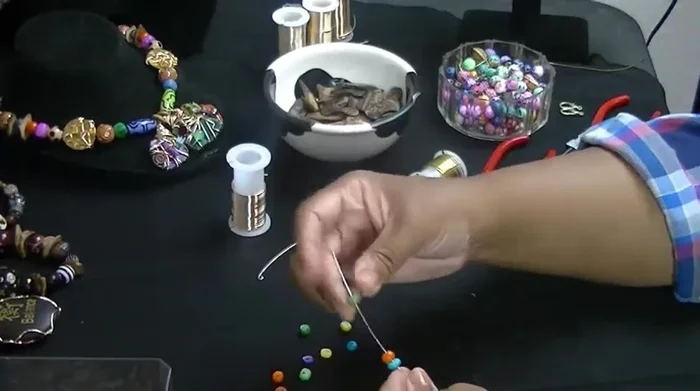
Prepare Materials Create the First Dango
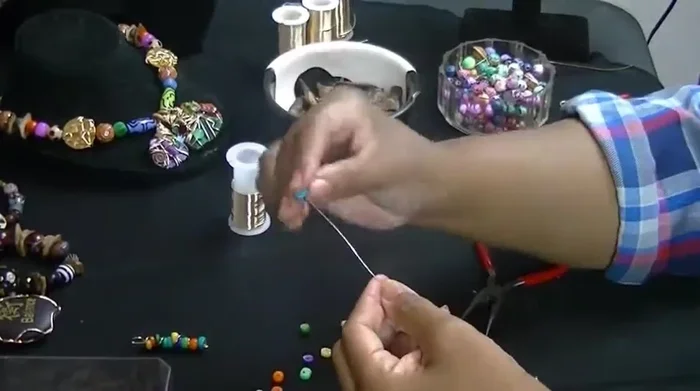
- Start stringing beads onto the wire in your desired color pattern (e.g., yellow, orange, green, blue).
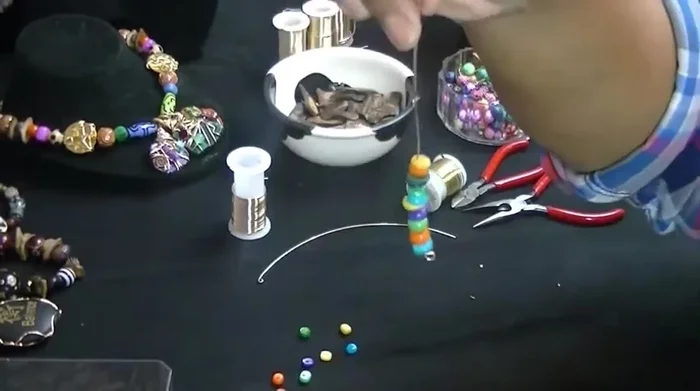
- Pinch the wire at the top of the bead stack.
- Bend the wire to create a loop.
- Pinch the wire again and twist it to secure the loop.
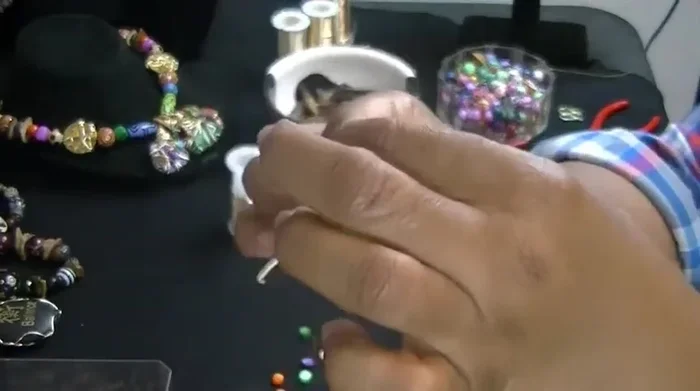
Create the First Dango - Begin twisting the wire down the bead stack.
- Close the wire around the last bead, securing all beads.
Create the First Dango Create the Second Dango
- Repeat steps 2-7 for the second earring.
Create the Second Dango Attach Earring Hooks
- Attach fish hooks to the earring wires.
Read more: Twisted Wire Spiral Earrings: A Step-by-Step Guide
Tips
- Because beads vary in size, each earring will be unique.
- If a bead doesn’t hang correctly, replace it with a different one.
- Ensure wire is tightly wrapped for a secure hold. Press with thumb or finger for extra firmness.