Embrace your inner artisan and create a stunning, personalized piece of jewelry with this comprehensive guide to crafting a DIY wrapped quartz crystal moon pendant. Quartz crystals, with their inherent beauty and purported healing properties, make a captivating centerpiece for any necklace, and wrapping them adds a touch of bohemian elegance. This project is perfect for beginners, requiring only a few simple materials and a little patience, resulting in a unique accessory you'll cherish.
Imagine the satisfaction of wearing a pendant you've handcrafted, a piece that reflects your style and carries a piece of the earth’s magic. Whether you're a seasoned crafter or a complete novice, this tutorial will walk you through each step of the process, from gathering your supplies to securing the final wrap. Let's begin creating your own mesmerizing wrapped quartz crystal moon pendant!
Preparation and Safety Guidelines
- Hand-napped Crystal Moon
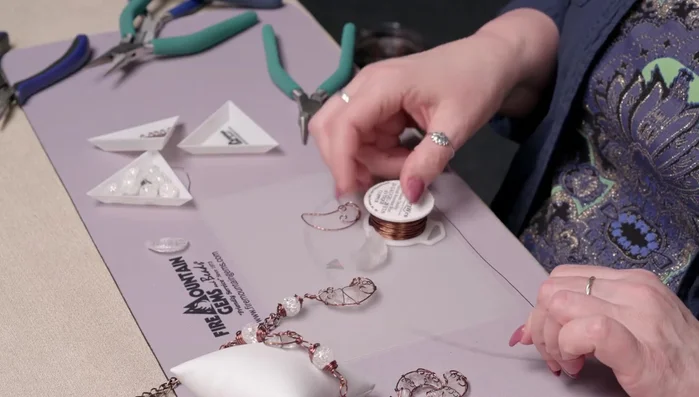
- 20 gauge wire
- 24 gauge wire
- Twisted par wire (antique copper finish)
- Round nose pliers
- Chain nose pliers
- Always wash your hands thoroughly before and after handling crystals to avoid transferring oils or dirt that could dull their shine or affect their energy.
- Use caution when working with wire or sharp tools. Always cut away from yourself and use appropriate safety measures.
- Certain crystals are more fragile than others. Handle your quartz crystal gently to prevent chipping or breakage during the wrapping process.
Step-by-Step Instructions
Prepare the Wire Frame
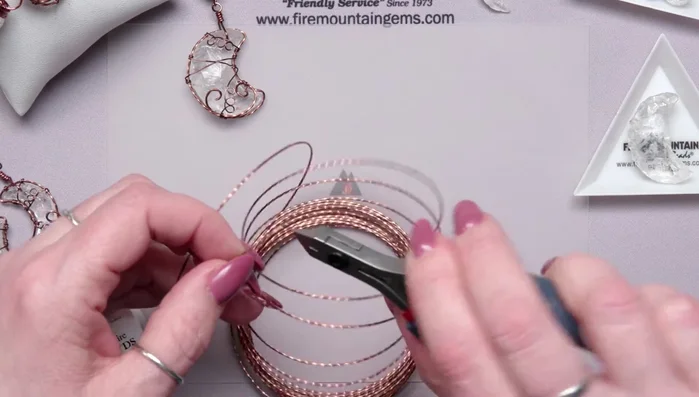
- Cut a piece of twisted wire long enough to go around the moon with extra tails.
- Gently curve the twisted wire around the moon, following its shape without using tools.
- Bend the wire at the tips and massage it to follow the moon's curve.

Prepare the Wire Frame Secure the Wire Frame
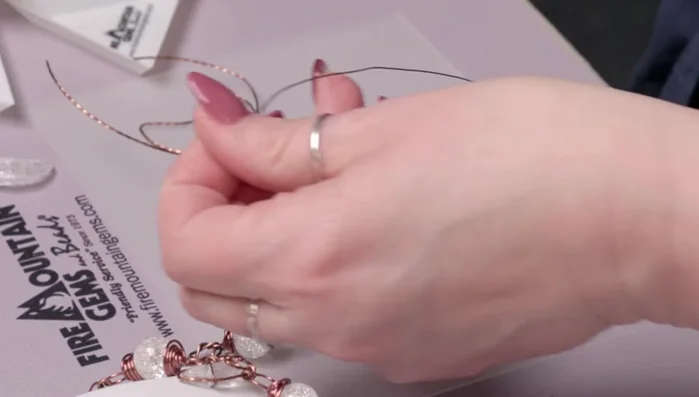
- Wrap 24 gauge wire around the juncture where the twisted wire tails cross to secure them.
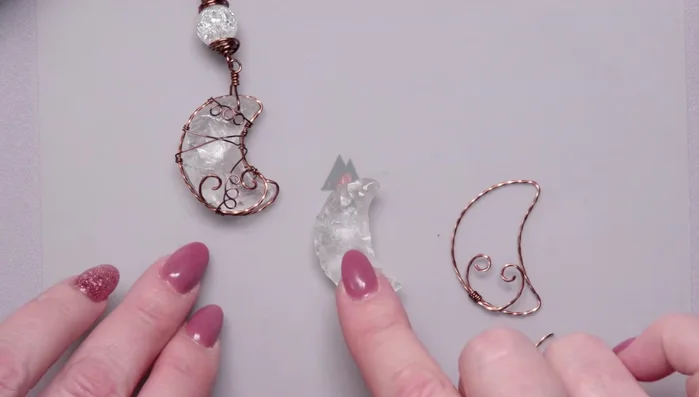
- Use round nose pliers to create small curly cues on the twisted wire tails.
Secure the Wire Frame Attach the Moon to the Frame
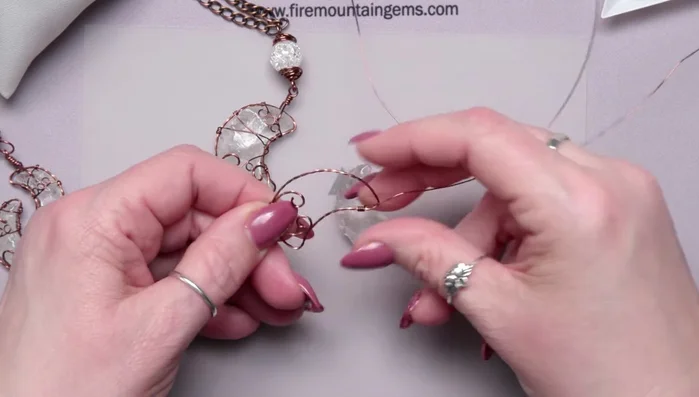
- Secure the moon to the frame using 24 gauge wire, wrapping back and forth around the front and back.
- Add more small curly cues for accents using the 24 gauge wire.
- Adjust the moon's position within the frame and continue wrapping the 24 gauge wire to secure it.
- Create loops in the 24 gauge wire using round nose pliers to add detail.
Attach the Moon to the Frame - Continue wrapping the 24 gauge wire around the moon and frame, creating a secure cage.
- Wrap the remaining wire around the frame, creating additional detail and securing the design.
Create the Hanger
- Create a hanger for the moon using 20 gauge wire, forming a triangle shape and securing it with wraps.
- Make a wrapped loop at the top of the hanger and bring it down to meet the moon, creating a secure and decorative finish.
Create the Hanger


Read more: Elegant Russian Spiral Necklace Tutorial: A Step-by-Step Guide
Tips
- When wrapping wire, push the wire through the frame instead of threading the end through to prevent kinks.
- Always scrunch your wraps together and tuck in the tails after snipping them.
- Use your fingers and pliers to gently massage and shape the wire to follow the contours of the moon.
- Leave enough space between wraps to make adjustments as you go.
- Round out the wire ends to prevent kinking and make it easier to work with.