Peruvian opals, with their mesmerizing play of color and ethereal beauty, are a captivating gemstone. Their vibrant hues, ranging from fiery oranges and greens to deep blues and purples, make them a truly unique choice for jewelry. Crafting a necklace featuring these stunning stones allows you to create a piece that is both beautiful and deeply personal, reflecting your individual style and showcasing the raw, natural beauty of the opal. This DIY project offers a satisfying way to engage with the creative process and end up with a one-of-a-kind accessory.
This guide will take you through each step of creating a stunning Peruvian opal wire-wrapped necklace, perfect for adding a touch of bohemian elegance to any outfit. From selecting the right opals and wire to mastering the basic wire-wrapping techniques, we'll cover everything you need to know to confidently craft your own unique piece. Let's begin our step-by-step journey into the world of wire-wrapped jewelry making!
Preparation and Safety Guidelines
- Peruvian opal beads
- silver-plated chain
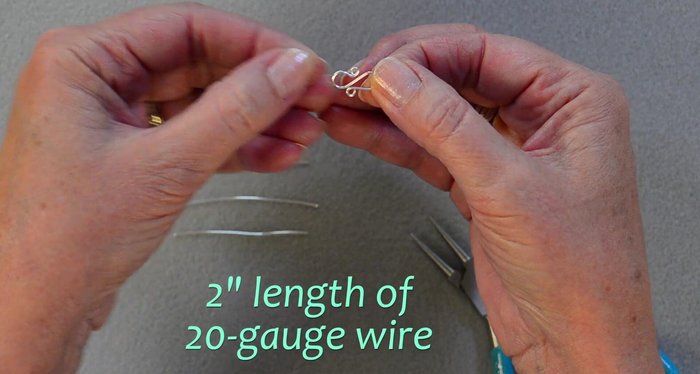
- silver-plated wire (20 gauge & 24 gauge)
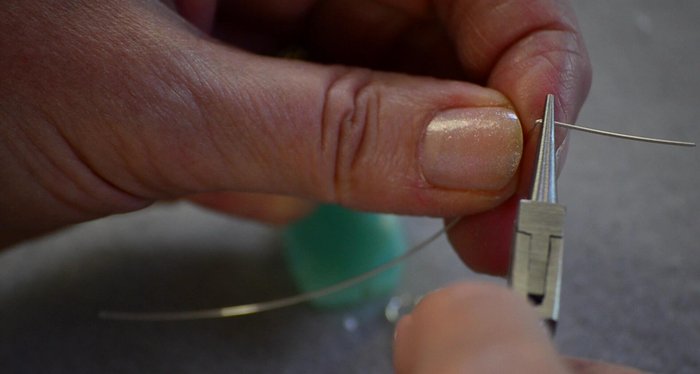
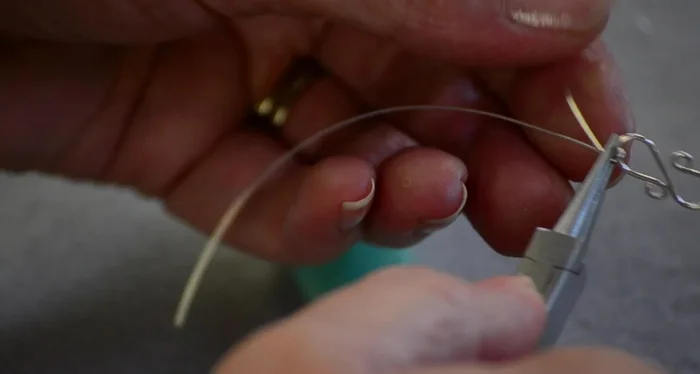
- round nose pliers
- chain nose pliers
- wire cutters
- Peruvian Opals are fragile. Handle them gently to avoid chipping or cracking. Always use soft-tipped pliers when working with them.
- Wire can be sharp. Use caution when handling and cutting wire to avoid injury. Consider wearing gloves.
- Always clean your workspace before and after crafting. Small opal fragments can be easily lost and present a choking hazard.
Step-by-Step Instructions
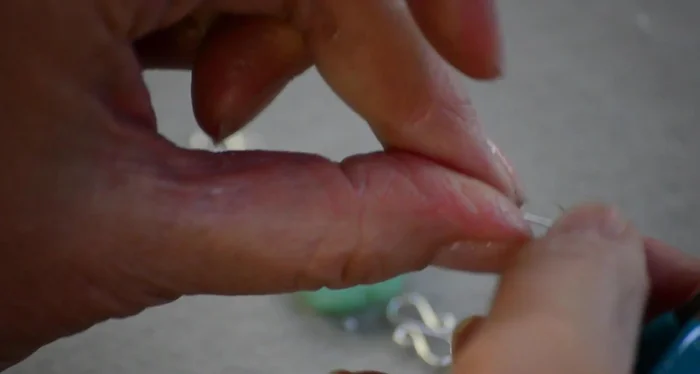
Create S Connectors
- small loop, large loop, large loop (opposite direction), small loop.

Create S Connectors Assemble First Bead
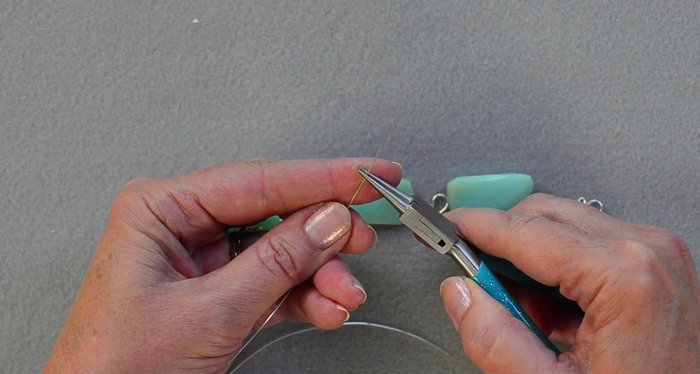
- Create a small loop at one end of a piece of 24-gauge wire.
- Slide an 'S' connector into the loop.
- Wrap the wire around the loop twice to secure the 'S' connector. Trim excess wire.
- Slide a bead onto the wire.
Assemble First Bead - Create another wrapped loop above the bead, securing it with two wraps. Trim excess wire.
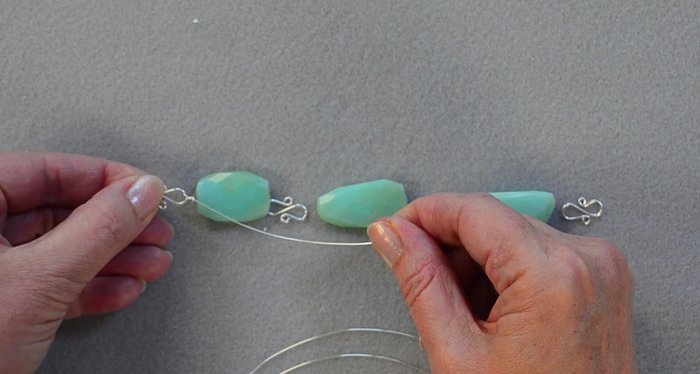
Assemble First Bead Assemble Remaining Beads
- Repeat steps 2-6 for each bead, connecting them with 'S' connectors.
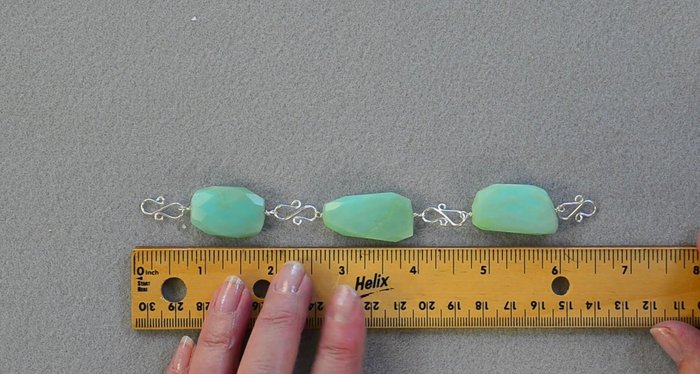
Assemble Remaining Beads Prepare Chain
- Measure the length of the completed beaded section. Cut a length of chain to achieve your desired necklace length (approximately 18 inches).
Prepare Chain Attach Chain and Finish
- Attach the chain to the ends of the beaded section by sliding the chain links through the 'S' connectors. No clasp is needed due to the chain's design.
Attach Chain and Finish


Read more: Elegant Russian Spiral Necklace Tutorial: A Step-by-Step Guide
Tips
- Over-rotate loops slightly if the wire is too long; trim the excess afterward.
- Use chain nose pliers to flatten and align the 'S' connectors.
- Don't close the loop completely before attaching the 'S' connector or chain.