Pearls, timeless symbols of elegance and sophistication, effortlessly elevate any outfit. While designer pearl earrings can carry a hefty price tag, achieving a similar luxurious look is surprisingly simple and affordable with a bit of DIY magic. This tutorial demonstrates how you can create stunning, elegant pearl hoop earrings yourself, transforming inexpensive materials into exquisite jewelry pieces perfect for everyday wear or special occasions. Forget spending a fortune on high-end accessories – unleash your inner artisan and create bespoke earrings that reflect your unique style.
This step-by-step guide will walk you through the entire process, from gathering the necessary materials to securing the final elegant touches. Whether you're a seasoned crafter or a complete beginner, you'll find this project surprisingly accessible and incredibly rewarding. Prepare to be amazed by how easily you can craft these beautiful earrings, adding a touch of understated glamour to your jewelry collection without breaking the bank. Let's get started!
Preparation and Safety Guidelines
- pull chain
- pearls
- pins
- pliers
- hoop earrings
- Always supervise children if they are involved in any part of the crafting process. Small beads and components present a choking hazard.
- Be mindful of sharp objects like wire cutters or jewelry pliers. Use caution to avoid cuts and injuries.
- If using glue, ensure adequate ventilation and follow the manufacturer's instructions carefully. Some glues can be irritating to skin or eyes.
Step-by-Step Instructions
Prepare Pearl Chains
- Cut pull chains into increasing lengths (1-4 pearls)
- one with 1 pearl, one with 2, one with 3, and one with 4 pearls.
- Attach pearls to the pull chains using pins and pliers.
- Cut off excess pin after attaching pearls.

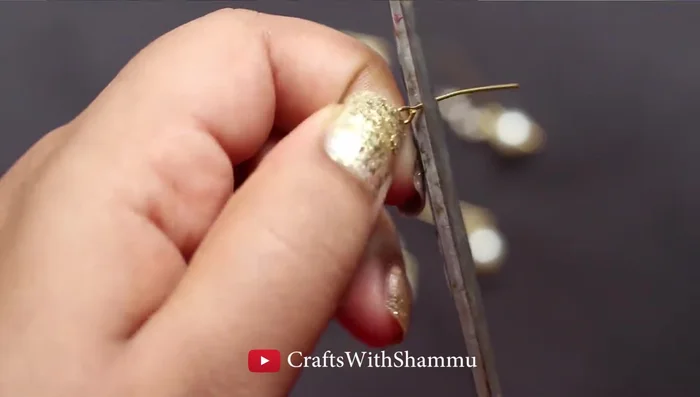
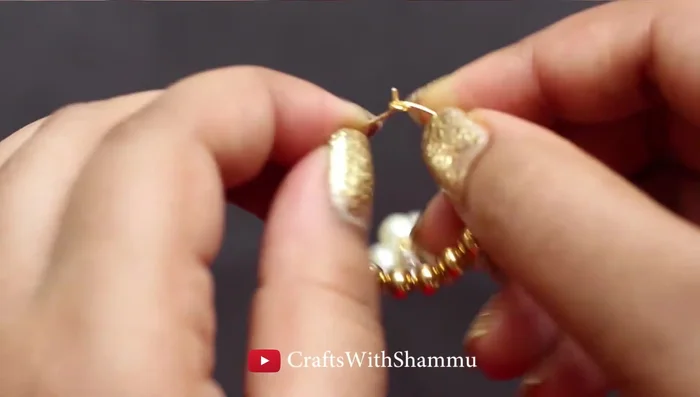
Prepare Pearl Chains Prepare the Hoops
- Bend the ends of the hoop earrings straight to insert beads.
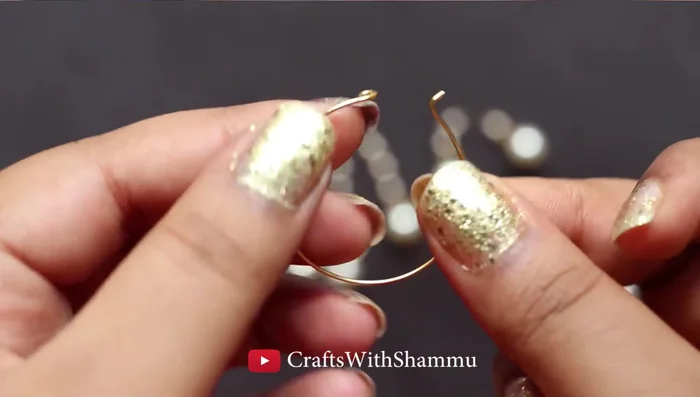
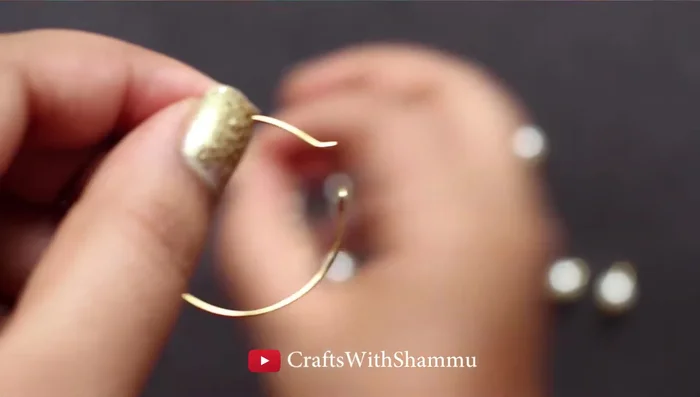
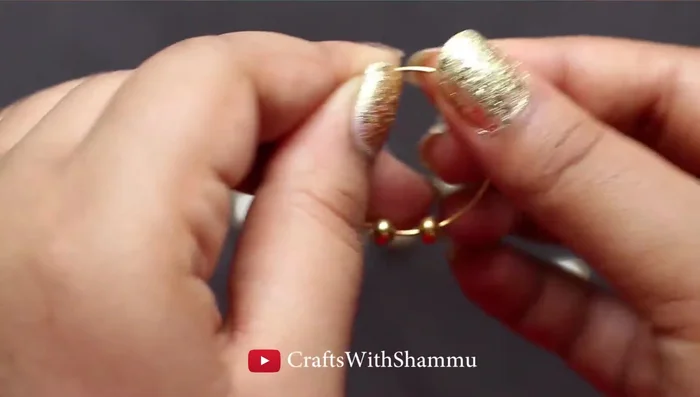
Prepare the Hoops Assemble the Earrings
- Insert two ball beads into the hoop.
- Insert the pearl chains into the hoop in increasing order (1, 2, 3, 4 pearls), then decreasing order .
- Add two gold beads at the end.
- Bend the end of the hoop back to its original position.
Assemble the Earrings
Read more: Twisted Wire Spiral Earrings: A Step-by-Step Guide
Tips
- N/A