Anniversaries call for special celebrations, and what better way to commemorate your love than with a unique, handcrafted gift? This year, skip the generic presents and create a stunning DIY paper flower resin pendant – a beautiful and personalized keepsake that will be treasured for years to come. The delicate beauty of pressed flowers encased in shimmering resin creates a truly captivating piece, perfect for showcasing your creativity and affection. This elegant pendant is surprisingly easy to make, even for beginners.
This detailed guide will walk you through each step of the process, from preparing your paper flowers to achieving a flawlessly smooth resin finish. We'll cover material selection, essential tools, and helpful tips to ensure your pendant turns out perfectly. Get ready to embark on this rewarding crafting journey and discover how to create a truly unforgettable anniversary gift – let's dive into the step-by-step instructions!
Preparation and Safety Guidelines
- Paper
- Forceps
- Super Glue
- Mod Podge
- Casting Resin
- Drill
- Forstner Bit
- Oak Wood
- C Clamps
- Packing Tape
- Heat Gun
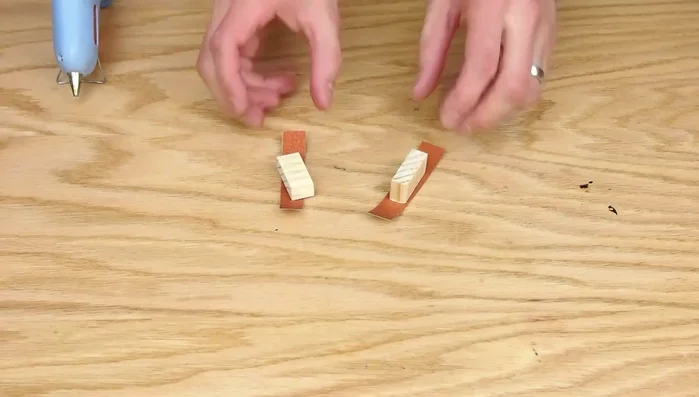
- Sandpaper
- Hot Glue
- Sanding Blocks
- Shellac
- Fancy String
- Jewelry Clasps
- Memory Wire
- Pliers
- Always work in a well-ventilated area when using resin. Resin fumes can be harmful.
- Wear gloves and eye protection throughout the entire process to prevent skin and eye irritation from resin and its components.
- Use a heat-resistant surface and avoid contact with flammable materials while curing the resin, as it can generate heat.
Step-by-Step Instructions
Prepare the Paper Flower
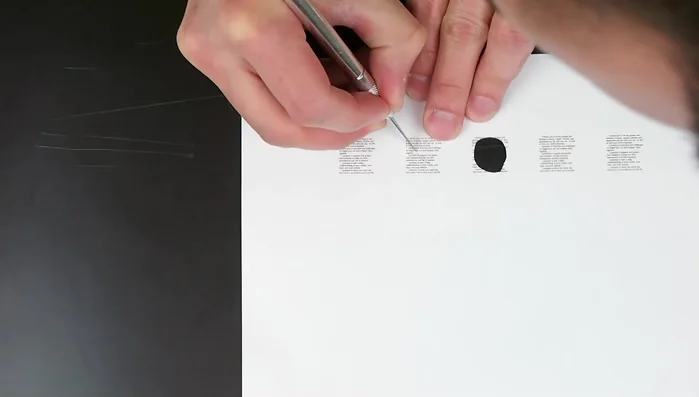
- Print wedding vows on paper (four copies for safety).
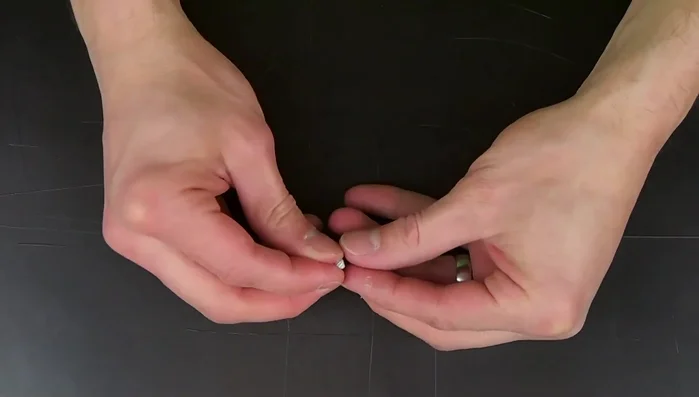
- Cut a spiral into one copy of the vows and twist it around forceps to form a tight coil.
- Unwind the coil slightly and shape the paper into a flower, rounding the edges to resemble petals.
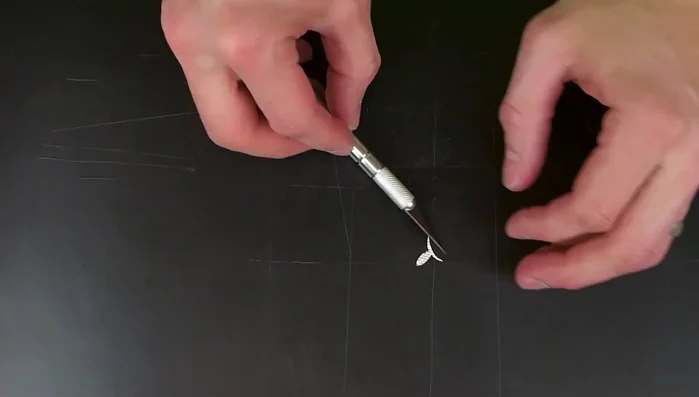
- Cut a stem and leaf from another copy of the vows.

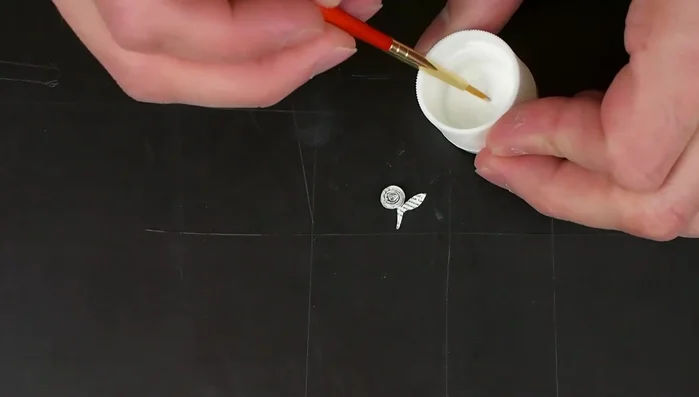
Prepare the Paper Flower - Glue the stem to the back of the flower using super glue.
- Seal the paper flower with Mod Podge to prevent staining during resin embedding (apply about four coats).
Prepare the Paper Flower Create the Resin Mold
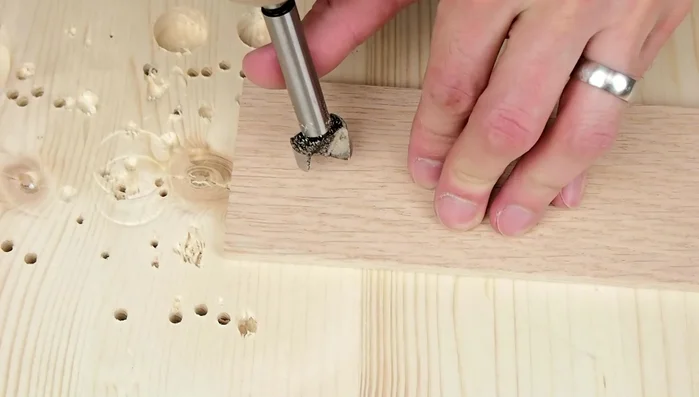
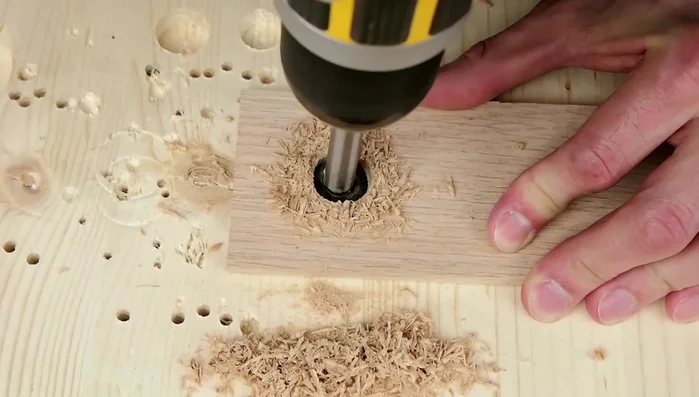
- Drill a 3/4 inch hole in a 1/4 inch piece of oak wood (drill from both sides to prevent tear-out).
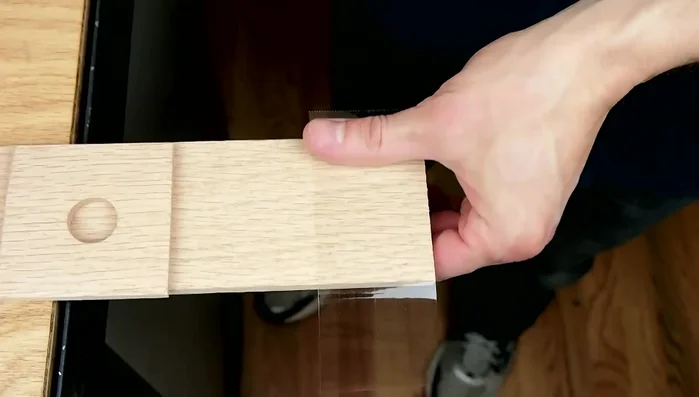
- Cut the oak wood into a square.
- Use the remaining oak wood as a temporary backing, secure it with packing tape to the main piece of oak wood.
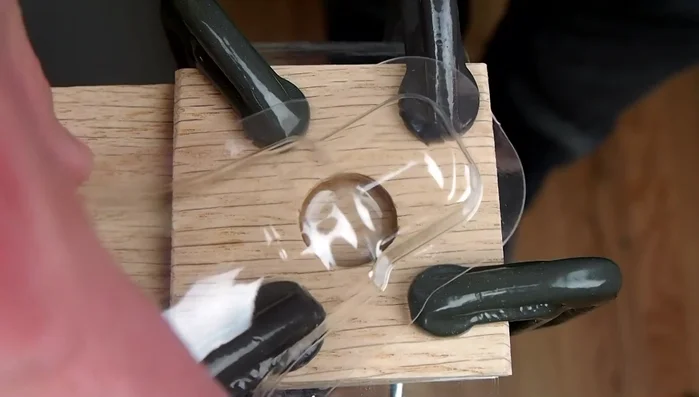
- Clamp the two pieces of wood together to form a mold.
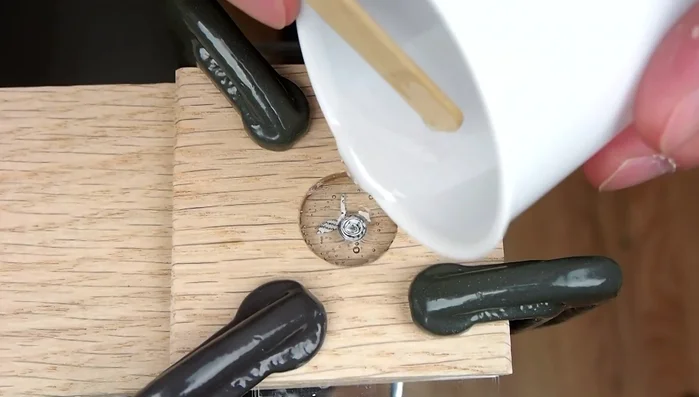
Create the Resin Mold Pour and Cure the Resin
- Mix equal parts resin and hardener, pour a thin layer into the mold, and use a heat gun to remove bubbles.
- Let the first layer harden slightly, then carefully place the paper flower into the mold.
- Pour another layer of resin into the mold, use a heat gun and toothpick to remove bubbles.
- Let the resin harden completely for 48 hours.
Pour and Cure the Resin Sand and Finish the Pendant
- Separate the two pieces of wood and carefully sand the excess resin and wood smooth using sanding blocks and sandpaper.
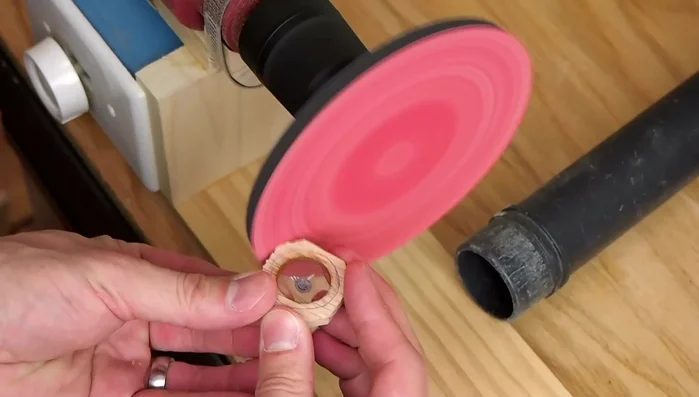
- Sand the wood to its final shape using a sanding disc attached to a drill lathe.
- Sand the sides and edges of the wood round, apply several coats of shellac.
Sand and Finish the Pendant Assemble the Necklace
- Make a necklace from fancy string and jewelry clasps. Attach the pendant to the necklace using memory wire.
Assemble the Necklace


Read more: Elegant Russian Spiral Necklace Tutorial: A Step-by-Step Guide
Tips
- Use multiple copies of your vows to ensure you have enough material in case of mistakes.
- Seal the edges of the hole in the wood with Mod Podge before pouring resin to prevent bubbles.
- Be very careful when sanding the resin to avoid scratching it.