Ever wanted to add a touch of quirky charm to your jewelry collection? Then get ready to dive into the wonderfully whimsical world of DIY onion-shaped earrings! This tutorial will guide you through the surprisingly simple process of crafting these unique and eye-catching pieces, using readily available materials and a few clever techniques. Forget expensive, mass-produced accessories; with a little creativity and the right tools, you can create a pair of statement earrings that perfectly reflect your personal style. We'll be focusing on techniques easily achievable with common crafting supplies, making this project accessible to both seasoned crafters and enthusiastic beginners alike.
This Pepe Tools tutorial will show you how easy it is to transform ordinary materials into extraordinary earrings. Prepare to be amazed as we take you step-by-step through the process, from shaping the perfect onion form to adding the finishing touches that will make your handmade earrings truly shine. Let's get started on creating these adorable and surprisingly easy onion-shaped earrings!
Preparation and Safety Guidelines
- Pepe Tools Superior Ring Bender
- 20mm round peg
- 60-degree triangular/diamond shaped peg
- Ear wires
- 3mm beads
- Dangles
- 3 inches of 20 gauge wire
- 1 1/4 inches of 20 gauge wire
- Wire cutters
- Round nose pliers
- Needle nose pliers
- Wrap and tap bail making pliers
- Vise
- Always use safety glasses when working with sharp tools like wire cutters or jewelry pliers. Flying debris can cause eye injuries.
- Be mindful of sharp wire ends. Trim them carefully and potentially blunt them with pliers to prevent accidental pokes or scratches.
- If using epoxy resin, work in a well-ventilated area and avoid skin contact. Follow the resin manufacturer's safety instructions carefully.
Step-by-Step Instructions
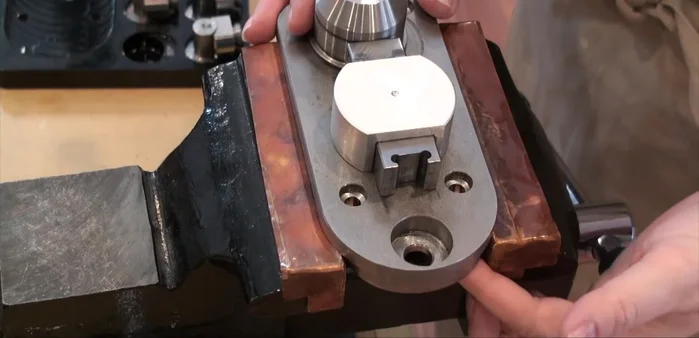
Prepare the Ring Bender
- Set up the ring bender in your vise.
- Install the 60-degree diamond bit into the ring bender.

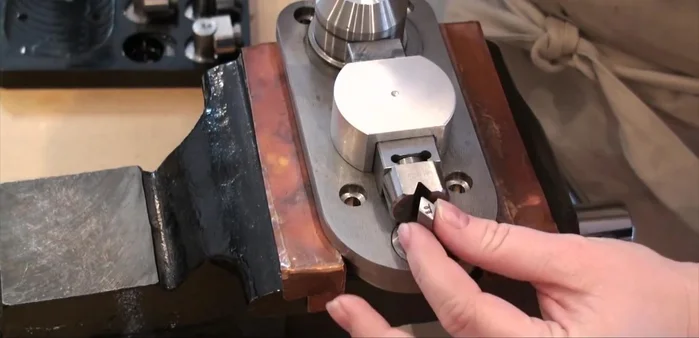
Prepare the Ring Bender Bend the Earring Wire
- Bend the 3-inch wire to create the earring shape using the ring bender and diamond bit. Flip the wire and repeat to ensure a uniform bend.
- Repeat steps 2 and 3 for the second earring.
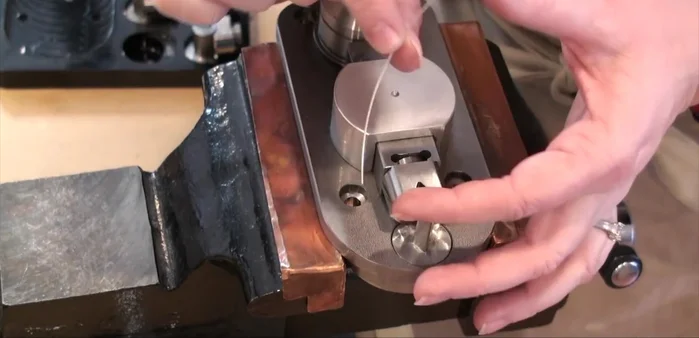
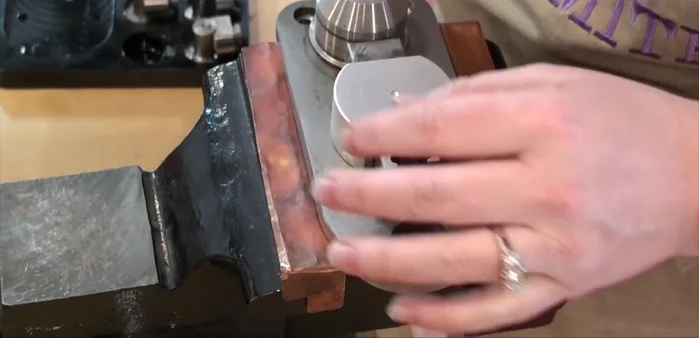
Bend the Earring Wire Refine Earring Shape
- Swap out the diamond bit for the 20mm round peg in the ring bender.
- Shape the earring further using the round peg, ensuring the wire is properly aligned before tightening.
Refine Earring Shape Add Embellishments
- Add beads and dangles to the earring.
Prepare the Earring Wires
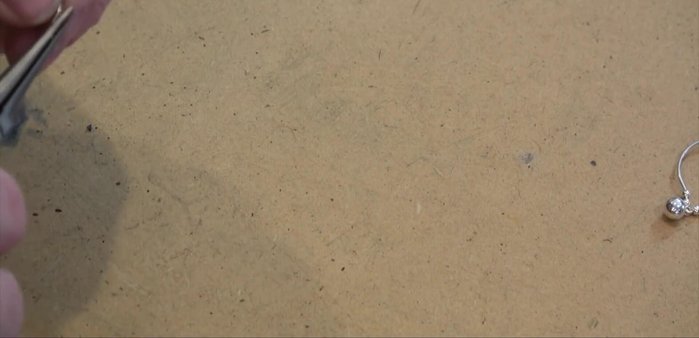
- Trim and even out the wire lengths of both earrings.
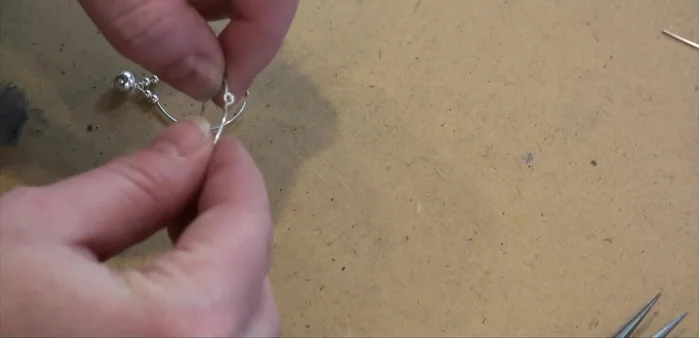
- Create small loops at the top of each earring using round nose pliers.
- Adjust the loops to ensure they sit properly for the ear wire attachment.
Prepare the Earring Wires Create Ear Wires
- Create the ear wire loop using the 1 1/4 inch wire and round nose pliers, filing down one end for comfort.
Assemble and Finish
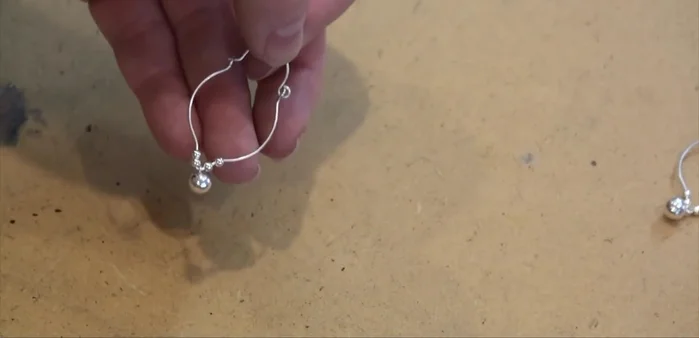
- Attach the ear wires to the earrings by opening the ear wire loops, inserting the earring loops and closing the ear wire loops.
- Finesse the earring and ear wire connections to ensure a secure and comfortable fit.
Assemble and Finish
Read more: Twisted Wire Spiral Earrings: A Step-by-Step Guide
Tips
- Don't squeeze the wire too hard in the ring bender to avoid damaging it.
- Adding decorations before fully shaping the earring may be difficult later unless the holes are large enough.
- Take your time to make the loops look nice – this will set your work apart.
- File down the ends of the ear wires to create comfortable and safe jewelry.
- Adjust the angle of the ear wire attachment for a secure fit.