Earrings are a fantastic way to express your personal style, and creating your own offers a unique level of satisfaction and customization. Forget expensive jewelry stores and embrace the joy of DIY! This tutorial will guide you through the exciting process of making stunning, multi-layered colorful earrings, perfect for adding a pop of personality to any outfit. Whether you're a seasoned crafter or a complete beginner, you'll be surprised at how easy it is to achieve professional-looking results with readily available materials.
This step-by-step guide will walk you through each stage of creation, from selecting your favorite beads and findings to assembling your masterpiece. Prepare to unleash your creativity and explore a world of vibrant color combinations and unique designs. Get ready to be amazed by how simple it is to craft these eye-catching earrings, and soon you'll be proudly wearing your handcrafted jewelry creations.
Preparation and Safety Guidelines
- 110 seed beads (yellow, orange, black, green)
- Earring findings (old gold color)
- Nymo nylon thread (size D, 0.2mm)
- Size 10 beading needle
- Scissors
- Always supervise children if they are participating in any crafting activities involving small parts like beads or jump rings, to prevent choking hazards.
- When using wire or jewelry tools, be mindful of sharp edges and points. Handle with care to avoid cuts or injuries.
- If working with resin, ensure adequate ventilation and follow the manufacturer's instructions carefully. Some resins can release fumes that are harmful if inhaled.
Step-by-Step Instructions
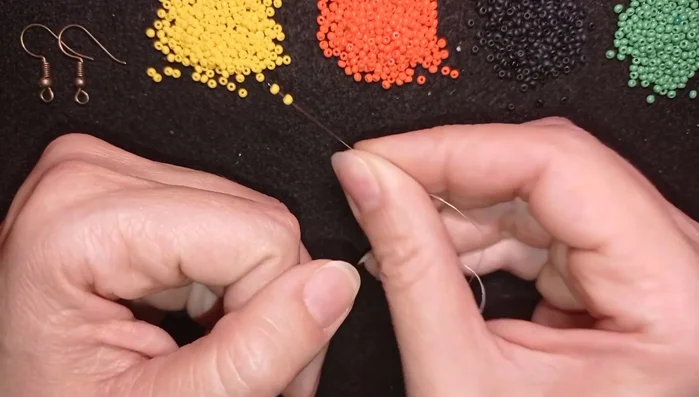
Prepare Materials and Initial Knot
- Prepare thread and pick up 8 yellow beads. Make a knot by looping the thread twice and pulling tight.

Prepare Materials and Initial Knot Create First Layer (Yellow and Black)
- Create the first layer by adding three black beads, then going back through a yellow bead to form a loop. Repeat this pattern, adding two yellow beads between each set of three black beads.
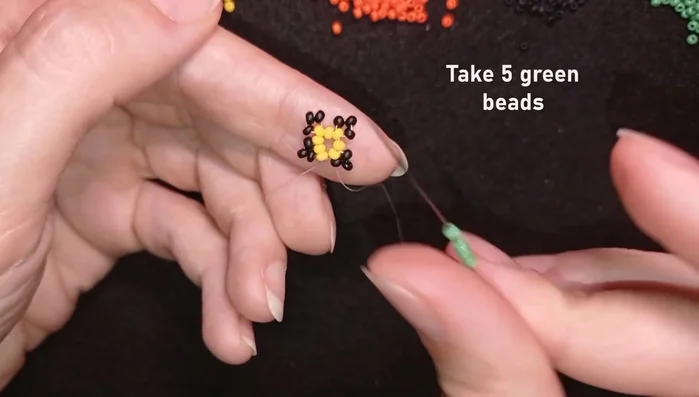
Add Second Layer (Green and Black)
- Add five green beads, skipping one bead and going through the following black bead. Repeat this pattern, adding two black beads between each set of five green beads.
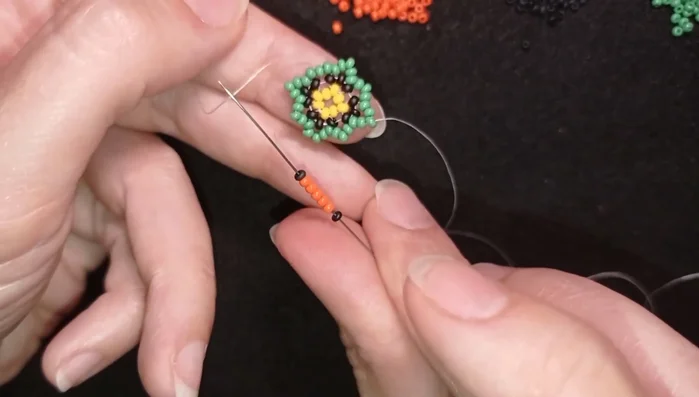
Add Second Layer (Green and Black) Add Third Layer (Orange and Black)
- Add a sequence of black, five orange beads, and black. Go back through a green bead and then through the next black bead. Repeat this pattern.
- Continue adding the black, five orange beads, and black sequence, always going back through the middle bead of the previous row. Pull the thread tight and secure.
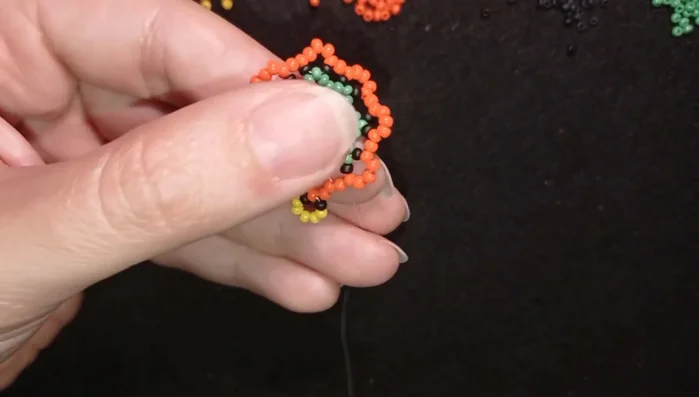
Add Third Layer (Orange and Black) Enhance Orange Layer
- Go through all the orange beads in one direction, then flip the work and add one orange bead between each set of orange beads, forming a continuous row.
Enhance Orange Layer Add Fourth Layer (Yellow and Black)
- Add a sequence of black, five yellow beads, and black. Repeat the process of going through beads in different directions, adding beads to create rows around the main structure.
Create Inner Angle Details
- Create the inner angle elements by adding black, yellow, black sequences. Repeat this process for both inner and outer angles, creating a pattern.
Create Inner Angle Details Complete Final Layer
- Fill in the gaps with single yellow beads to complete the final layer.
Complete Final Layer Attach Earring Findings
- Attach earring findings by threading a black bead, the finding, and another black bead. Secure with a knot.


Read more: Twisted Wire Spiral Earrings: A Step-by-Step Guide
Tips
- You can use any bead colors of your choice and 10/0 seed beads instead of 11/0.
- Tighten your work frequently to ensure everything is secure.
- You can flip your work to make it more comfortable to work in your preferred direction.
- Skip a bead when adding new rows to streamline the process.
- Reinforce the edges by going over the beads multiple times to make it stronger.