Are you ready to transform your old, forgotten beads into stunning, minimalist jewelry? This tutorial guides you through creating delicate necklaces and earrings perfect for everyday wear, showcasing the beauty of upcycling and the charm of petite accessories. Forget expensive jewelry stores; with a little creativity and these easy-to-follow instructions, you can craft unique pieces that reflect your personal style without breaking the bank or harming the environment. We'll be focusing on a minimalist aesthetic, emphasizing clean lines and subtle elegance. Think delicate chains, sparingly used beads, and a focus on showcasing the unique qualities of each individual piece.
This DIY project is perfect for beginners and seasoned crafters alike, offering a satisfying and sustainable way to express your creativity. Whether you have a collection of antique beads or just a few leftover from past projects, this tutorial will help you unlock their potential. Let's dive into the step-by-step process and start crafting your own beautiful, minimalist jewelry!
Preparation and Safety Guidelines
- 4 mm jump rings
- flat nose pliers
- chain nose pliers
- 49 strand beadalon wire
- crimp beads (1.3 mm)
- clamshell bead tip connectors
- lobster clasp
- head pins
- eye pins
- round nose pliers
- Always supervise children if they are participating in any crafting activities involving small beads or jewelry findings, to prevent choking hazards.
- Avoid using beads or findings with sharp edges or points, as these can cause injury. Sand down any rough edges before use.
- If you have any allergies to specific materials (e.g., metals, certain types of beads), ensure you use hypoallergenic alternatives to avoid skin irritation or reactions.
Step-by-Step Instructions
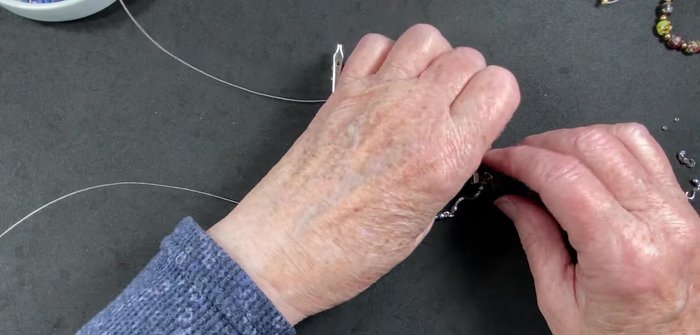
Gather Materials
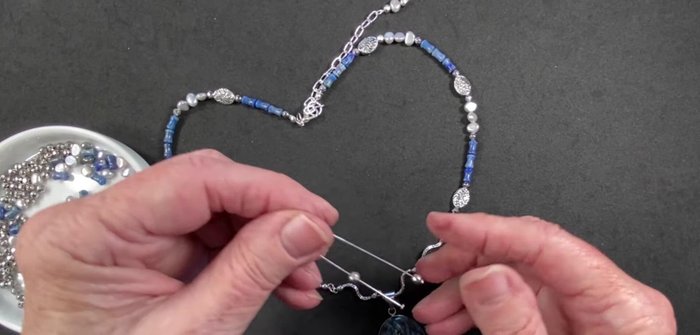
- silver beads, necklace with blue beads, gray iridescent pearls, blue sodalite bone-shaped beads, oval metal beads, unusual connectors, jump rings.

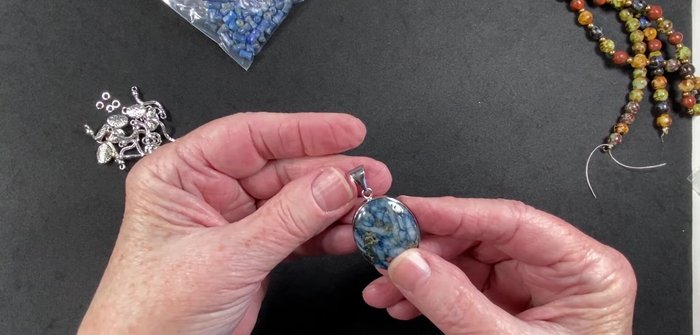
Gather Materials Create Pendant Focal Point
- Connect the unusual connectors with 4 mm jump rings to form the pendant's focal point.
- Attach the pendant focal point to the existing pendant bale using jump rings.
Create Pendant Focal Point Prepare Necklace Wires
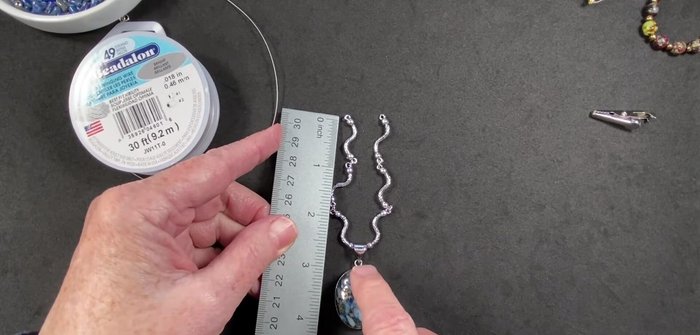
- Prepare 9-inch lengths of 49 strand beadalon wire for each side of the necklace.
- Attach one end of each wire to a clamshell bead tip using crimp beads. Secure the crimp bead by crimping it with pliers.
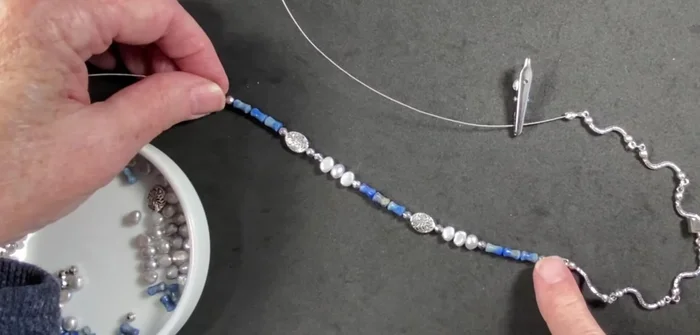
Prepare Necklace Wires String Necklace Beads
- silver beads, sodalite beads, pearls, and oval beads. The video demonstrates a specific pattern, but you can adjust to your preference.
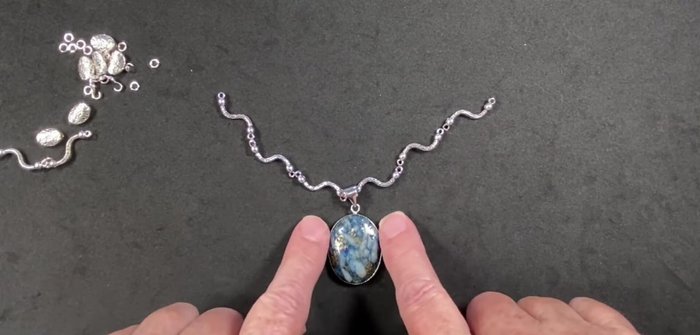
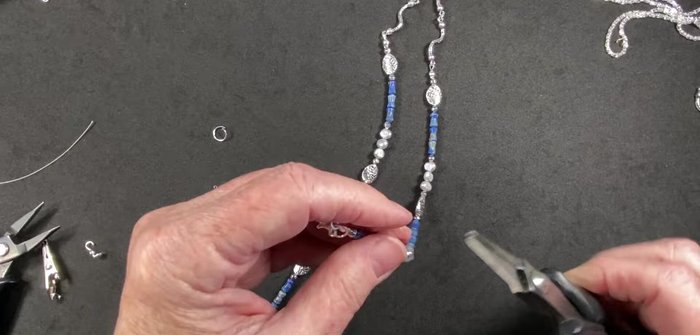
String Necklace Beads Adjust and Refine Necklace
- Adjust the bead placement and number of connectors to achieve the desired look. The creator removes a connector on each side to better showcase the beads.
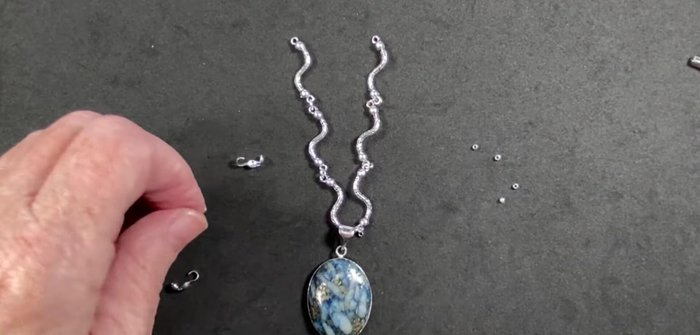
Adjust and Refine Necklace Complete Necklace
- Attach the other end of each wire to another clamshell bead tip using crimp beads.
- Attach the lobster clasp to one side of the necklace using a jump ring and a clamshell bead tip.
- Add an optional extension chain.
Complete Necklace Create Earrings
- Create earrings using head pins and eye pins, stringing beads in a similar pattern as the necklace.
Create Earrings


Read more: Elegant Russian Spiral Necklace Tutorial: A Step-by-Step Guide
Tips
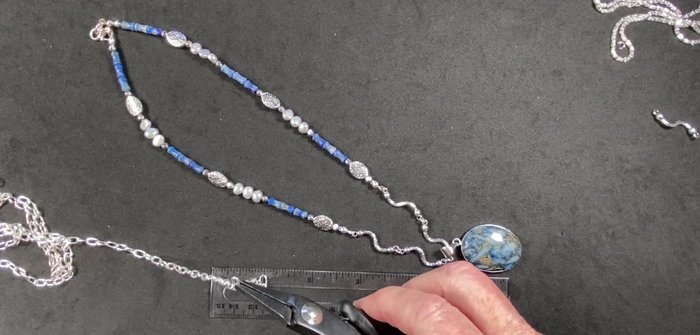
- Ensure your wire can pass through all the beads before starting to assemble.
- Check the length of your necklace frequently and adjust accordingly.
- Securely crimp the crimp beads to prevent them from coming loose.