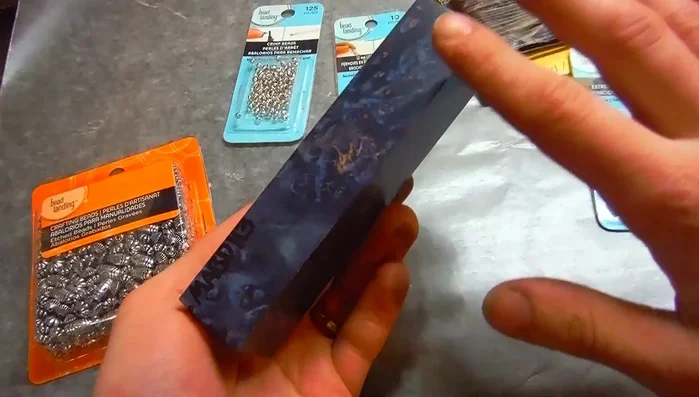
Maple burl wood, with its captivating swirling grain patterns and rich, warm tones, offers a unique and luxurious aesthetic for handcrafted jewelry. Imagine transforming a piece of this exquisite wood into a stunning, one-of-a-kind necklace, showcasing nature's artistry in its purest form. Creating your own DIY maple burl bead necklace is a rewarding project, even for beginners, combining the satisfaction of crafting with the elegance of the final product. This intricate wood possesses a beauty that truly shines when carefully shaped and polished.
This guide will walk you through each stage of the process, from selecting and preparing your maple burl wood to stringing the finished beads to create a beautiful and wearable piece. Get ready to unlock your creativity and discover the simple joy of crafting your own unique, eye-catching maple burl bead necklace; let's dive into the step-by-step instructions.
Safety Guidelines
- Always wear safety glasses when drilling, sanding, or working with any sharp tools to protect your eyes from flying debris.
- Maple burl can be quite hard and dense. Use appropriate tools and techniques to avoid injury. Take your time and work slowly.
- Ensure adequate ventilation when sanding or working with finishes. Wood dust can be irritating and some finishes release fumes.
Methods: Creating Maple Burl Beads using a Drill Press as a Lathe
Tools Needed
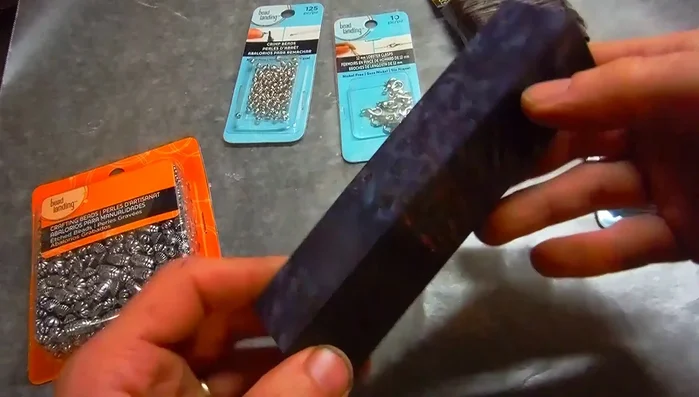
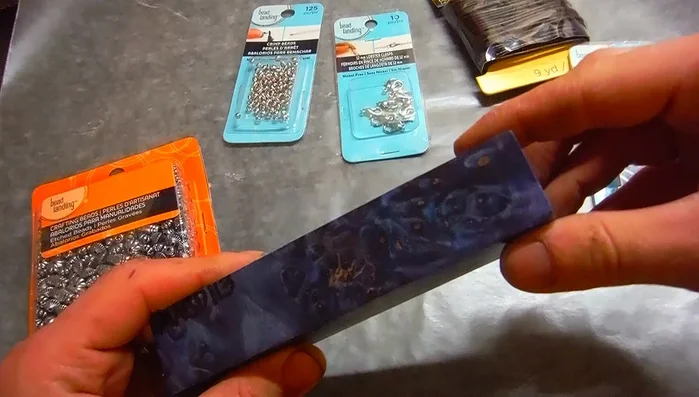
- Maple burl wood
- Drill press
- Sandpaper
- Leather cord
- Cord ends
- Crimp beads
- Clasps
- Spacer beads
- Superglue
Step-by-Step Instructions
Prepare Maple Burl Pieces
- Cut quarter-inch thick pieces from the maple burl block.

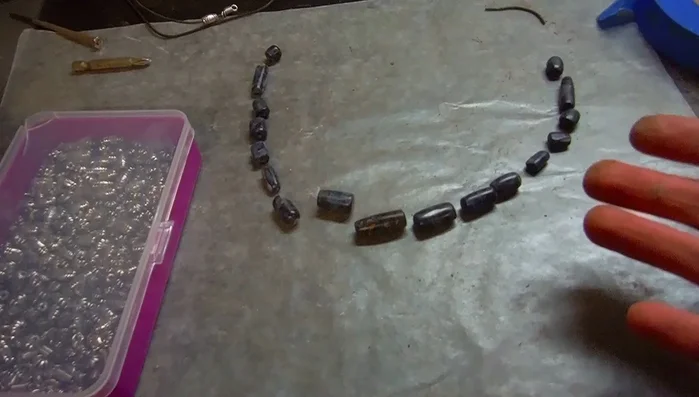
Prepare Maple Burl Pieces Shape Beads with Drill Press
- Use the drill press as a lathe, securing the wood piece.
- Sand the wood piece until it's shaped into a bead.
Shape Beads with Drill Press Create Multiple Beads
- Repeat steps 1-3 to create multiple beads.
Create Multiple Beads Assemble Necklace
- String the beads onto the leather cord.
- Attach cord ends, crimp beads, and clasp.
Assemble Necklace

Tips
- Professionally stabilized wood takes time to sand and remove scratches.
- Use superglue to securely attach components.