Embrace your inner artisan and create a stunning, personalized macrame crystal pendant necklace with this easy-to-follow DIY guide! Macrame, the ancient knotting technique, allows for limitless creative expression, and combining it with the elegance of crystals results in a truly unique and captivating piece of jewelry. This tutorial will walk you through crafting a beautiful necklace that’s not just eye-catching, but also wonderfully versatile, thanks to its interchangeable crystal pendant design. Imagine effortlessly switching out your crystals to match your outfit or mood – the possibilities are endless!
This project is perfect for both beginners and experienced crafters, requiring only basic macrame skills and readily available materials. Whether you're a seasoned macrame enthusiast or a complete novice eager to try something new, let’s get started on creating your own exquisite crystal pendant necklace! Ready to learn the step-by-step process? Let's dive in!
Preparation and Safety Guidelines
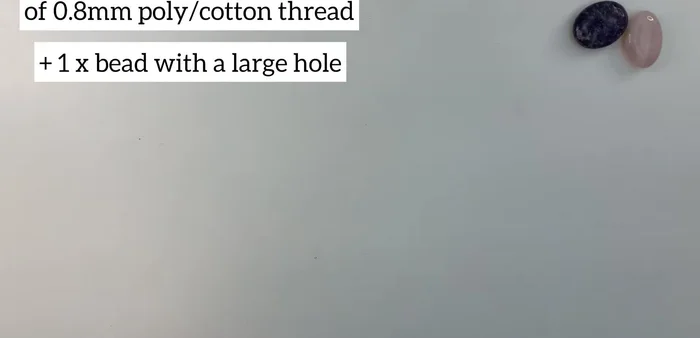
- 0.8 millimeter polyester cotton thread
- 48 inch lengths of thread
- Crystal (approx. 5cm long, 3.5-4cm wide)
- Large-holed bead
- Always use sharp scissors when cutting cord. Keep fingers clear of the blades to prevent accidental cuts.
- Avoid pulling cords too tightly, especially when knotting around fragile crystals. This can cause breakage or damage.
- If using metal findings (like jump rings or clasps), be mindful of sharp edges. Handle with care to prevent scratches or cuts.
Step-by-Step Instructions
Prepare the Threads
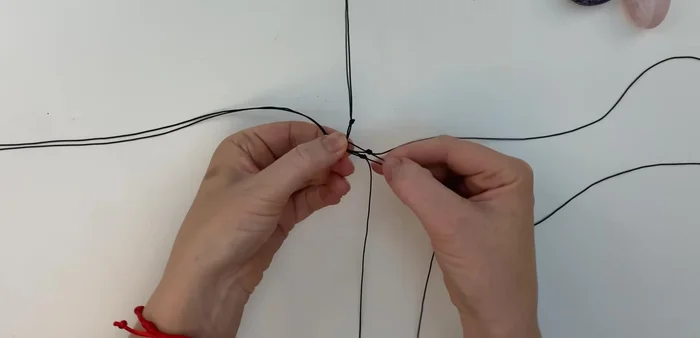
- Cut four 48-inch lengths of thread and place their ends together. Tie a simple overhand knot in the middle.

Prepare the Threads Create the Macrame Netting (Base)
- Tie four simple overhand knots, one on each side of the central knot, leaving a small gap (about 1cm).
Create the Macrame Netting (Base) Create the Macrame Netting (Continue & Check)
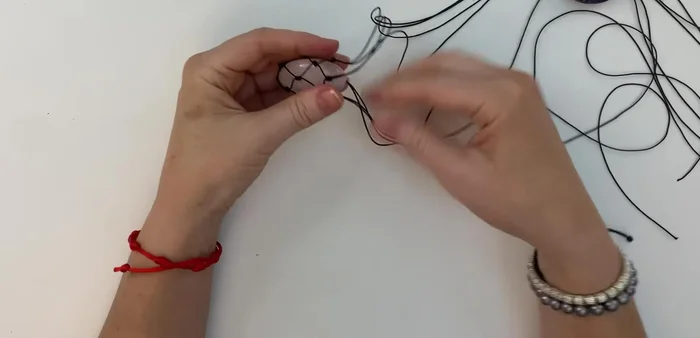
- Working around the central knot, tie pairs of adjacent threads together in simple overhand knots, keeping them evenly spaced. Continue until you reach the desired height for your crystal.
- Regularly check that the netting fits your crystal snugly. Adjust knots as needed to prevent gaps.
Create the Macrame Netting (Continue & Check) Create Necklace Straps
- Join the four threads on each side of the netting.
Create Necklace Straps Make Four-Strand Round Braids
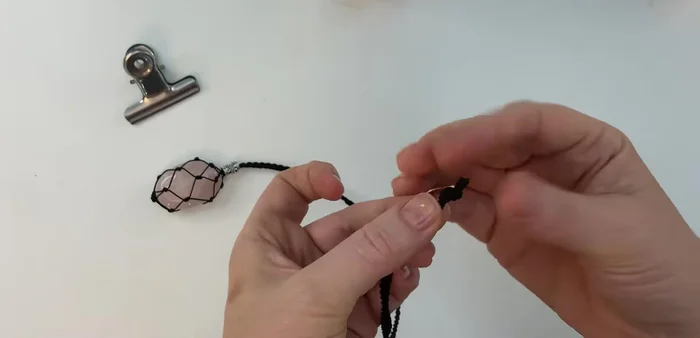
- Braid each set of four threads using the over-under technique to create two necklace straps.
Make Four-Strand Round Braids Add Beads and Secure Braids
- Once braided, add the large-holed bead to each strand and secure with a simple knot.
Add Beads and Secure Braids Assemble the Necklace
- Tie the two braided straps together, ensuring even length and tightness.
Assemble the Necklace Insert Crystal
- Slide the bead up, gently open the netting, insert the crystal, and slide the bead back down to secure it.
Insert Crystal Finish the Necklace
- Trim and secure thread ends with a lighter to prevent fraying.
Finish the Necklace


Read more: Elegant Russian Spiral Necklace Tutorial: A Step-by-Step Guide
Tips
- Use similar-sized crystals for consistent netting.
- If you get confused, lay out the work and reassess the knotting.
- Check the fit of the netting against the crystal frequently throughout the process.
- The number of knots needed depends on the crystal's size; aim for the final layer to finish near the top.