The holiday season is upon us, and what better way to celebrate than by crafting your own unique and festive accessories? This year, ditch the generic store-bought jewelry and embrace the joy of DIY with these adorable jingle bell earrings! Perfect for adding a touch of whimsical charm to your holiday outfits, these earrings are surprisingly easy to make, requiring only a few simple materials and minimal crafting experience. They're the ideal project for a cozy night in, allowing you to personalize your holiday look while enjoying a relaxing crafting session. Imagine the delightful tinkling sound with every move – a truly festive accessory!
Get ready to unleash your inner artisan and create a pair (or several!) of these charming earrings. The step-by-step guide below will walk you through each stage of the process, from gathering your supplies to adding the final finishing touches. Prepare to be amazed at how quickly and easily you can transform basic materials into beautiful, personalized holiday jewelry.
Preparation and Safety Guidelines
- Earring hooks
- Jingle bells
- O-rings
- Needle-nose pliers
- Small jingle bells and earring findings present a choking hazard, especially for children. Keep them out of reach of young children and supervise children closely during the crafting process.
- Use strong jewelry wire or jump rings to securely attach the bells to the earring hooks. Weak connections can cause the bells to detach and potentially cause injury.
- Be mindful of any allergies you or the recipient may have to metals used in the earring findings. Choose hypoallergenic options if necessary.
Step-by-Step Instructions
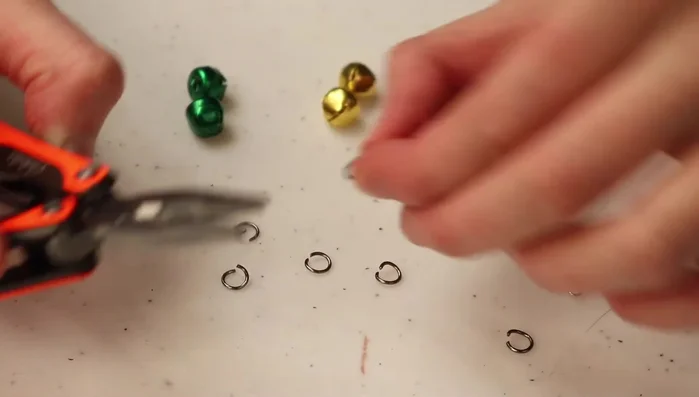
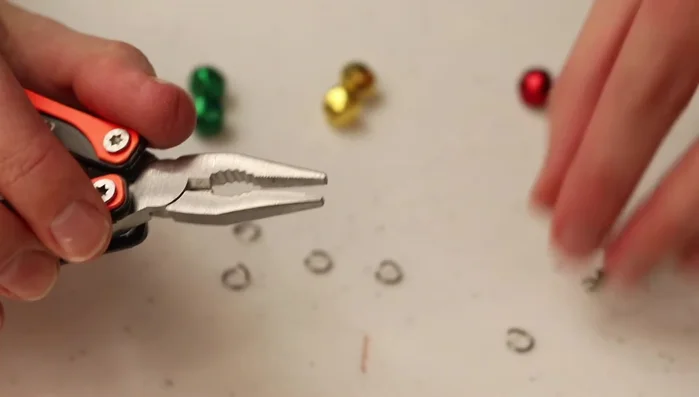
Prepare the O-rings
- Open the O-rings using needle-nose pliers. Gently bend the wire open enough to slide a jingle bell onto it.

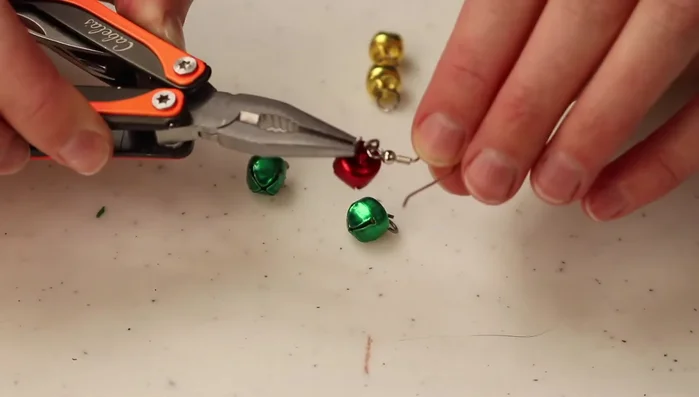
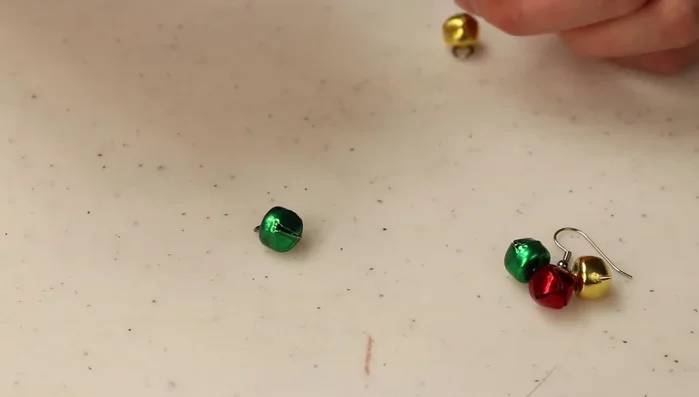
Prepare the O-rings Attach the first jingle bell
- Slide an O-ring onto a jingle bell.
- Attach the O-ring with the jingle bell to the earring hook. Close the O-ring securely using the pliers.
Attach the first jingle bell Add subsequent jingle bells
- Attach subsequent jingle bells to the existing ones by looping an O-ring through the previous jingle bell's loop and attaching the next jingle bell to it. Close the O-ring securely.
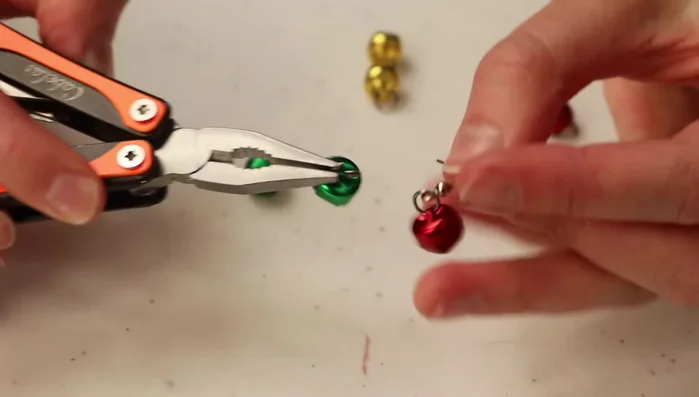
Add subsequent jingle bells Complete the earring
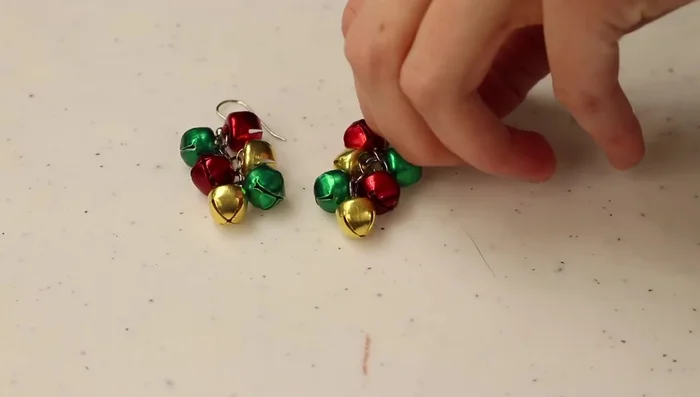
- Repeat steps 3 and 4 until all jingle bells are attached to create the desired earring length and design. Pay attention to the consistent placement of the bells (described in the video around timestamp 290.86).
Complete the earring Make the second earring
- Repeat steps 1-5 to create a second earring.
Make the second earring
Read more: Twisted Wire Spiral Earrings: A Step-by-Step Guide
Tips
- To open O-rings efficiently, use one needle-nose plier to hold the ring and your thumb to push one side of the wire open while pulling the other with the pliers. A slight twisting motion helps.
- If you have trouble closing the O-rings, use two pliers or let the ring hang down to use gravity to help align the ends before squeezing them shut.
- For a more symmetrical look, consistently place the jingle bells on the same side of the O-rings. The video demonstrates a corkscrew-like pattern around timestamp 306.13.