Ready to elevate your style with a pair of show-stopping earrings? This DIY tutorial will guide you through creating your own big, bold, and undeniably glamorous gold statement earrings, perfect for adding a touch of luxury to any outfit. Forget expensive designer pieces; with a few readily available materials and some simple techniques, you can craft a pair of unique earrings that reflect your personal style and will be the envy of all your friends. We'll explore different design options, allowing you to customize your creation to perfectly match your aesthetic.
Forget settling for mass-produced jewelry! This project is surprisingly accessible, even for beginners. From selecting the perfect gold components to mastering the assembly process, we'll break down each step with clear instructions and helpful images. Let’s dive into the step-by-step process and transform your vision into a dazzling reality.
Preparation and Safety Guidelines
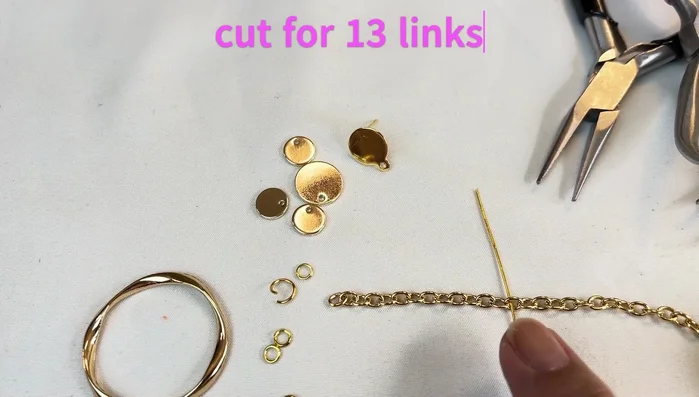
- Chain
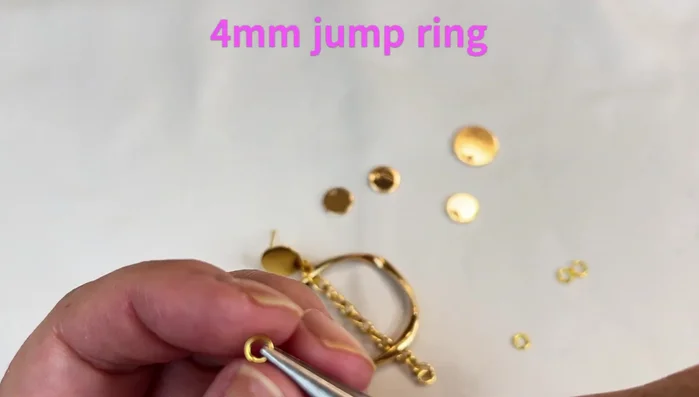
- Jump rings (4mm, 7mm)
- Discs (small, large)
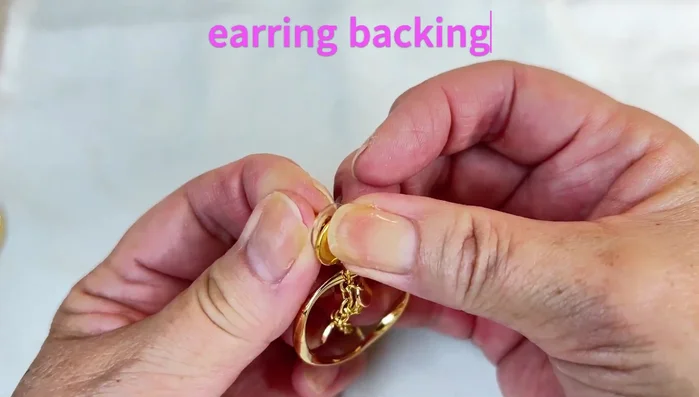
- Earring backing
- Wire cutters
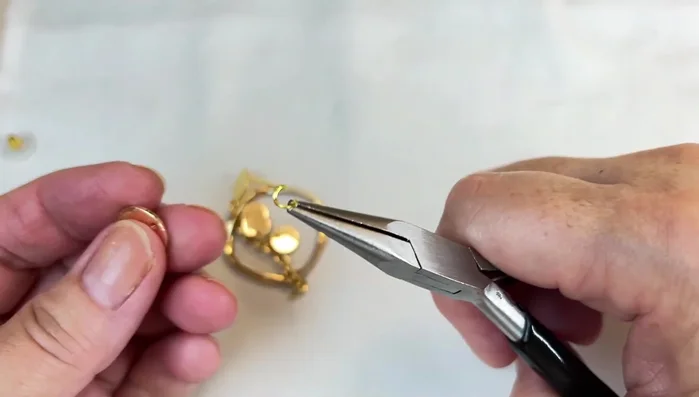
- Pliers
- Always use pliers appropriate for the jewelry wire gauge you are working with. Using the wrong pliers can damage the wire or injure you.
- Be mindful of sharp edges on wire and components. Handle with care and consider wearing gloves to protect your skin.
- If using glue, ensure it is specifically designed for jewelry making and allow ample drying time before wearing to avoid irritation or damage to the earrings.
Step-by-Step Instructions
Prepare the Chain
- Measure and cut the chain. Need 13 links.

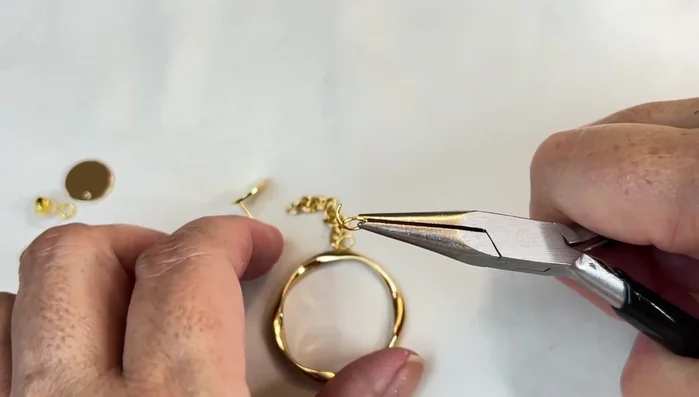
Prepare the Chain Attach the First Large Disc and Earring Backing
- Attach the 7mm jump ring to the large disc and earring backing.
Attach the First Large Disc and Earring Backing Connect the Chain to the First Disc
- Connect the chain to the 7mm jump ring.
- Close the jump ring securely, ensuring no gaps.
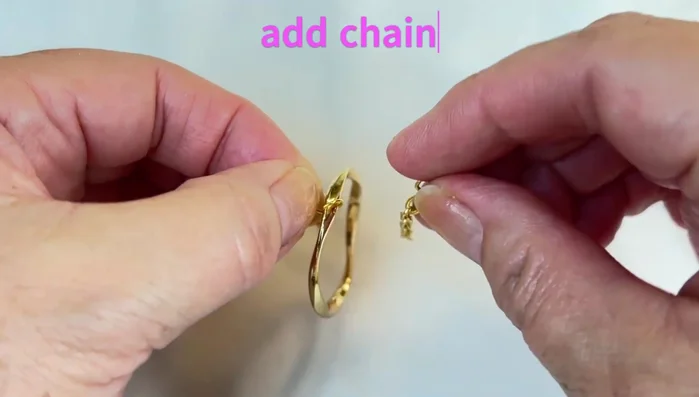
Connect the Chain to the First Disc Add Small Discs to the Chain
- Attach the small discs using 4mm jump rings. Skip a link between each disc.
Add Small Discs to the Chain Attach the Final Large Disc
- Attach the final large disc to the end of the chain using a jump ring.
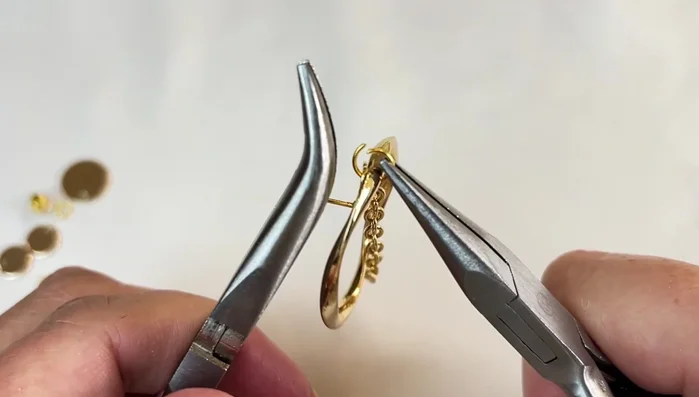
Attach the Final Large Disc Secure the Earring Backing
- Attach the earring backing.
Secure the Earring Backing
Read more: DIY Wonky House Brooches: The Fastest & Easiest Method
Tips
- Ensure all jump rings are securely closed to prevent the chain from falling out.
- Use pliers to securely close jump rings.
- Carefully open and close jump rings to avoid damaging them.