Adorn yourself with the shimmering elegance of handcrafted jewelry! Creating your own gemstone drop earrings is easier than you might think, especially with the simple yet stunning wrapped loop technique. This method requires minimal tools and materials, making it perfect for beginners and experienced crafters alike. Whether you’re looking for a unique accessory to complement your outfit or a thoughtful handmade gift, these earrings offer a delightful blend of sophistication and ease. The beautiful interplay of gemstones and wire creates a delicate yet impactful look.
This tutorial will guide you through each step of making these exquisite gemstone drop earrings using the wrapped loop technique. Prepare to be amazed at how quickly you can transform simple materials into elegant, wearable art, ready to catch the light and enhance your personal style. Let's dive into the step-by-step instructions!
Preparation and Safety Guidelines
- Amazonite gemstones (12mm x 15mm)
- Round faceted crystals (4mm, light peach)
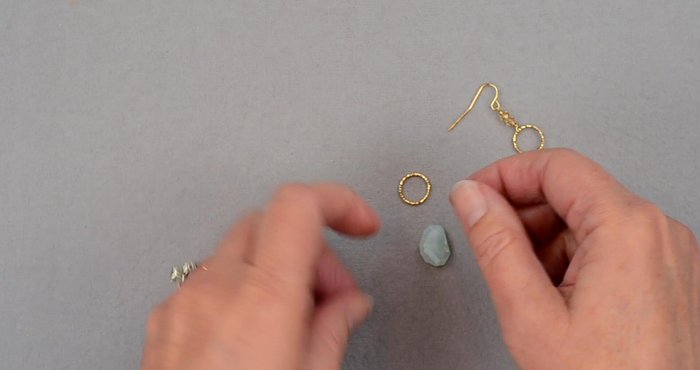
- Gold rings (12mm diameter)
- Gold head pins (2 inches)
- Gold earring wires
- 24 gauge gold wire
- Round nose pliers
- Wire cutters
- Always wash your hands before handling gemstones to prevent transferring oils or dirt that could dull their shine.
- Use appropriate wire cutters and pliers to avoid injuring yourself. Never force the wire; use gentle but firm pressure.
- Be mindful of small parts, especially if children are around. Finished earrings should be kept out of reach of small children.
Step-by-Step Instructions
Prepare Gemstone and Head Pin
- Slide the gemstone onto the head pin ensuring it's drilled top to bottom.

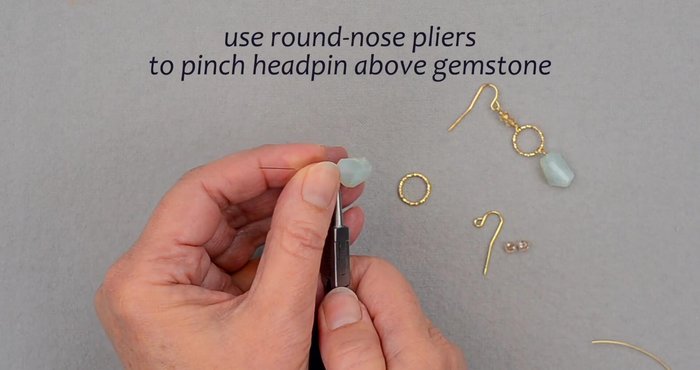
Prepare Gemstone and Head Pin Create Wrapped Loop for Gemstone
- Use round nose pliers to make a 90-degree bend above the stone, then form a loop by wrapping the wire around the pliers. Slide the gold ring into the loop before fully wrapping.
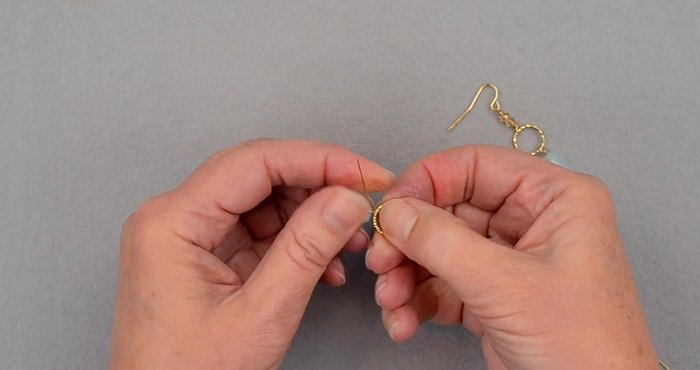
- Wrap the wire tail around the loop twice, snug against the gemstone. Trim the excess wire.
Create Wrapped Loop for Gemstone Create Connector Loop
- Cut a 4-5 inch piece of 24 gauge wire. Create a loop at one end using the same technique as step 2. Slide this loop onto the opposite side of the ring.
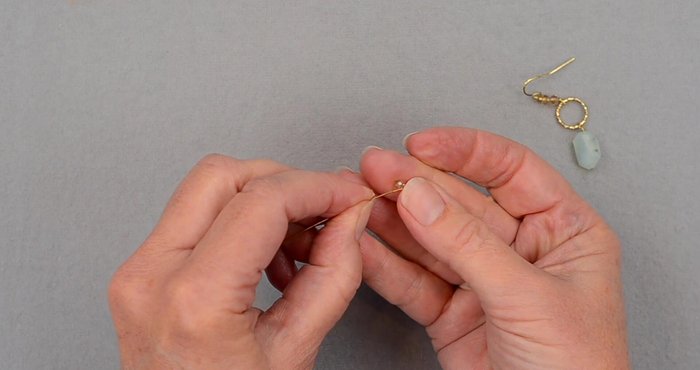
Create Connector Loop Attach Crystals and Make Second Wrapped Loop
- Add two crystals onto the wire. Make another wrapped loop as in step 2 & 3.
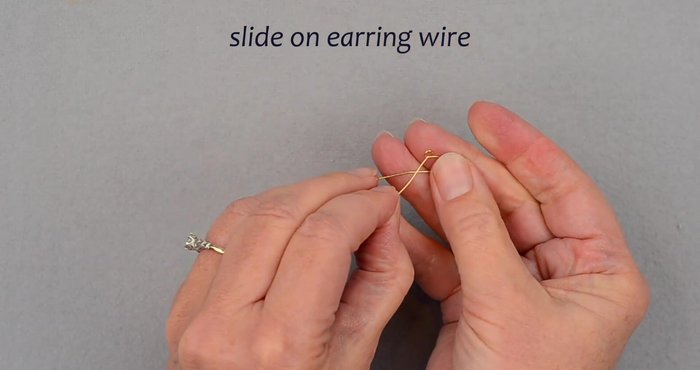
Attach Crystals and Make Second Wrapped Loop Attach Earring Wire
- Slide the earring wire onto the final loop. Secure by wrapping the wire tail twice around the loop, then trim.
Attach Earring Wire
Read more: Twisted Wire Spiral Earrings: A Step-by-Step Guide
Tips
- Use a gemstone drilled top-to-bottom for easy head pin attachment.
- Ensure your beads fit your wire before proceeding.
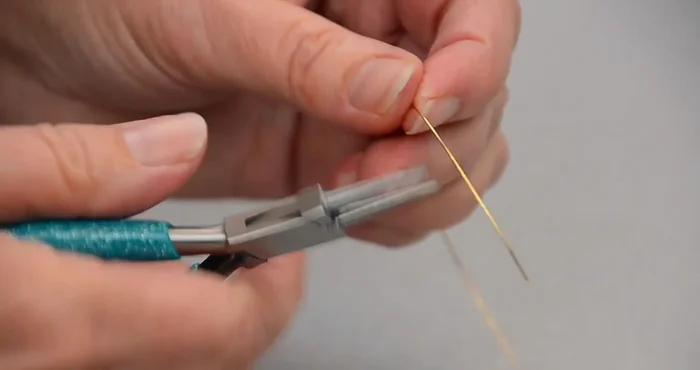
- Use long wire pieces to make wrapping easier. Trim excess wire cleanly using the flat side of wire cutters against the project.