Adorn your wrist with the shimmering elegance of a handcrafted gemstone chain link bracelet! This delicate piece of jewelry, surprisingly simple to create, allows you to showcase your favorite gemstones in a unique and stylish way. Forget mass-produced accessories; this tutorial empowers you to design a truly personal piece, reflecting your individual taste and style. Learn the art of wire wrapping, a versatile jewelry-making technique that opens a world of creative possibilities. We'll guide you through the process of combining the subtle strength of wire with the vibrant beauty of gemstones, resulting in a bracelet that's both eye-catching and durable.
This detailed tutorial will walk you through each step, from selecting your materials to finishing touches, ensuring even beginners can achieve stunning results. Prepare to be amazed at how easily you can transform simple materials into a sophisticated accessory. Get ready to embark on your DIY adventure and discover the joy of crafting your own exquisite gemstone chain link bracelet; let's dive into the step-by-step instructions now!
Preparation and Safety Guidelines
- 26 gauge wire (or 24/22 gauge for larger beads)
- Chain nose pliers
- Round nose pliers
- Flush cutters
- Wire straightening pliers
- Small gemstones (2-3mm rondelles recommended)
- Always wear safety glasses when working with wire and gemstones to protect your eyes from flying debris.
- Use appropriate wire cutters and pliers to avoid injuring yourself. Never attempt to cut wire with your teeth or other unsuitable tools.
- Some gemstones are fragile. Handle them with care to prevent chipping or breakage. If working with particularly delicate stones, consider using a softer wire gauge.
Step-by-Step Instructions
Prepare the Wire
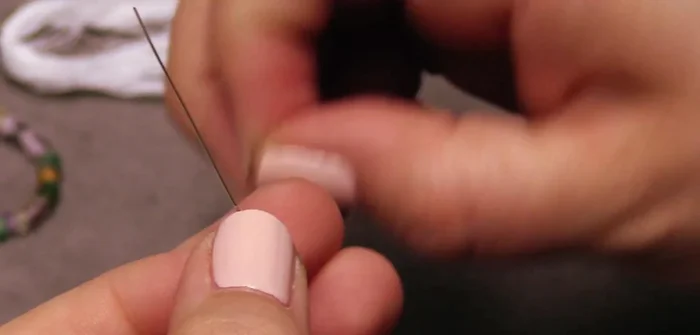
- Cut approximately 6-8 inches of 26 gauge wire using flush cutters.
- Straighten the wire using wire straightening pliers.

Prepare the Wire Create the First Link
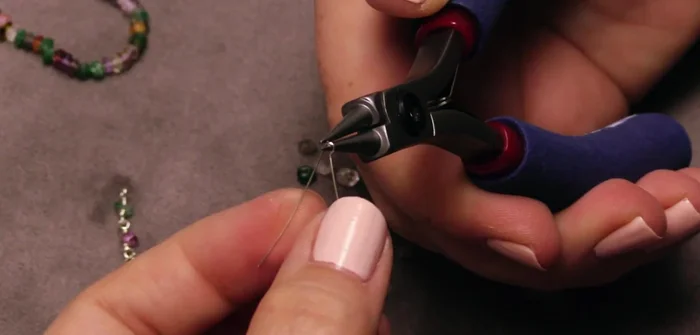
- Using round nose pliers, create a small loop about an inch from one end of the wire.
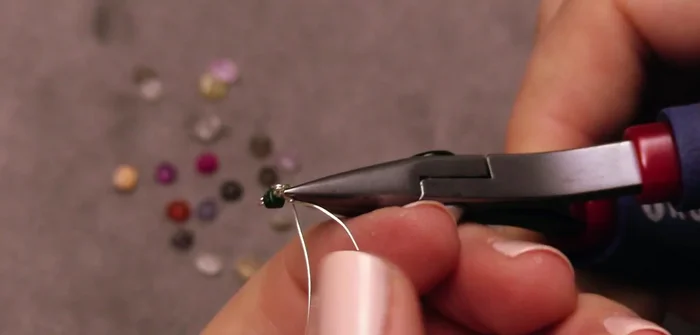
- Wrap the wire around the loop twice to secure it, then trim the excess wire with flush cutters.
- Add a gemstone bead to the bottom of the loop.
- Create another small loop above the gemstone bead using round nose pliers, repeating the wrapping process from step 3.
Create the First Link - Trim the excess wire.
Add Subsequent Links
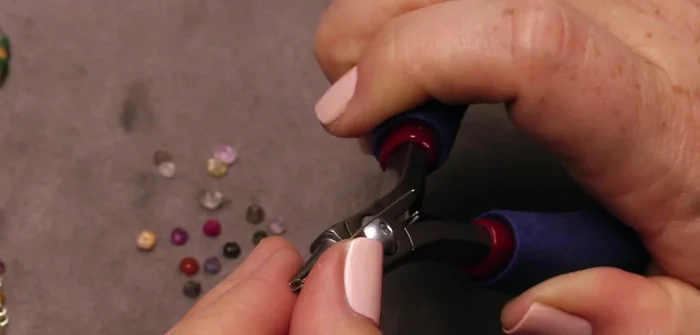
- To add the next link, create another small loop an inch down the remaining wire. Partially wrap the wire, leaving a small opening.
- Slide the loop of the previous link onto the partially wrapped wire and secure it using chain nose pliers.
- Complete the wire wrap loop and trim excess wire.
- Repeat steps 5-10 to add more links to the chain.
Add Subsequent Links


Read more: Elegant Russian Spiral Necklace Tutorial: A Step-by-Step Guide
Tips
- Adjust wire gauge based on bead size (24 or 22 gauge for larger beads).
- Use wire straightening pliers to ensure a smooth, even wire for easier wrapping.
- Experiment with different gemstone colors and bead types to create unique designs.