Add a touch of whimsical charm to your wardrobe with this delightful DIY fringe flower embroidered brooch! This project is perfect for crafters of all levels, from seasoned embroiderers to enthusiastic beginners. The unique fringe detail adds a playful, bohemian vibe, making it a fantastic accessory for jeans, jackets, or even hats. You'll be amazed at how easily you can create this eye-catching piece using readily available materials, transforming a simple design into a stylish statement. Forget expensive, mass-produced jewelry; this brooch offers a personalized touch and the satisfaction of crafting something beautiful with your own hands.
Ready to embark on this creative journey? Let's dive into the step-by-step process, guiding you through each stage of creating your very own fringe flower embroidered brooch. From preparing your materials to securing the final stitch, we’ll ensure you have a fun and rewarding experience.
Preparation and Safety Guidelines
- embroidery thread
- hot glue gun
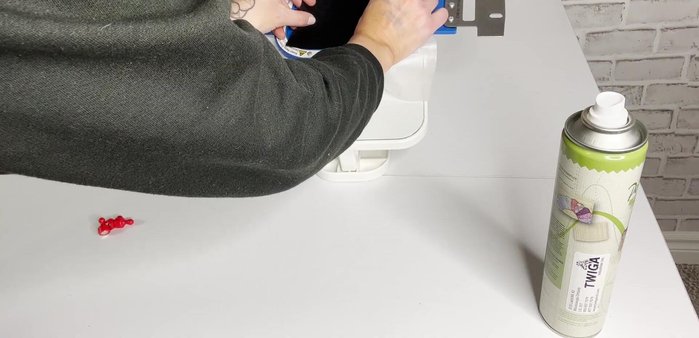
- adhesive spray
- Tearaway stabilizer
- scissors
- two 4x4 pieces of black felt
- two 3x3 pieces of batting
- pearls or beads
- bar pin
- fringe flower heart embroidery design
- embroidery hoop
- pinking shears (optional)
- Use sharp needles with caution. Always point needles away from yourself and others, and store them safely when not in use.
- Be mindful of your fingers when working with needles and sharp embroidery scissors. Take your time and work slowly to avoid accidental pricks.
- If using fabric glue, ensure proper ventilation and follow the manufacturer's instructions carefully. Avoid contact with skin and eyes.
Step-by-Step Instructions
Prepare the Embroidery Base
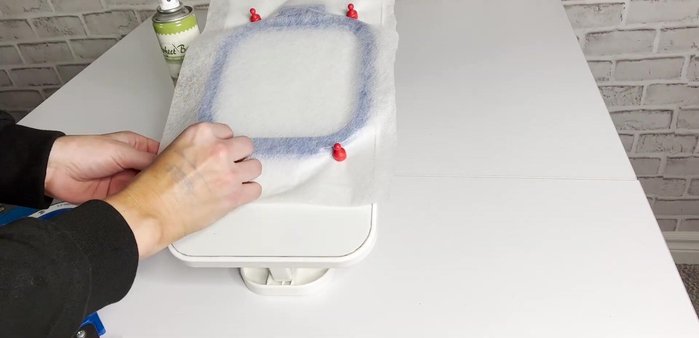
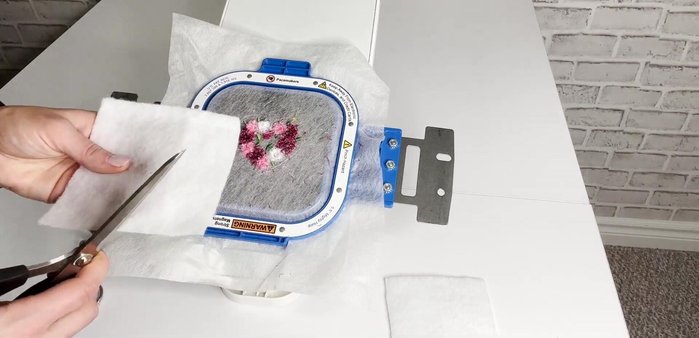
- Hoop your tearaway stabilizer.
- Spray adhesive on the back of one black felt piece and adhere it to the stabilizer.

Prepare the Embroidery Base Embroider the Fringe Flowers
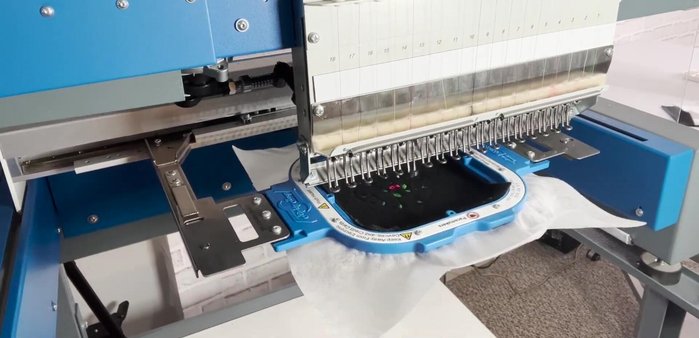
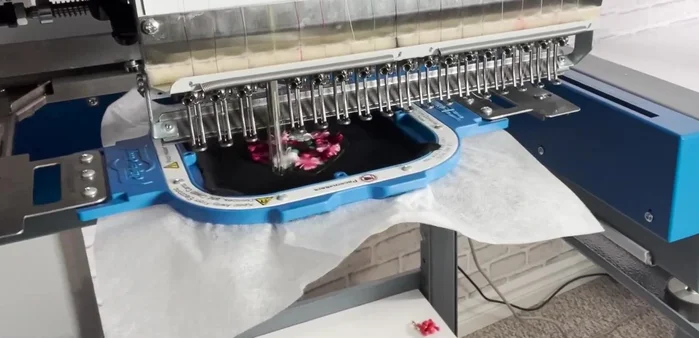
- Embroider your fringe flower design using a machine. Stop as soon as the fringe flowers are complete to preserve the stitch border.
Embroider the Fringe Flowers Create the Fringe Effect
- Carefully clip the embroidery thread on the back of the flowers for the fringe effect. Cutting only the bobbin thread creates loops; cutting along the outer edge will fray.
Create the Fringe Effect Add Batting and Backing
- Create a heart-shaped batting layer slightly smaller than the stitched border. Layer it on the back of the embroidery.
- Spray adhesive on the last black felt piece and cover the batting completely.
Add Batting and Backing Stitch the Border and Finish the Brooch
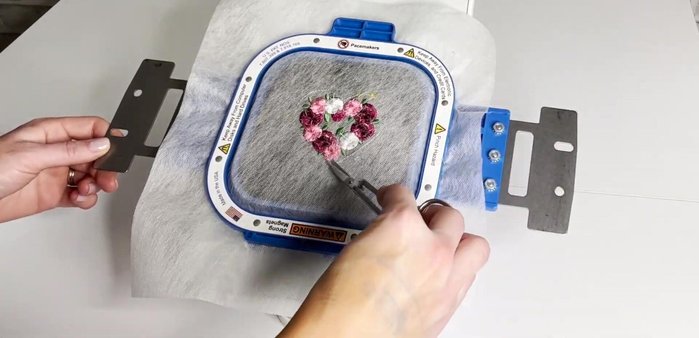
- Re-hoop the layers and stitch the remaining border.
- Unhoop, tear away stabilizer, and trim 0.25 inches from the stitch border.
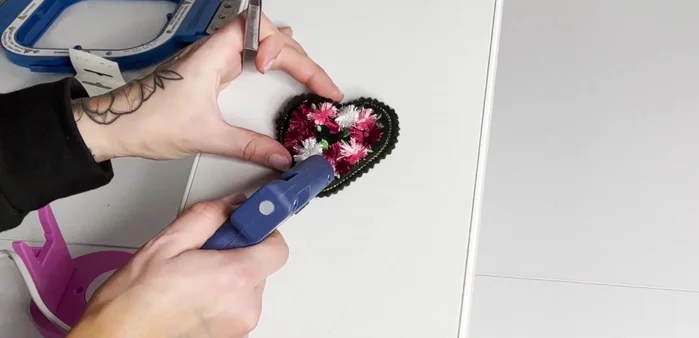
Stitch the Border and Finish the Brooch Embellish and Attach Findings
- Glue beads to the center of the flowers using tweezers.
- Attach the bar pin to the back using glue or sewing.
Embellish and Attach Findings


Read more: DIY Wonky House Brooches: The Fastest & Easiest Method
Tips
- Spray adhesive on the fabric *before* hooping to avoid gumming up your hoops.
- Use tweezers to apply beads; it's easier and prevents burns.