Felt is a wonderfully versatile craft material, lending itself to countless projects with its soft texture and vibrant colour range. From whimsical creatures to sophisticated home décor, felt's possibilities are seemingly endless. Today, we’re focusing on a charming and surprisingly simple project: creating your own unique felt flower brooch. This delightful accessory is perfect for adding a touch of handmade elegance to any outfit, and it’s a fantastic way to showcase your creativity while learning a new craft skill. The process is surprisingly straightforward, even for beginners.
This guide provides a detailed, step-by-step approach to crafting your very own felt flower brooch, from choosing your colours and materials to securing the final flourish. Whether you're a seasoned crafter looking for a new challenge or a complete beginner eager to try something new, you'll find this tutorial easy to follow and incredibly rewarding. Let's dive into the process and begin creating your beautiful, wearable flower!
Preparation and Safety Guidelines
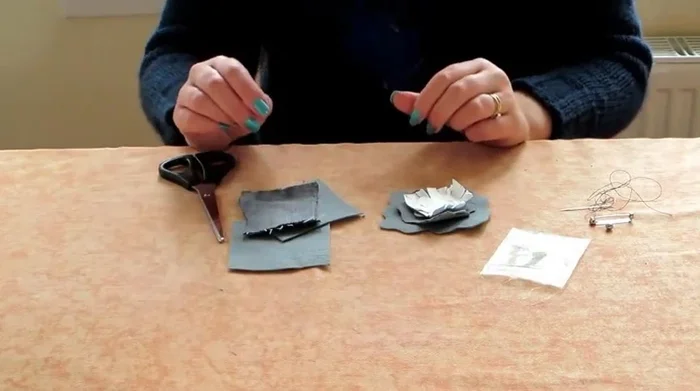
- Felt (two colors)
- Denim or other fabric
- Heat-resistant paper
- Iron
- Greaseproof paper
- Sewing machine (or needle and thread)
- Fiber filling
- Silver bead
- Brooch pin
- Glue
- Use sharp scissors with caution, keeping fingers away from the blades while cutting felt.
- Supervise children if they are assisting with any part of the project, particularly when using needles or hot glue.
- If using hot glue, work on a heat-resistant surface and be mindful of potential burns. Allow glue to cool completely before handling.
Step-by-Step Instructions
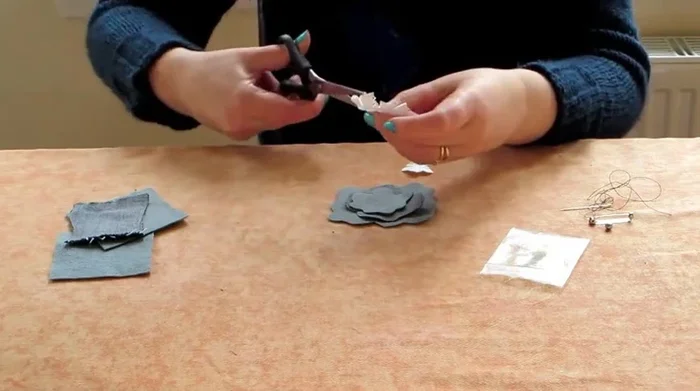
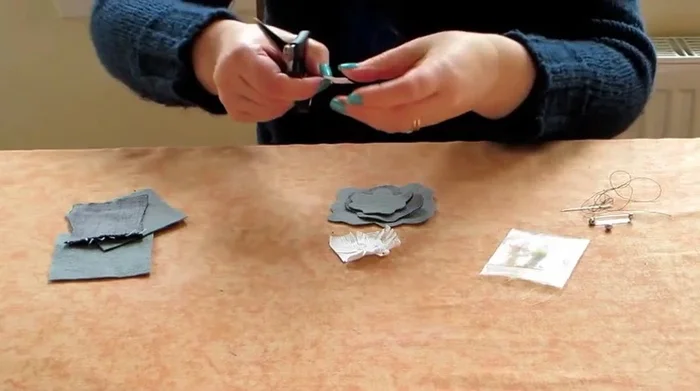
Prepare Felt and Fabric
- Cut felt and fabric into flower shapes. Make the denim piece slightly smaller than the first felt piece, and the second felt piece even smaller.

Prepare Felt and Fabric Prepare Heat-Resistant Paper
- Prepare heat-resistant paper by making small cuts in the middle.
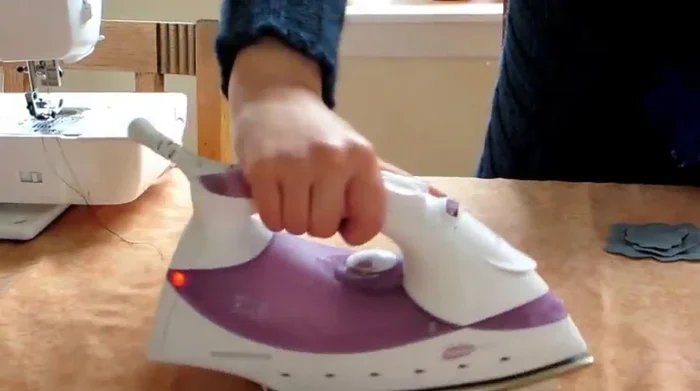
Prepare Heat-Resistant Paper Iron Felt Pieces
- Place the heat-resistant paper on top of the smallest felt piece, cover with greaseproof paper, and iron to bond the layers. Repeat for the other flower pieces.
Iron Felt Pieces Layer and Secure Felt and Denim
- largest felt piece, denim, smallest felt piece. This creates interesting shapes and textures.
- Sew a star shape through all the layers to secure them together. This helps give the brooch body and shape.
Layer and Secure Felt and Denim Stuff the Flower
- Stuff the brooch with fiber filling to enhance its flower-like appearance.
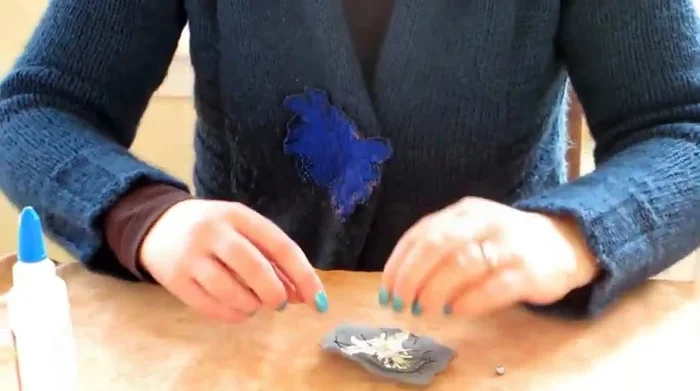
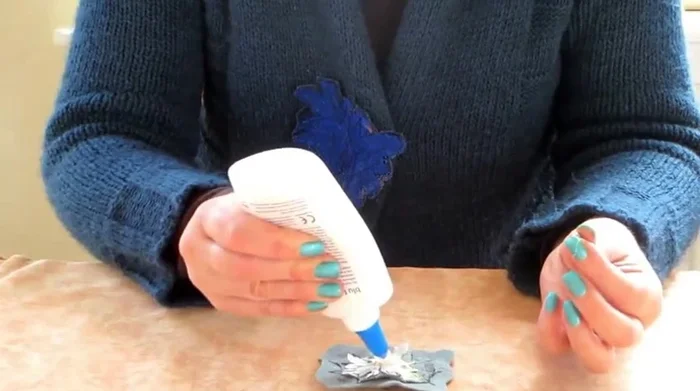
Stuff the Flower Add Embellishments
- Glue a silver bead to the center.
Add Embellishments Attach Brooch Pin
- Attach the brooch pin to the back.
Attach Brooch Pin


Read more: DIY Wonky House Brooches: The Fastest & Easiest Method
Tips
- Using an iron to fuse the layers creates a more durable brooch.
- Hand sewing can be used instead of a sewing machine.
- Adding fiber filling provides extra dimension and a more three-dimensional flower shape.