Autumn's arrival brings with it a breathtaking spectacle of vibrant colors and crisp air, inspiring a desire for cozy sweaters, pumpkin spice everything, and of course, a wardrobe refresh. This season, let your jewelry reflect the beauty of fall with these three easy and chic DIY earring designs. We'll be crafting unique pieces that capture the essence of the season, perfect for adding a touch of autumnal charm to any outfit, whether you're heading to a pumpkin patch or a fall festival. Forget expensive boutique finds; these gorgeous earrings are surprisingly simple to create using readily available materials.
From delicate leaf accents to warm-toned gemstone drops and playful miniature pumpkin charms, these designs cater to various tastes and skill levels. No prior crafting experience is needed to achieve stunning results. Ready to transform your everyday style and embrace the autumn spirit? Let's dive into the step-by-step instructions for each design and create some gorgeous fall-themed earrings!
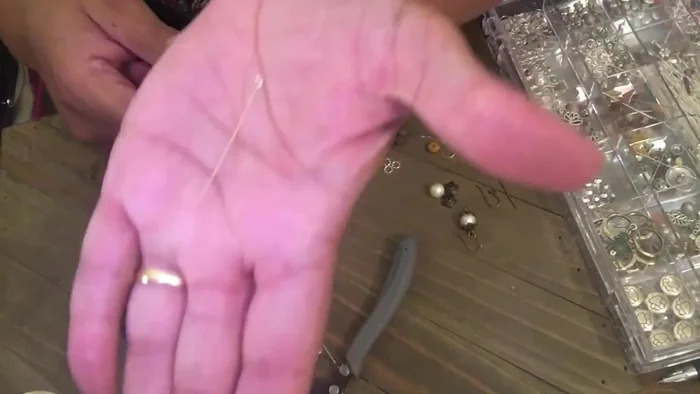
Safety Guidelines
- Always supervise children if they are participating in any crafting activities. Small earring components can be choking hazards.
- Use caution when working with sharp tools like wire cutters or jewelry pliers. Cut away from yourself and keep your fingers clear.
- If you have any allergies to crafting materials (e.g., certain metals, adhesives), be sure to check ingredients and wear appropriate protective gear (like gloves).
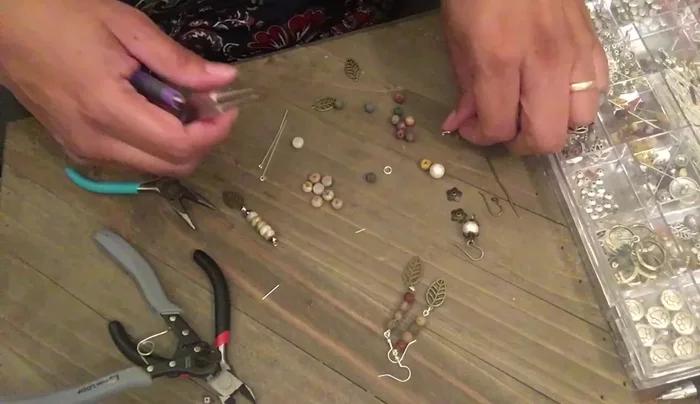
Methods: Jasper Bead & Leaf Earrings
Tools Needed
- head pins
- jasper beads
- jump rings
- leaf charms
- ear wires
- chain nose pliers
Step-by-Step Instructions
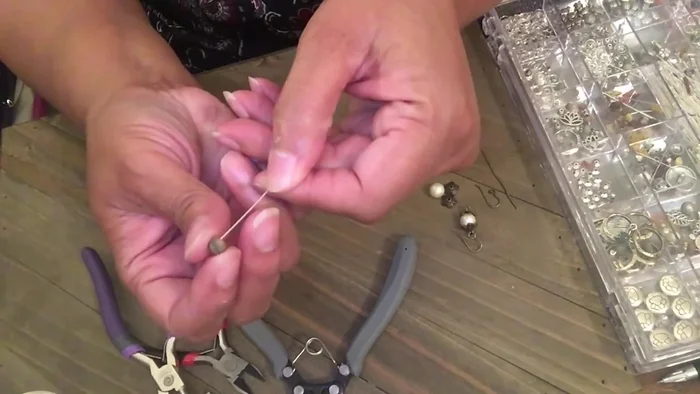
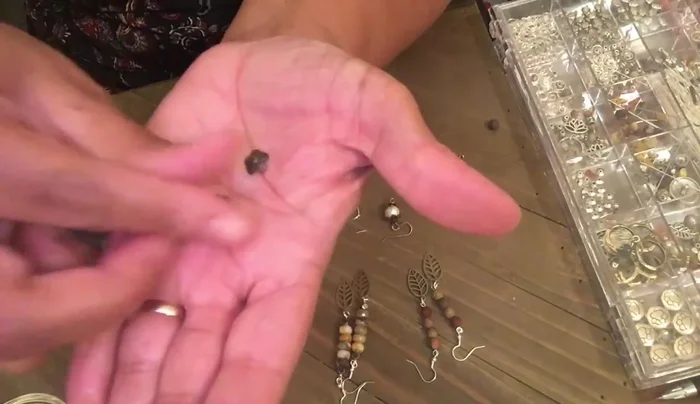
Prepare the Jasper Bead Strand
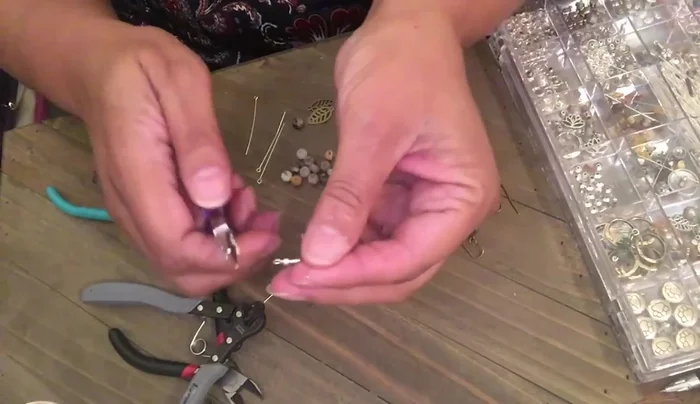
- Create a loop at the bottom of a head pin.
- String four jasper beads onto the head pin.

Prepare the Jasper Bead Strand Attach the Leaf Charm
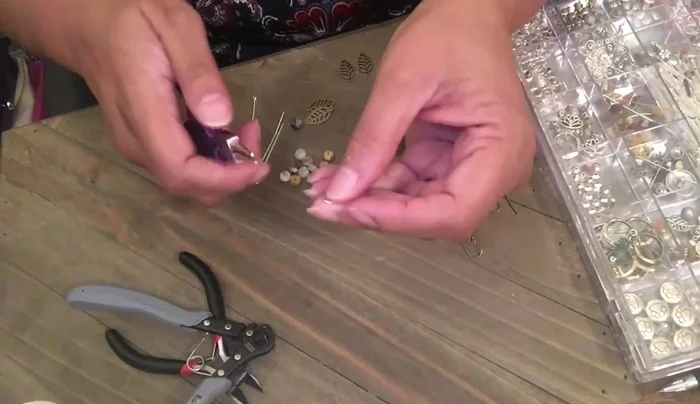
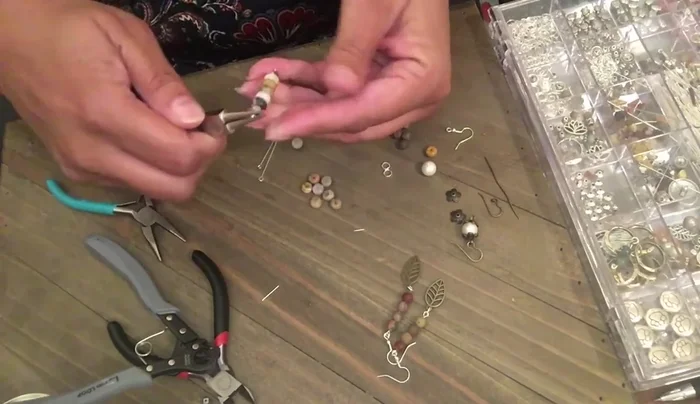
- Attach a leaf charm to a jump ring.
- Connect the jump ring with the leaf charm to the bottom of the bead strand.
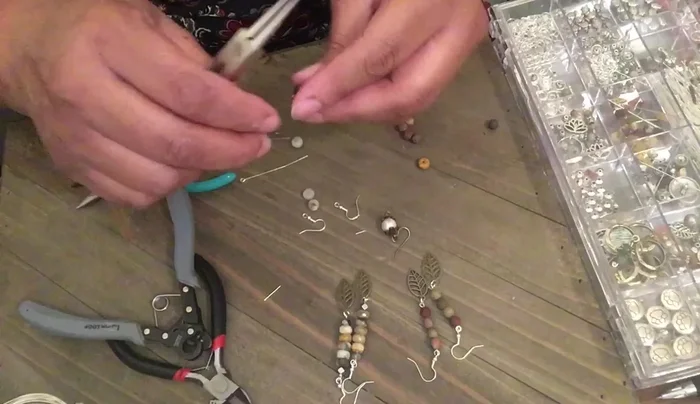
Attach the Leaf Charm Complete the Earrings
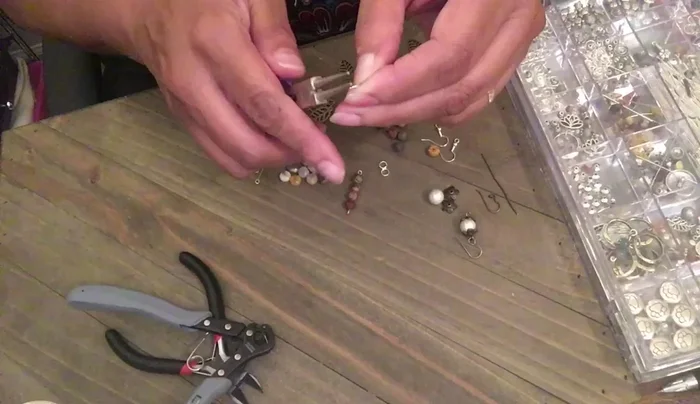
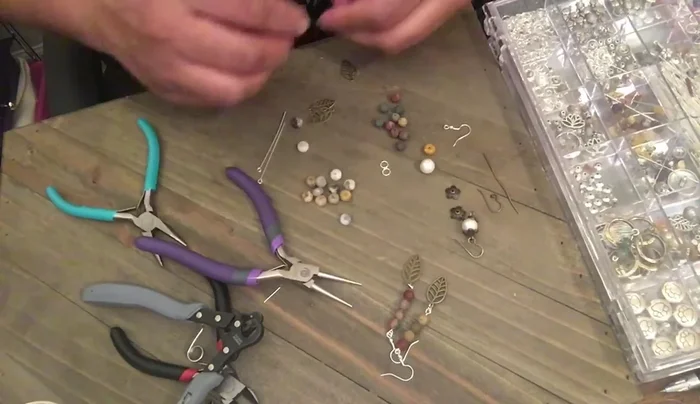
- Attach ear wires to complete the earrings.
Complete the Earrings
Tips
- Ensure the leaf charm faces forward.
Methods: Agate Bead & Leaf Earrings
Tools Needed
- head pins
- agate beads
- silver beads
- hematite beads
- jump rings
- leaf charms
- ear wires
- chain nose pliers
Step-by-Step Instructions
Prepare the bead strand
- String agate beads and silver/hematite beads onto a head pin.
Prepare the bead strand Prepare the leaf charm
- Attach a leaf charm to a jump ring.
Prepare the leaf charm Attach leaf charm to bead strand
- Connect the jump ring with the leaf charm to the bottom of the bead strand.
Attach leaf charm to bead strand Complete the earrings
- Attach ear wires to complete the earrings.
Complete the earrings
Tips
- Consider using mixed metals for a unique look.
Methods: Pearl & Bead Cap Earrings
Tools Needed
- pearl
- 18 gauge antique brass wire
- bead caps
- ear wires
- chain nose pliers
Step-by-Step Instructions
Prepare the Wire
- Create a loop at the end of the wire.
Prepare the Wire Assemble the Pearl and Bead Caps
- Attach a bead cap to each end of the wire, enclosing the pearl.
Assemble the Pearl and Bead Caps Attach Ear Wires
- Attach ear wires to complete the earrings.
Attach Ear Wires

Tips
- Make the loops tight to prevent the bead caps from wiggling.
Read more: 4 Genius Ways to Back Your Faux Leather Earrings (No More Ugly Backs!)