Love the look of handcrafted jewelry but intimidated by complex techniques? Then get ready to unleash your creativity with this fantastic no-sew project! DIY fabric bead necklaces offer a wonderfully accessible way to express your personal style without needing a single stitch. Transform scraps of fabric into vibrant, unique necklaces in a fraction of the time it would take using traditional beading methods. This is the perfect project for beginners, requiring minimal materials and offering endless possibilities for customization. You can experiment with different fabrics, colors, and patterns to create stunning pieces tailored to any outfit or occasion.
Forget complicated instructions and frustrating knots; this project focuses on simplicity and fun. With just a few simple steps and readily available materials, you'll be crafting beautiful necklaces in no time. Let's dive into the easy-to-follow instructions and discover how to create your own stunning, fabric bead necklaces.
Preparation and Safety Guidelines
- Wide plastic straws (or narrower straws)
- Fabric scraps (7" long, 1.5" - 2" wide)
- Beads
- Glue
- Scissors
- Needle threader
- Various cords/fibers
- Bodkin
- Silk ribbon (45" approx)
- Lobster claw closure (optional)
- Always supervise children when working with small objects like beads to prevent choking hazards.
- Ensure your work surface is clean and free of debris to avoid accidentally incorporating unwanted materials into your necklace.
- If using fabric glue, work in a well-ventilated area and follow the manufacturer's instructions carefully, avoiding contact with skin and eyes.
Step-by-Step Instructions
Prepare Materials
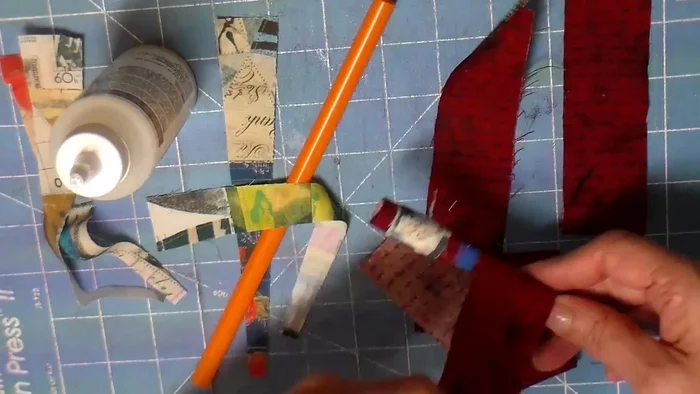
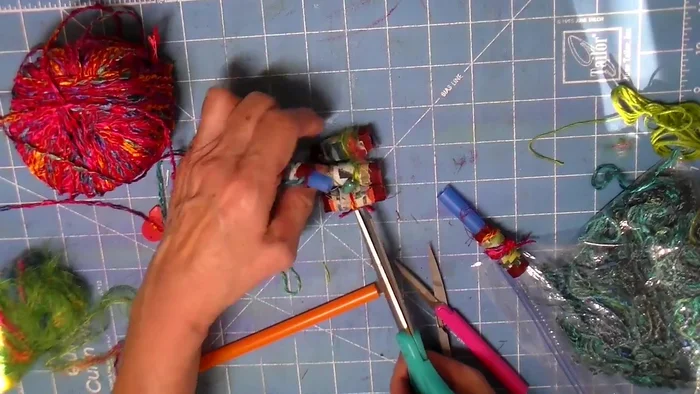
- Cut fabric scraps 7 inches long. Cut one piece 1.5-2 inches wide, and taper the second piece into an elongated triangle shape.

Prepare Materials Wrap Straws with Fabric
- Glue the first fabric piece around the straw, pulling it somewhat tight for a smooth finish. Add glue at the beginning and end.
- Wrap a second fabric piece around the straw, slightly offset from the first. Glue the ends.
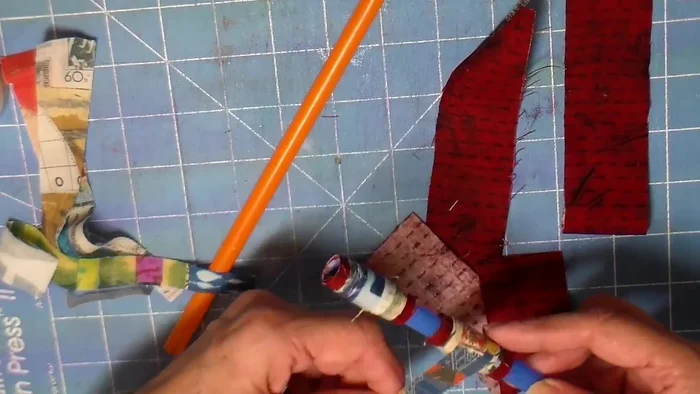
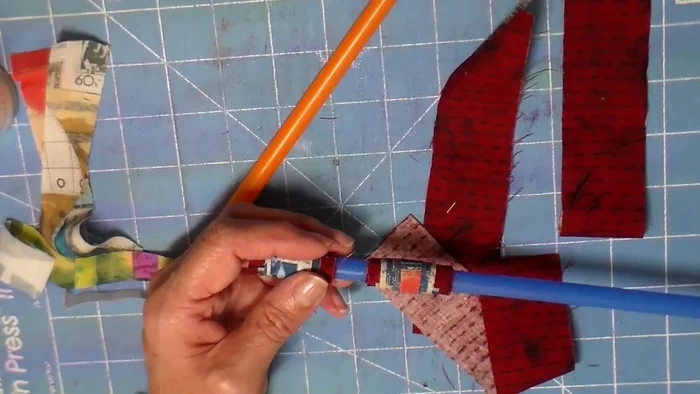
Wrap Straws with Fabric Add Beads
- Insert beads onto the straw. The narrator uses five beads, but mentions only getting four onto some straws.
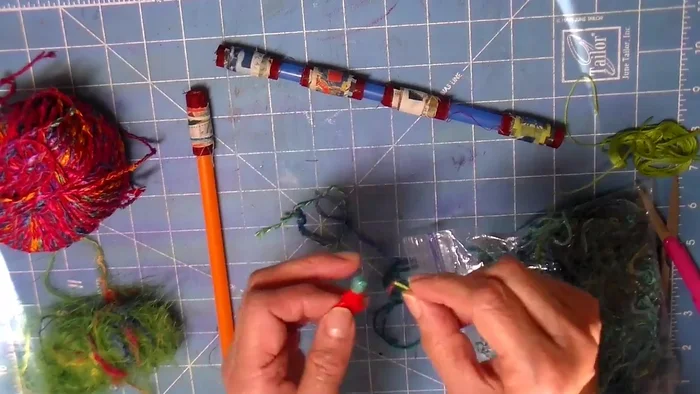
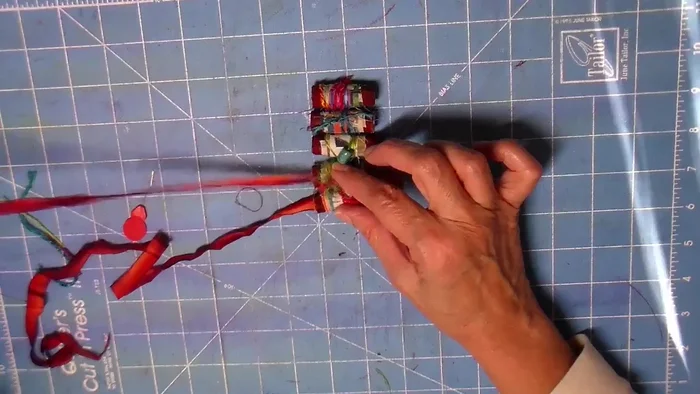
Add Beads Decorate with Cords and Beads
- String a bead onto a cord or fiber using a needle threader and tie it tightly around a bead on the straw, creating a focal point.
Decorate with Cords and Beads Trim and Arrange Fabric
- Cut excess fabric close to the straw, avoiding the plastic showing. Arrange the fabric pieces to your liking.
Trim and Arrange Fabric Attach Necklace Cord
- Use a bodkin to thread silk ribbon (or other cord) through the beads and create a necklace loop. Zigzag the ribbon through the beads for added security.
Attach Necklace Cord Finish and Secure Necklace
- Tie a knot at the top of the necklace, or add a lobster claw closure for a more secure fastening.
Finish and Secure Necklace


Read more: Elegant Russian Spiral Necklace Tutorial: A Step-by-Step Guide
Tips
- Use a needle threader to easily add cords through the beads.
- Double knot the cord for extra security.
- Experiment with different colors and materials for added artistic flair.
- Use a dull pair of scissors for cutting the fabric to prevent damage to good scissors.
- A bodkin is a helpful tool for adding the necklace cord.