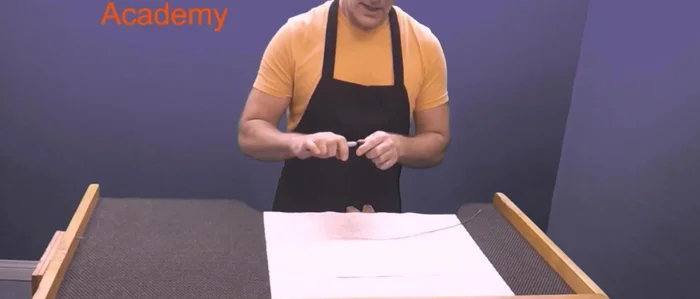
Journey back in time and discover the ancient art of fibula making! These intricately designed pins, essential fashion accessories in the Roman and Celtic worlds, were more than mere fasteners; they were statements of personal style and societal standing. For centuries, skilled artisans crafted fibulae from a range of materials, but we'll be focusing on a simpler, accessible approach using readily available copper wire. This project offers a fascinating glimpse into history, combining the satisfaction of crafting with the learning experience of understanding ancient techniques.
This DIY project allows you to create your own beautiful and historically inspired fibula, perfect for adding a touch of antiquity to your wardrobe or collection. From basic shaping to adding decorative elements, we’ll guide you through each step of the process, ensuring even beginners can achieve a stunning result. Let’s get started with the step-by-step instructions below.
Preparation and Safety Guidelines
- Copper wire (14-18 gauge)
- Beads (optional)
- Diagonal cutters
- File
- Bench pin
- Sanding stick (or DIY alternative)
- Round-nose pliers
- Cross peen hammer
- Bench block
- Always use well-ventilated area when working with copper wire. Copper fumes can be harmful if inhaled.
- Wear safety glasses to protect your eyes from flying debris or sharp wire ends.
- Use appropriate tools for cutting and shaping the wire. Avoid forcing tools, which can lead to injuries.
Step-by-Step Instructions
Prepare the Wire
- Cut a piece about 1.5-2 feet long.

Prepare the Wire Shape the Pin Stem
- File a groove into the end of the wire using a bench pin and file, rotating the wire as you file to create a tapered point.
- Smooth the point with a sanding stick.
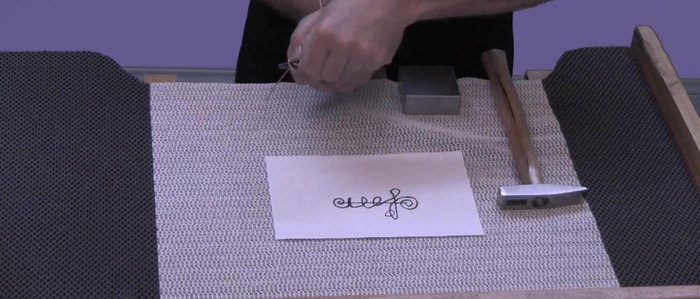
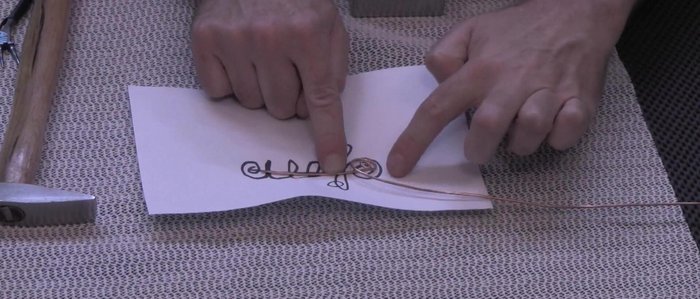
Design and Initial Shaping
- Sketch your design to determine the length and shape of the pin, including a spiral at the top of the pin stem, dynamic curves, a hook to secure the pin, and optional bead placement.
- Form a large 'L' shape with the wire.
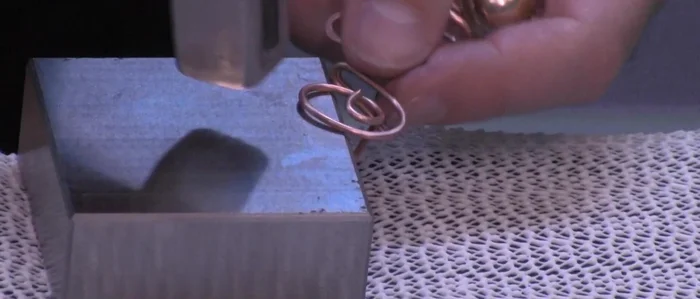
Design and Initial Shaping Create the Top Spiral
- Make the initial spiral at the top of the pin stem. Use round-nose pliers to help shape the spiral. Lock in the spiral by hammering it against a bench block.
Create the Top Spiral Shape the Fibula Body
- Use fingers and pliers to bend the wire into the desired curves and loops, securing each bend by hammering gently against the bench block to lock the shape.
Shape the Fibula Body Add Beads (Optional)
- Slide beads onto the wire at desired locations, creating loops to hold them in place.
Add Beads (Optional) Create the Hook
- Bend the wire back on itself to create a hook that catches the pin. Tighten the hook using pliers or by hammering against the bench block.
Create the Bottom Spiral
- Add a final spiral at the end for aesthetic appeal and to prevent the sharp point from stabbing.
- Hammer the final spiral to lock the shape firmly in place.
Create the Bottom Spiral Final Adjustments
- If needed, bend the pin stem upwards to ensure a tight and secure catch when the pin is closed.
- Work harden the pin stem: Lay the pin stem on a bench block and gently hammer it to straighten and strengthen it if needed.
Final Adjustments


Read more: DIY Wonky House Brooches: The Fastest & Easiest Method
Tips
- Wear safety glasses and protective clothing.
- Practice creating the point on a scrap piece of wire first.
- The cross peen hammer helps to stretch the metal and polish the piece.
- Use your fingers and pliers to bend the wire, and secure shapes by hammering gently.
- Regularly check your work against your design sketch.