Looking for a stylish and affordable way to elevate your jewelry collection? Then look no further! This tutorial will guide you through the surprisingly simple process of crafting stunning chunky aluminum wire earrings and rings. Forget expensive designer pieces – with just a few basic tools and readily available materials, you can create unique, eye-catching jewelry that perfectly reflects your personal style. Aluminum wire is incredibly versatile, allowing for bold designs and a satisfyingly tactile crafting experience. Plus, the lightweight nature of the metal ensures comfortable wear, even for those who are sensitive to heavier jewelry.
Forget fiddly techniques and complicated instructions; this project is perfect for beginners and seasoned crafters alike. We'll walk you through each step, from selecting the right wire gauge to mastering the basic shaping techniques. Ready to unleash your inner artisan and create some seriously chic accessories? Let's dive into the step-by-step instructions and begin crafting your own DIY chunky aluminum wire earrings and rings.
Preparation and Safety Guidelines
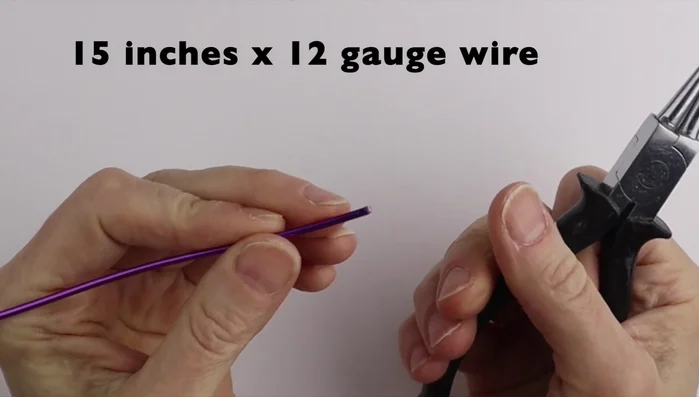
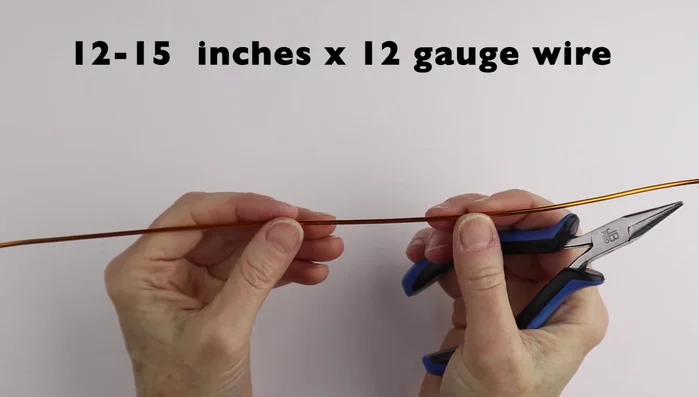
- 12 gauge aluminum wire
- round pliers
- flat pliers
- wire cutters
- earring hooks
- ring cone
- sharpie
- rubber mallet (optional)
- looping pliers (optional)
- nylon tip pliers (optional)
- Aluminum wire can be sharp. Handle with care and avoid touching your eyes or skin with the ends of the wire. Use wire cutters to cut the wire and not your teeth.
- Always supervise children if they are attempting this project. Keep small wire pieces out of reach of young children to prevent choking hazards.
- Avoid wearing the jewelry while sleeping, showering or swimming to help maintain its appearance and avoid potential skin reactions.
Step-by-Step Instructions
Prepare Earring Loops
- Cut a 12-inch piece of wire and form a loop at the top. Make a crisscross pattern below the loop.
Create Earring Spirals
- Bring one end of the wire around to create a spiral. Compare sizes and adjust as needed to make them even. Secure the ends.
Make and Attach Jump Rings
- Cut short pieces of wire and use round pliers to form small jump rings. Attach them to the earring hooks.
- Attach the jump rings to the earring loops and add earring hooks.

Make and Attach Jump Rings Create Flower Earring/Pendant
- Cut a 15-inch piece of wire and make a consistent loop using a sharpie to mark and round pliers to bend.
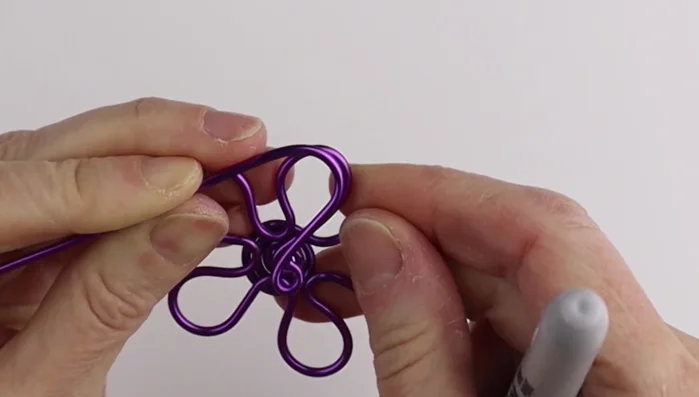
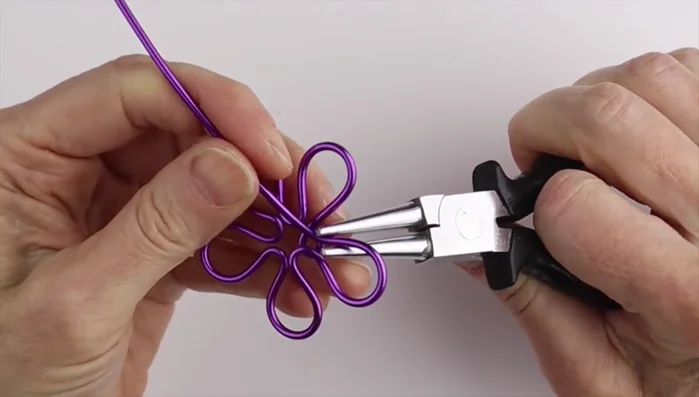
- Use a sharpie to mark petal shapes and round pliers to bend. Consistently form several petals, comparing sizes to ensure evenness.
- Bring all petals together, adjusting their positions. Secure using a ring cone to twist the wire several times, cut and tuck the excess wire.
Create Flower Earring/Pendant Make a Simple Wire Ring
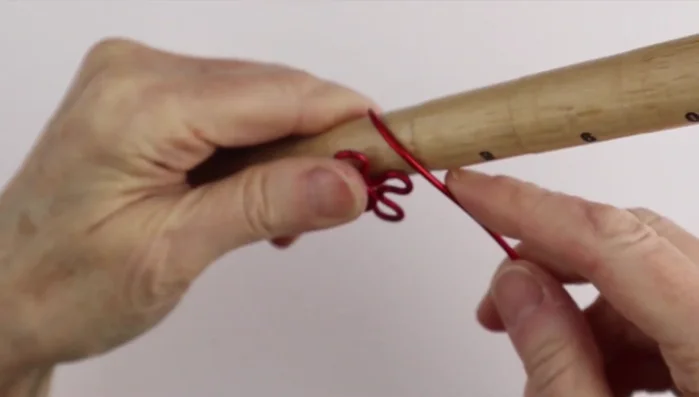
- Bend a 12-15 inch piece of wire in half. Use round pliers to start the curve, then use a ring cone to wrap the wire around, forming a ring.
- Separate the ends slightly, use the cone again to wrap the wire, cut flush and adjust ends carefully to lie flat.
Make a Simple Wire Ring Create a Flower Ring
- Cut a 15-inch piece of wire, form a small loop at one end, and bend in another loop for the center. Using round pliers, carefully shape and form the petals.
- Use the ring cone to secure the wire, and adjust the petals and center loop. Tuck excess wire into the ring.
Create a Flower Ring
Read more: Twisted Wire Spiral Earrings: A Step-by-Step Guide
Tips
- When making pairs (earrings), work on both at the same time to ensure they're even.
- Use a rubber mallet to gently tap and adjust the wire without scratching it.
- Be careful not to scratch the wire while working.
- Nylon tip pliers are helpful for delicate work and prevent scratching.