In the world of fashion, sometimes the simplest accessories make the biggest statement. A delicately crafted bangle bracelet can elevate any outfit, adding a touch of personal style without overpowering the overall look. And what if creating such a chic piece was easier than you think? This guide introduces you to the satisfyingly simple art of making your own button bangle bracelet, a project perfect for beginners and seasoned crafters alike. You'll discover how to transform humble buttons into a unique and stylish accessory, reflecting your personality and creativity.
Forget expensive jewelry stores; with just a few basic materials and a bit of patience, you can craft a beautiful, customized bangle in minutes. This step-by-step tutorial will walk you through the entire process, from selecting your buttons to securing the final clasp, allowing you to create a wearable masterpiece tailored to your exact taste. Get ready to unleash your inner designer and embark on this fun and rewarding crafting journey!
Preparation and Safety Guidelines
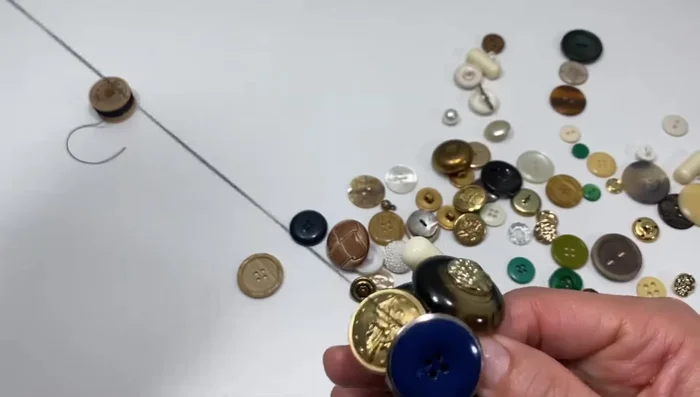
- Vintage buttons
- Sewing needle
- Button thread (recommended)
- Non-roll elastic (1-inch width recommended)
- Scissors
- Always supervise children if they are participating in this craft. Buttons and small parts present a choking hazard.
- Use strong, high-quality craft glue designed for jewelry making to ensure the buttons stay securely attached and the bracelet lasts longer.
- Be mindful of sharp edges on some buttons. Handle them carefully to avoid cuts or scratches.
Step-by-Step Instructions
Prepare the Elastic
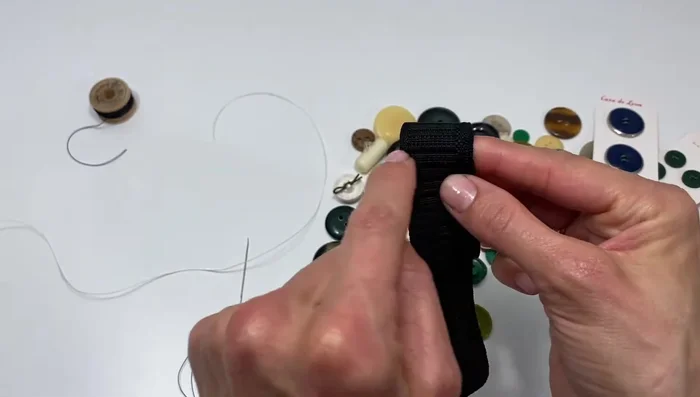
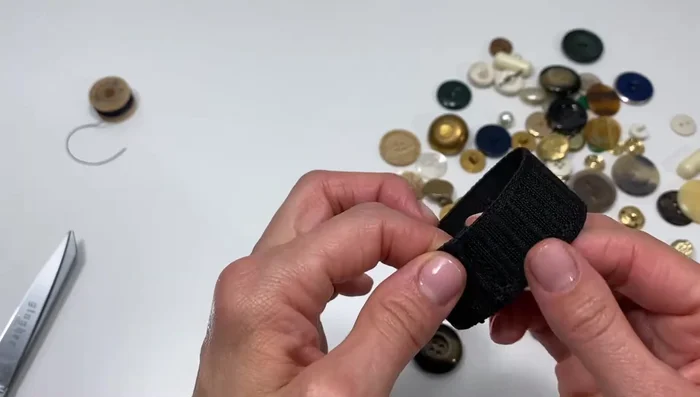
- Measure and cut your elastic to your desired wrist size, adding extra length for comfort or a tighter fit.
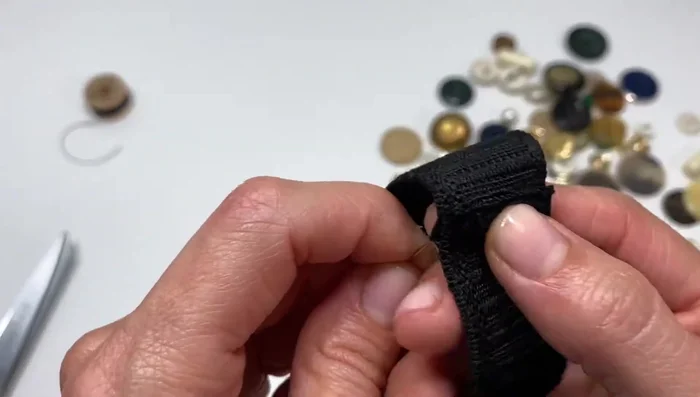
- Sew the ends of the elastic together securely using a sewing machine (or by hand) for strength and durability. Sew several times back and forth.

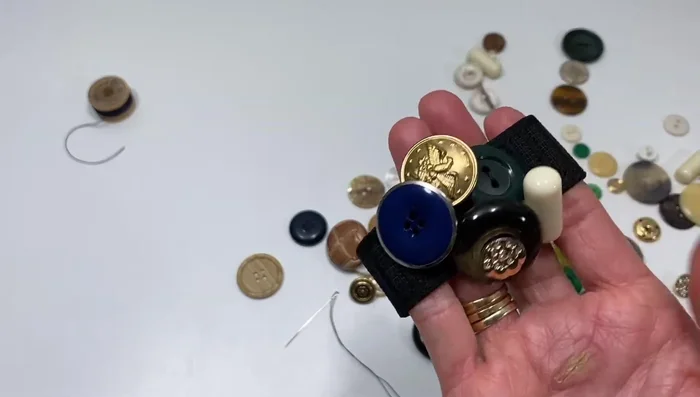
Prepare the Elastic Arrange and Plan Button Design
- Arrange your buttons on the elastic, overlapping them slightly to hide the elastic and create a visually appealing design. Consider color and size variations.
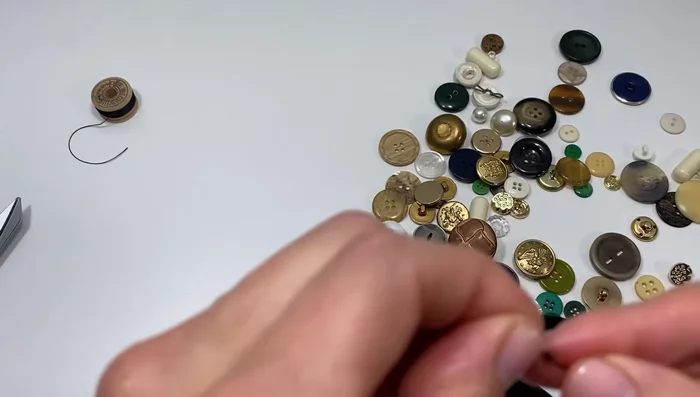
Arrange and Plan Button Design Sew the Buttons
- Begin sewing the buttons onto the elastic using a double-threaded needle and button thread (for added strength and less need for multiple stitches per button). Secure each button with several stitches, creating an X or straight lines depending on preference.
Sew the Buttons Create Button Shafts (Optional)
- To create a “button shaft” for dangling elements, sew the button in place, leaving some space, and wrap the thread several times around the elastic before securing it.
Create Button Shafts (Optional) Complete the Bracelet
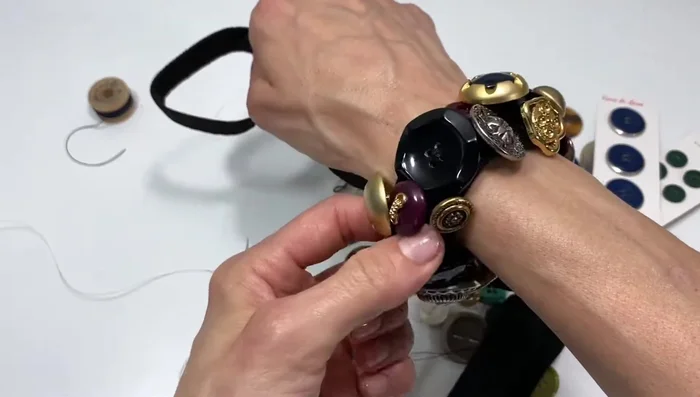
- Continue layering and sewing buttons until the entire elastic is covered, filling in any gaps. Experiment with button placement and layering for a unique design.
- Finish by securely knotting and trimming your thread ends.
Complete the Bracelet
Read more: DIY Crystal Bracelet: Easy Square Knot Tutorial
Tips
- Use button thread for a stronger, more secure stitch. It reduces the need for multiple passes through the button.
- Experiment with button placement and layering. Don’t be afraid to overlap buttons slightly to hide the elastic and create visual interest.
- Consider the color and size variations of your buttons for a cohesive and stylish design.
- If you find it easier, you can turn the bracelet inside out to sew the finishing stitches.