Summer is here, and what better way to celebrate the sunshine than with vibrant, handmade jewelry? This season, ditch the boring and embrace the bold with these easy-to-make DIY summer heat roll earrings! These stunning beaded earrings are perfect for adding a touch of playful elegance to any summer outfit, from casual beach days to chic evening gatherings. Forget expensive boutique prices – you can create these eye-catching pieces yourself with minimal supplies and even less effort. They're lightweight, comfortable, and endlessly customizable to match your unique style.
Get ready to unleash your inner artist and transform simple beads into a gorgeous pair of earrings. The following step-by-step tutorial will guide you through the entire process, from gathering your materials to securing the final touches, ensuring you create a beautiful and wearable pair of summer heat roll earrings in no time at all. Let's get started!
Preparation and Safety Guidelines
- 11-0 seed beads (black, yellow, orange, red, turquoise)
- Earring findings
- Nymo nylon thread (0.3mm)
- Size 10 beading needle
- Scissors
- Always supervise children if they are participating in any part of the crafting process. Small beads pose a choking hazard.
- Avoid wearing beaded jewelry while sleeping or participating in strenuous activities to prevent breakage or potential injury.
- Use strong, jewelry-grade wire or thread to ensure the durability of your earrings. Avoid using materials that might easily break or fray.
Step-by-Step Instructions
Prepare the Thread and Create the Initial Knot
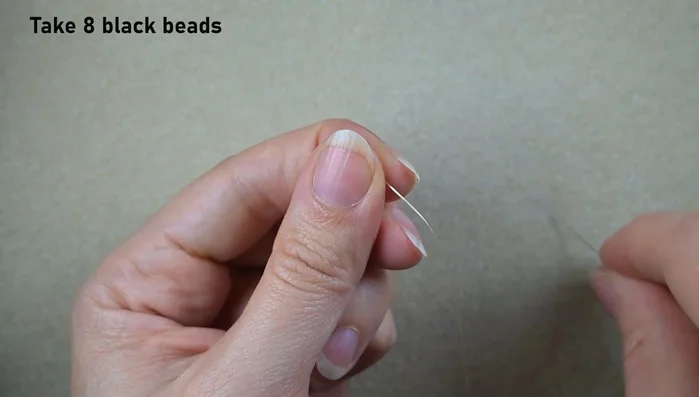
- Create a knot at the end of the thread to secure the beads.

Prepare the Thread and Create the Initial Knot Create the Black Bead Knob
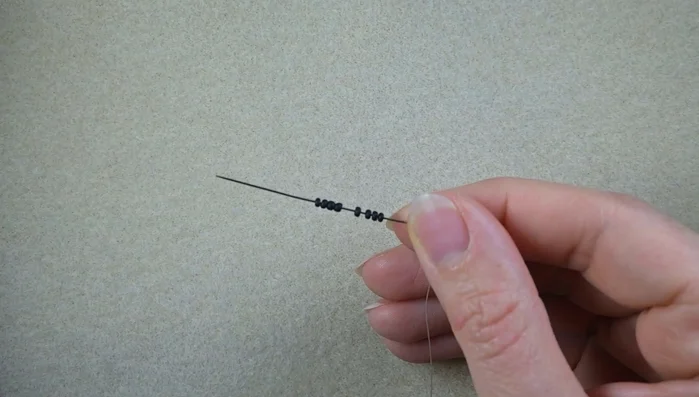
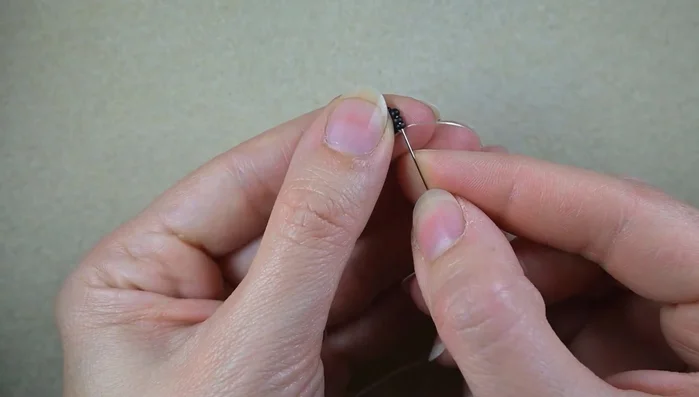
- Pick up eight black beads and create a knob by looping the thread twice through the beads.
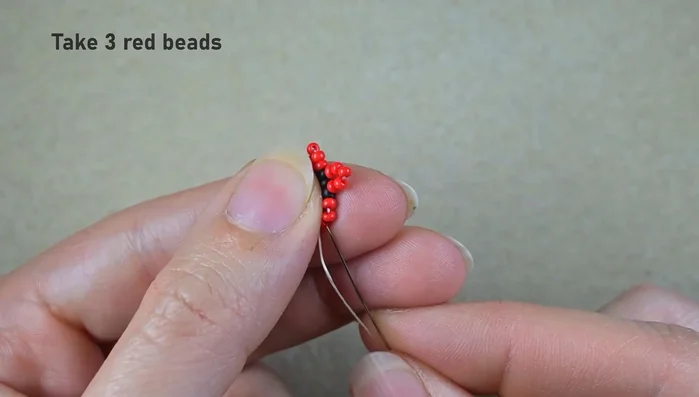
Create the Black Bead Knob First Red Bead Row
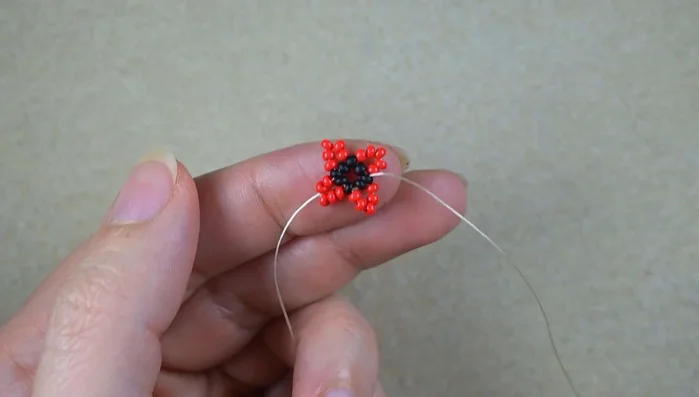
- Go through the two black beads, then add five red beads. Skip the next bead and go through the following one.
- Repeat step 3 multiple times to create the rows of red beads.
First Red Bead Row Second Red Bead Row
- Go through the two red beads, add three red beads, skip the central one, and go through the following three.
- Repeat step 5 several times, adding three red beads each time and skipping the central bead.
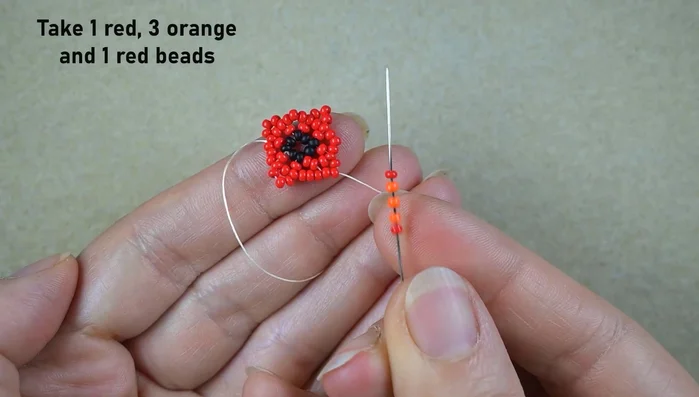
Second Red Bead Row Orange Bead Row
- Add one red bead, three orange beads, and one red bead (five beads total) through the central bead of the previous row.
- Repeat step 7 multiple times to complete the row.
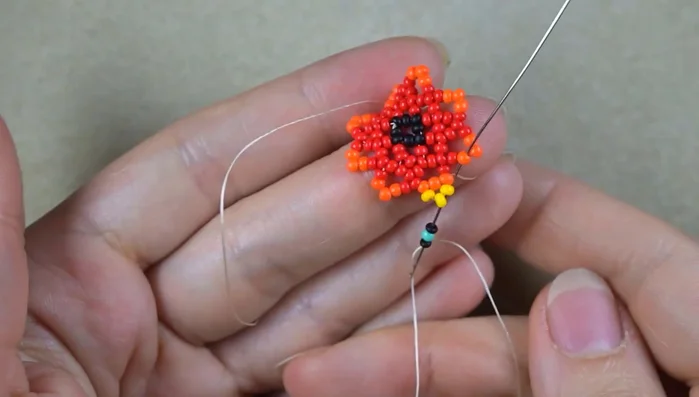
Orange Bead Row Yellow and Turquoise Bead Row
- Add three yellow beads, skip the central orange bead, and go through the next one.
- Add one black, one turquoise, and one black bead, going through the first of three orange beads.
- Repeat steps 9 and 10 multiple times to complete the row.
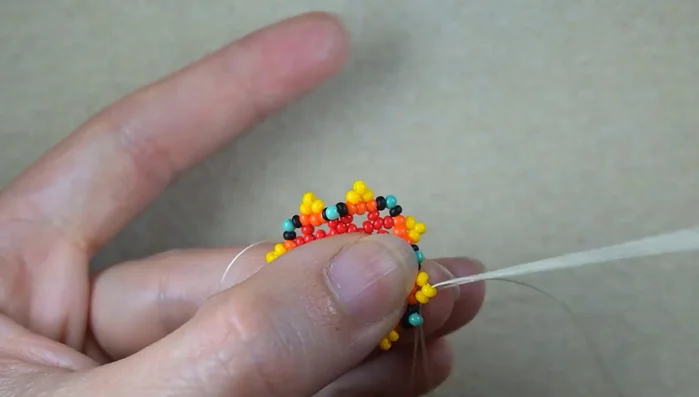
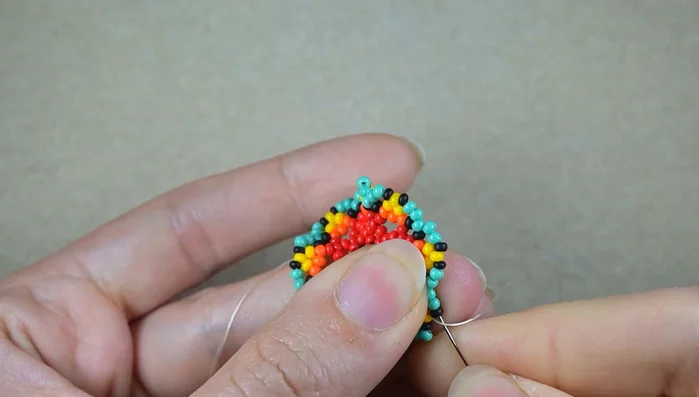
Yellow and Turquoise Bead Row First Turquoise and Black Bead Row
- Go through the middle yellow bead and add one black bead and two turquoise beads.
- Alternate between adding one black and two turquoise beads and two turquoise and one black bead, following the pattern created by the existing beads.
- Repeat step 13 until the end of the row.
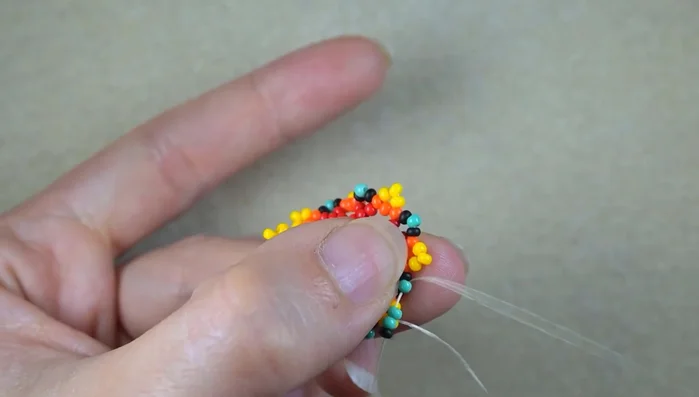
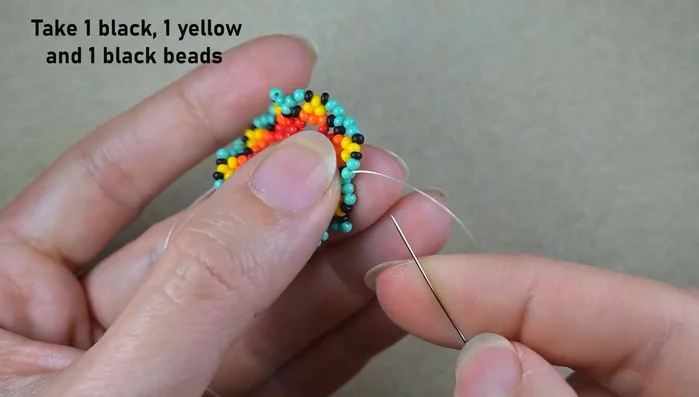
First Turquoise and Black Bead Row Second Turquoise and Black Bead Row
- Go through the black bead, then through the following three turquoise beads, going through the inner angle.
- Add one black, one yellow, and one black bead, going backwards through a turquoise bead before the angle and through the angle.
- Repeat steps 15 and 16 until the end of the row.
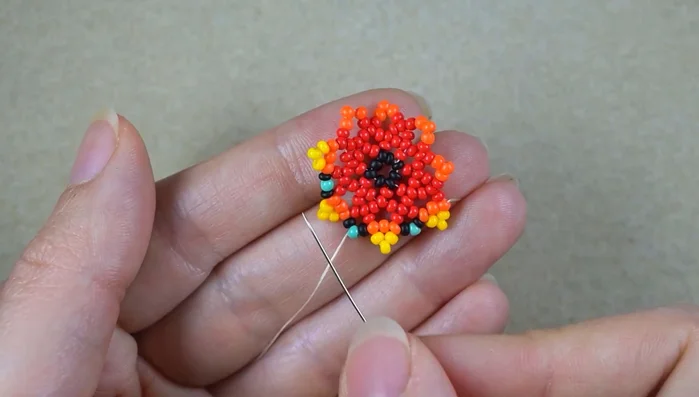
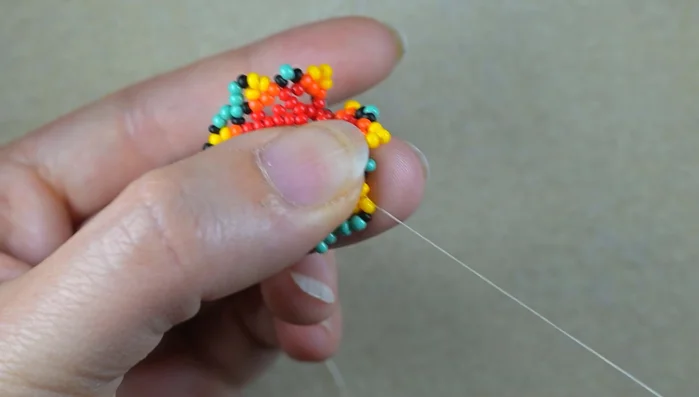
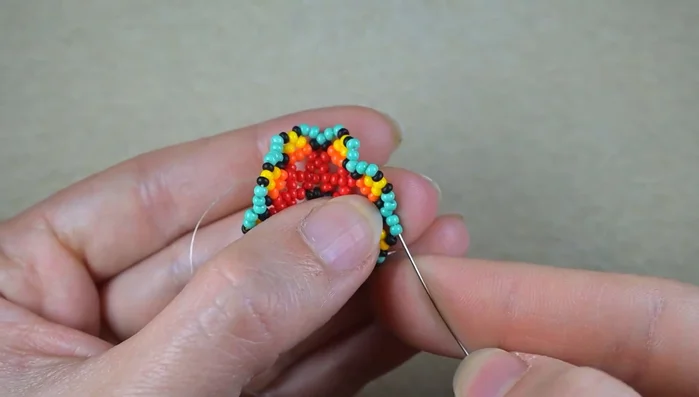
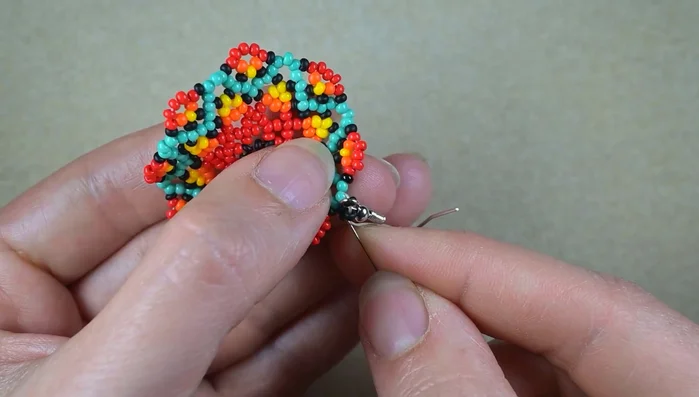
Second Turquoise and Black Bead Row Finishing and Securing
- Add the final beads, and then secure the earring findings.
- Reinforce the joint by going several times around it, make a knot, and cut the thread.
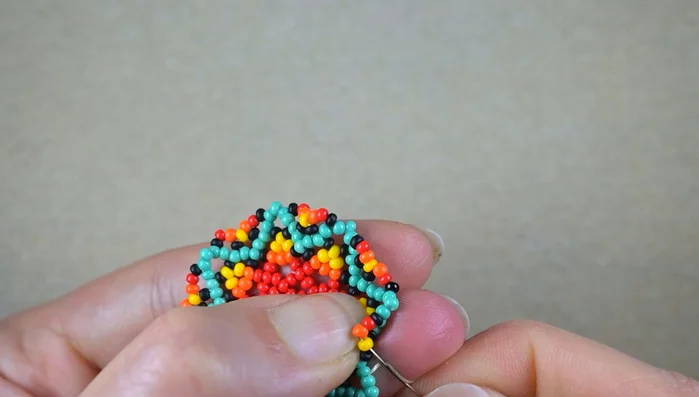
Finishing and Securing

Read more: Twisted Wire Spiral Earrings: A Step-by-Step Guide
Tips
- If your work doesn't straighten up, try ironing it with a cotton cloth and applying clear nail polish.
- Ensure consistent bead sizes for a smoother finish.