Add a touch of sparkle and personality to your everyday routine with this simple DIY beaded mirror ring! This elegant accessory, perfect for adding a subtle yet sophisticated flair to any outfit, is surprisingly easy to create, even for beginners. Forget expensive jewelry stores – you can craft your own unique piece using readily available materials and minimal tools. This tutorial will guide you through the process of transforming a plain mirror into a stunning, personalized statement piece, showcasing your creativity and adding a touch of handmade charm to your style.
Forget complicated techniques and expensive supplies; this project is all about effortless elegance. We'll walk you through each step, from gathering the necessary materials to securing the final bead, ensuring a beautiful and long-lasting result. Ready to transform a simple mirror into a dazzling piece of jewelry? Let's dive into the detailed, step-by-step instructions below.
Preparation and Safety Guidelines
- Plastic ring
- Thread
- Needle
- Glue
- Beads
- Always supervise children when working with small beads and sharp objects like scissors or jewelry pliers. Beads pose a choking hazard.
- Use strong adhesive suitable for both glass and metal to ensure your beaded design remains securely attached to the mirror. Test it on an inconspicuous area first.
- Work in a well-lit area to avoid eye strain and ensure accurate placement of the beads. If you are using strong adhesives, ensure adequate ventilation.
Step-by-Step Instructions
Prepare the Ring Base
- Use a slightly thicker plastic ring. Double it up for sturdiness.
- Attach two smaller rings to the border of the main ring using glue for extra strength. This makes threading easier.
- Apply a small amount of glue to the joined rings and let it dry completely. This prevents the rings from coming apart during crafting.

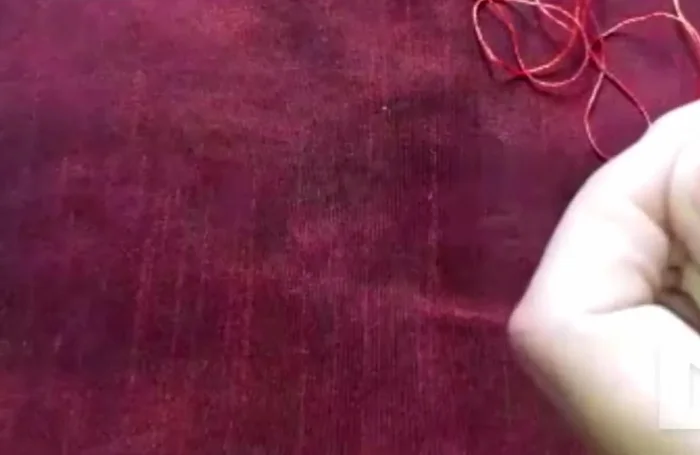
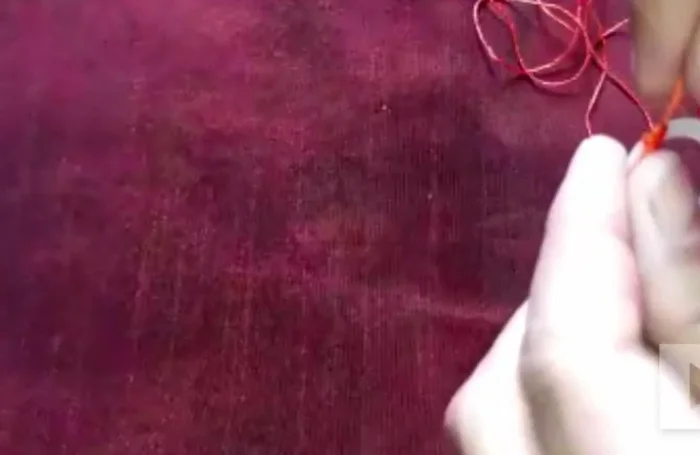
Prepare the Ring Base Thread the Ring
- Start threading the chosen color(s) of thread through the ring. You can use two colors for a more vibrant look.
- Thread consistently around the ring until you've covered it entirely. Use a knot to prevent unraveling.
Thread the Ring Attach the Backing
- Secure the backing material (e.g., felt or fabric) to the back of the ring with a few stitches. This adds stability and a finished look.
- Add more glue or stitches to the back to ensure the backing is firmly attached and won't shift.
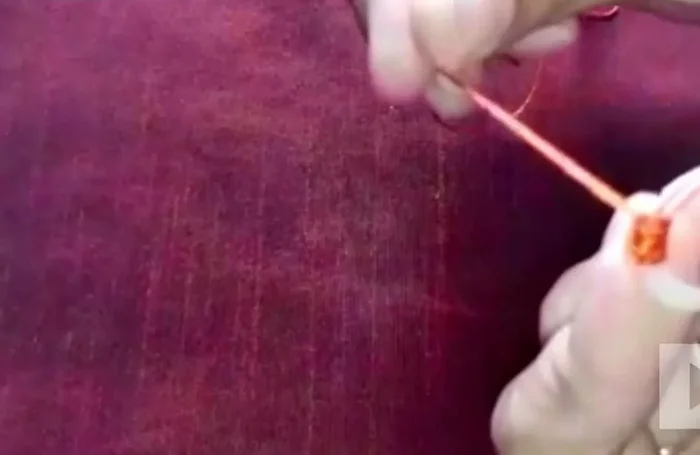
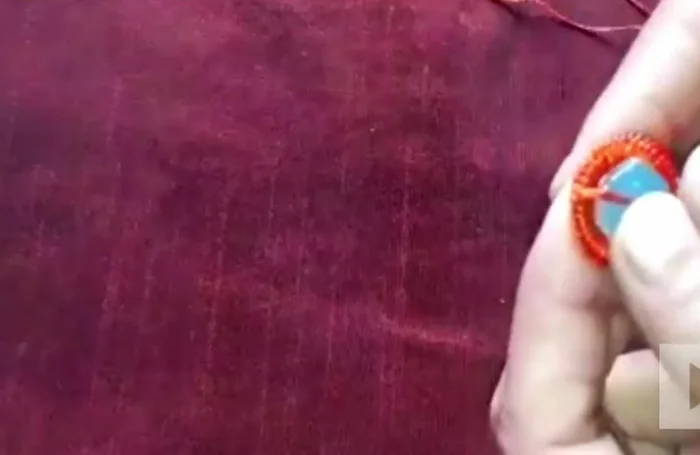
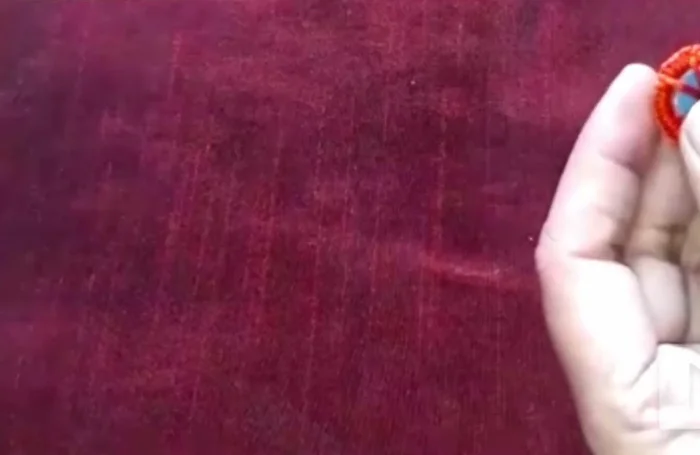
Attach the Backing Add Beads
- Attach beads at regular intervals around the ring for embellishment.
- Finish attaching the beads all the way around the ring.
Add Beads Finish and Secure
- Neatly tuck the thread ends to the back and secure them with glue to prevent them from showing on the front.
Finish and Secure


Read more: DIY Wonky House Brooches: The Fastest & Easiest Method
Tips
- Use a thicker plastic ring for added durability.
- Reinforce the ring edges to make threading easier and more secure.
- Use glue strategically to ensure the reinforcement and backing stay in place.
- Choose thread colors that complement each other or match your outfit.
- Securely fasten the backing material to prevent the threads from coming loose.