Summer is here, and what better way to celebrate the vibrant season than with a pair of dazzling, handcrafted earrings? This tutorial guides you through creating lightweight and summery beaded and fringe earrings, perfect for adding a touch of bohemian chic to any outfit. Forget expensive jewelry stores; with just a few simple materials and a little patience, you'll be able to create these beautiful statement pieces yourself. These earrings are incredibly versatile, easily adaptable to your favorite colors and styles, allowing for endless customization.
Imagine the compliments you'll receive while sporting these effortlessly stylish earrings. They're lightweight enough for all-day wear, making them ideal for those long, sunny days. Ready to get started on your own pair of unique, summery beaded and fringe earrings? Let's dive into the easy-to-follow step-by-step process below!
Preparation and Safety Guidelines
- Felt (triangle, ~2cm per side)
- Ivory seed beads (size 10)
- Single thread (1.5m)
- Crystals
- Small seed beads
- Synthetic leather
- Stud earring findings
- Glue (super glue & fabric glue)
- Needle
- Pliers
- Scissors
- Always supervise children if they are participating in any crafting activities involving small parts like beads. Ingestion can be dangerous.
- Use sharp tools like wire cutters or jewelry pliers with caution. Keep fingers away from cutting edges.
- Avoid wearing beaded earrings while sleeping or engaging in strenuous activities to prevent damage or loss.
Step-by-Step Instructions
Create the Earring Base
- Create the earring outline using ivory seed beads. Start by securing the thread in the middle of the felt triangle and work your way around, adding one bead at a time, skipping enough space to fit one bead between each.
- Secure the seed beads by passing the needle through adjacent beads. This creates a strong and neat outline.
- Embroider the felt triangle with larger crystals and seed beads. Fill in gaps with smaller beads to cover the felt completely.

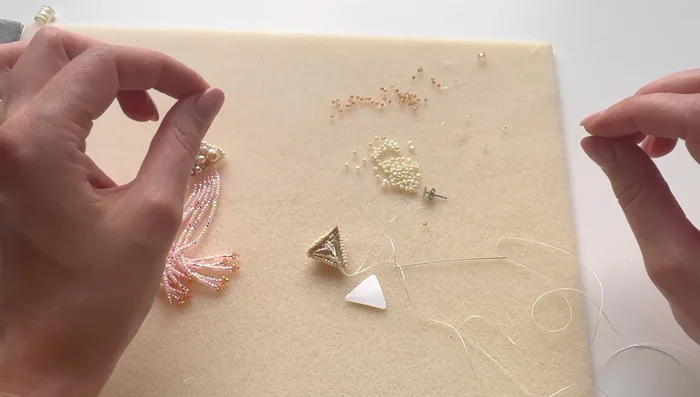
Create the Earring Base Prepare the Earring Back
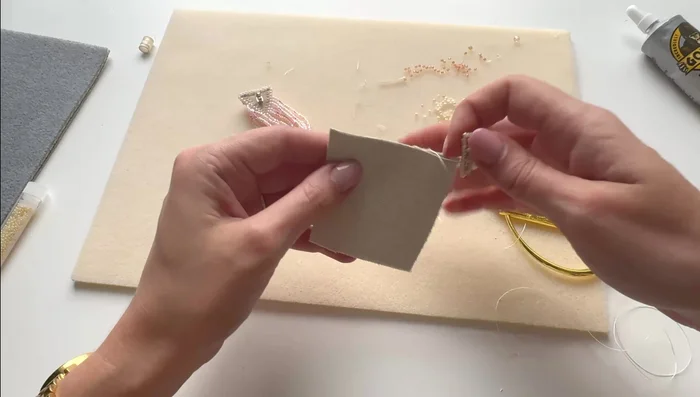
- Prepare the back of the earring. Cut a small piece of synthetic leather to cover the back. Attach a stud finding to the felt using super glue.
- Glue the synthetic leather piece to the back of the felt, ensuring all edges are secured. Trim any excess material.
Prepare the Earring Back Make the Fringe
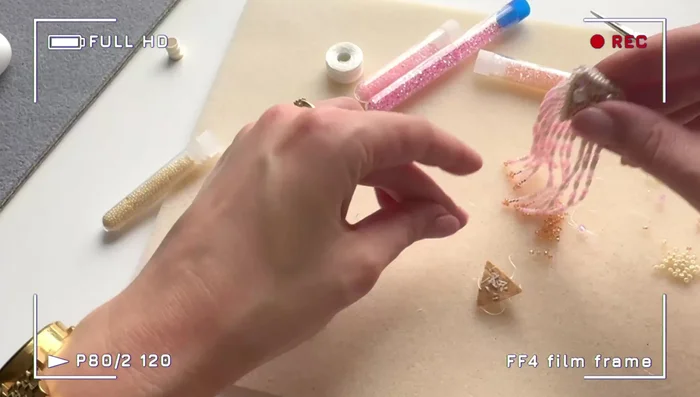
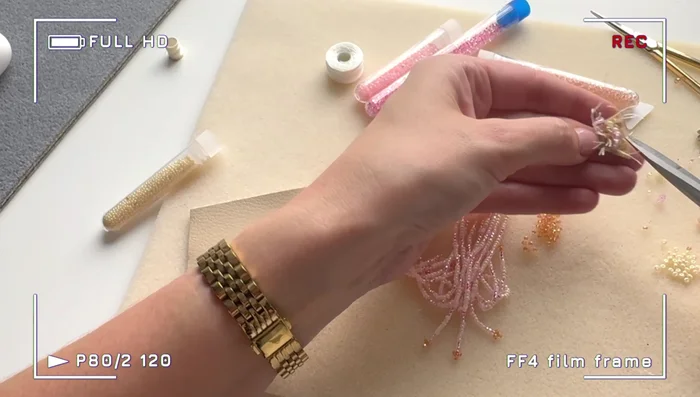
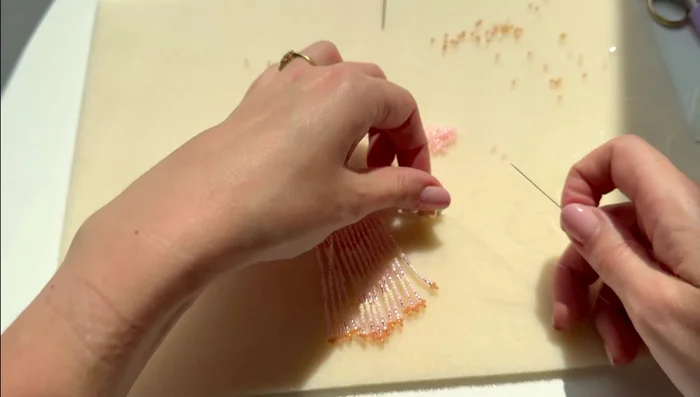
- Create the fringe. Prepare strands of seed beads and crystals in a repeating pattern (e.g., three pink, three silver, three ivory).
Make the Fringe Attach the Fringe
- Attach the fringe strands to the back of the earring, securing the thread carefully to prevent it from being visible.
Attach the Fringe


Read more: Twisted Wire Spiral Earrings: A Step-by-Step Guide
Tips
- Don't start with embroidery; create the bead outline first for better structure and easier embroidery placement.
- Use super glue carefully when attaching the stud. A small amount is sufficient to avoid ruining the project.
- Be patient and meticulous when gluing the back piece and adding the fringe to ensure a neat and professional finish.