Looking for a unique and stylish accessory to add to your jewelry collection? Forget mass-produced earrings; unleash your creativity with this simple yet striking DIY project! We'll guide you through crafting elegant abstract aluminum wire earrings, perfect for adding a touch of modern artistry to any outfit. These earrings are surprisingly easy to make, requiring minimal materials and tools, making them ideal for both beginners and experienced crafters. The process allows for endless customization, so you can tailor your design to perfectly reflect your personal style. Prepare to be amazed by how easily you can transform humble aluminum wire into captivating works of wearable art.
Ready to get started on creating your own pair of stunning aluminum wire earrings? Follow our detailed step-by-step tutorial below, complete with helpful images and tips to ensure a successful and enjoyable crafting experience. Let's dive into the exciting world of wire-wrapped jewelry!
Preparation and Safety Guidelines
- 12 gauge aluminum wire (25 inches)
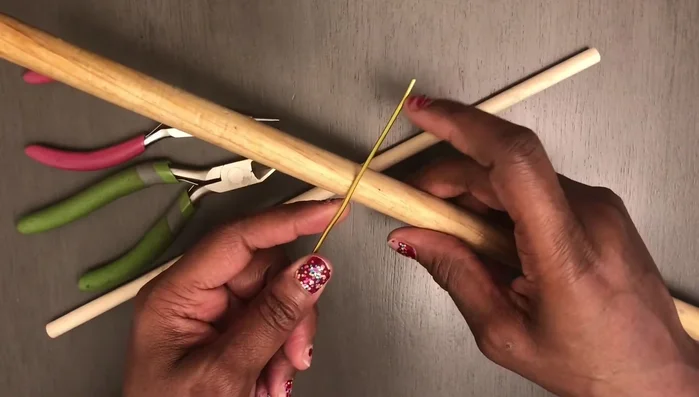
- Two dowels (approximately 0.5 inch thick)
- Round nose pliers
- Wire cutters
- Always use wire cutters designed for aluminum wire. Attempting to cut the wire with other tools can lead to injury or damage the wire.
- Be mindful of sharp wire ends. Always file or gently sand down any sharp edges after cutting to prevent cuts or scratches.
- Avoid wearing the earrings while sleeping or showering to prevent damage or accidental injury.
Step-by-Step Instructions
Form the Base Loop
- Make a loop at the end of your wire (approximately 2.5 inches from the end).
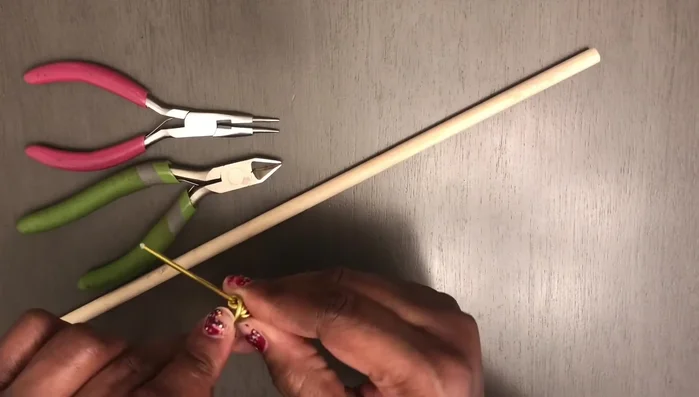
- Twist the loop and pinch one side up. Wrap the shorter side around the wire several times (5-6 times suggested).
- Bring the wire down and wrap it around the base of the already created structure.

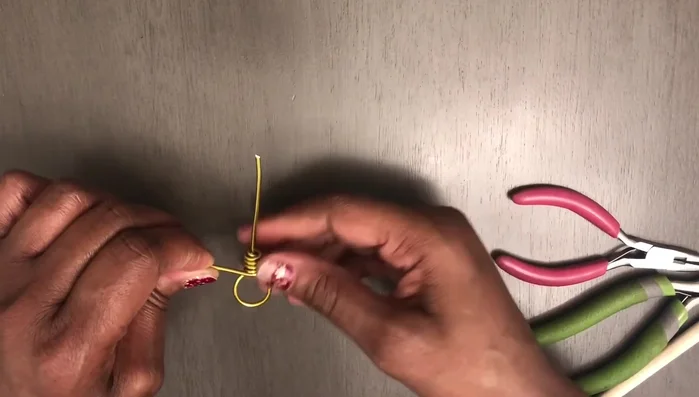
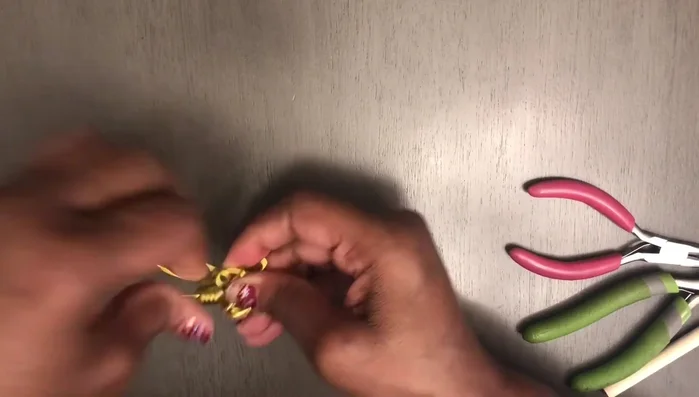
Form the Base Loop Create the Central Loops
- Create five loops along the wrapped wire. Aim for the central loop to be in the middle of your initial large loop.
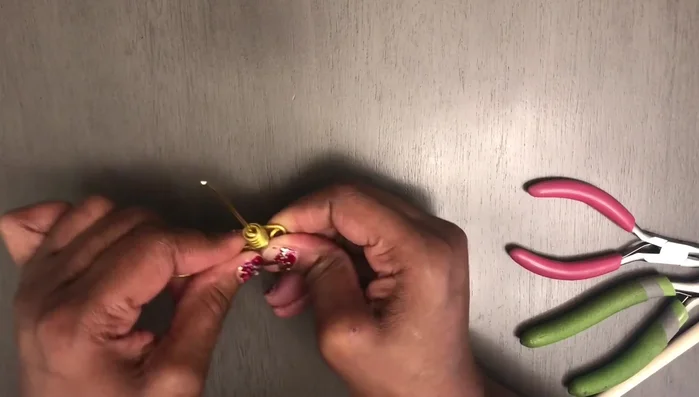
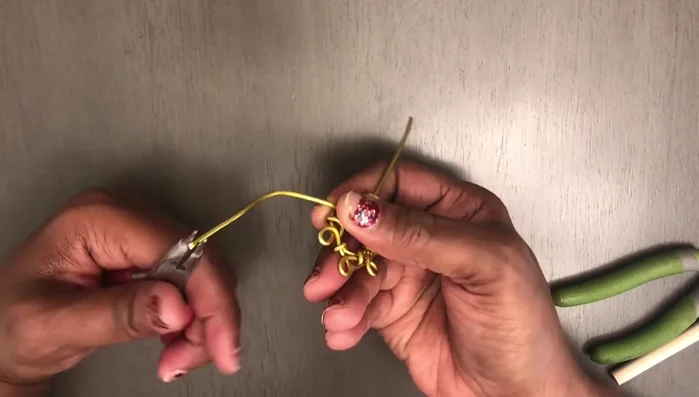
Create the Central Loops Secure the Wire
- Take the wire to the back of the earring piece. Bring the wire through the front, then back through the other side, repeating this process several times to secure.
Secure the Wire Finish the Earring
- Tuck the remaining wire through the opening at the top of the earring.
- Create spirals at the bottom of the earring using your pliers and fingers.
- Use a dowel to form a loop at the top of the earring, then cut off the excess wire.
Finish the Earring Refine and Adjust
- Make adjustments as needed.
Refine and Adjust


Read more: Twisted Wire Spiral Earrings: A Step-by-Step Guide
Tips
- Don't be afraid to experiment! Each earring may vary slightly, even when following the same steps precisely.