Embrace your inner artist and add a touch of vibrant personality to your style with these adorable DIY Afro lady earrings! This easy craft tutorial will guide you through creating unique and eye-catching accessories, perfect for adding a playful flair to any outfit, whether it's a casual daytime look or a glamorous evening ensemble. Forget expensive jewelry stores – these charming earrings are surprisingly simple to make, using readily available materials and requiring minimal crafting experience. They're also incredibly customizable, allowing you to experiment with colors and embellishments to match your individual style.
Get ready to unleash your creativity and transform ordinary materials into extraordinary earrings! This step-by-step guide will walk you through each stage of the process, from gathering your supplies to proudly displaying your handmade masterpiece. Let's dive in and create some seriously cute Afro lady earrings together!
Preparation and Safety Guidelines
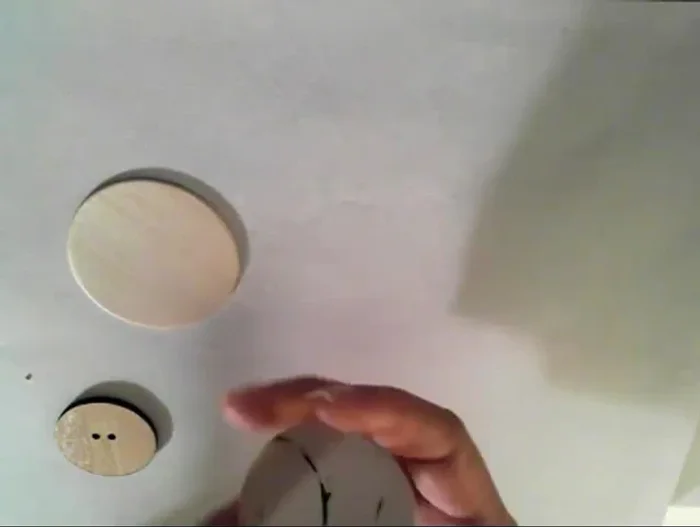
- 2-inch (or larger) wooden circle shapes
- Acrylic paint (various colors)
- Paintbrushes
- Pencil
- Button (optional, for tracing)
- Primer (optional)
- Beater (optional, for fine detail)
- Always supervise children if they are participating in any part of the crafting process. Small earring components present a choking hazard.
- Use hypoallergenic materials if you have sensitive ears or are making earrings for someone with sensitive ears. Test a small area of skin before wearing new earrings.
- Clean your work surface and tools before and after crafting to prevent cross-contamination and ensure the safety and hygiene of your finished product.
Step-by-Step Instructions
Prepare the base
- Apply a primer or white base coat for color vibrancy.

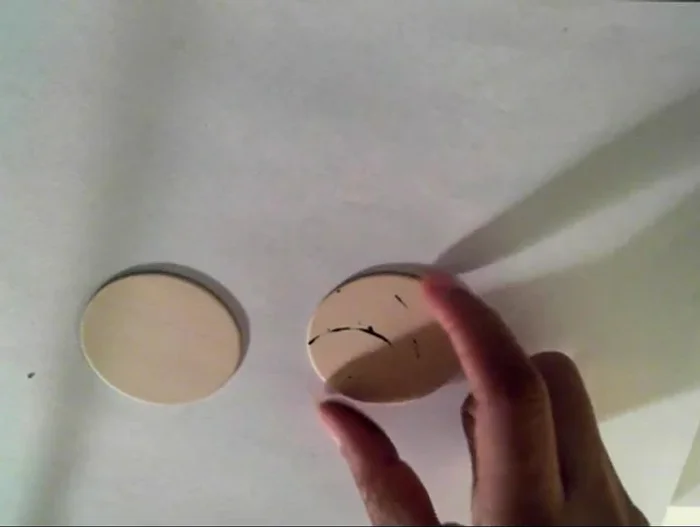
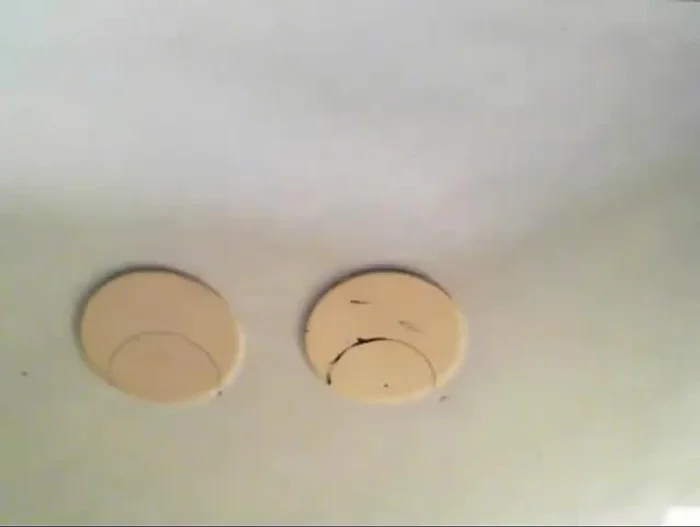
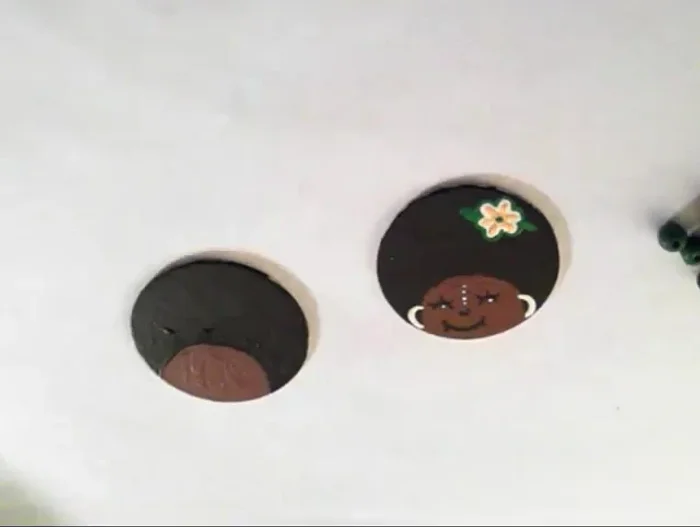
Prepare the base Sketch the face
- Trace a face shape onto the wood using a button, coin, or freehand drawing.
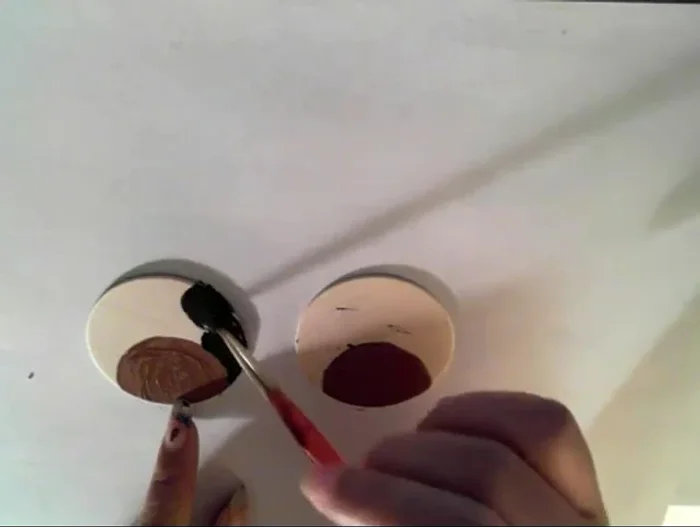
Sketch the face Paint the face and afro
- Paint the face (brown in this example).
- A separate tutorial on adding hair texture is promised.
Paint the face and afro First drying
- Let the paint dry completely.
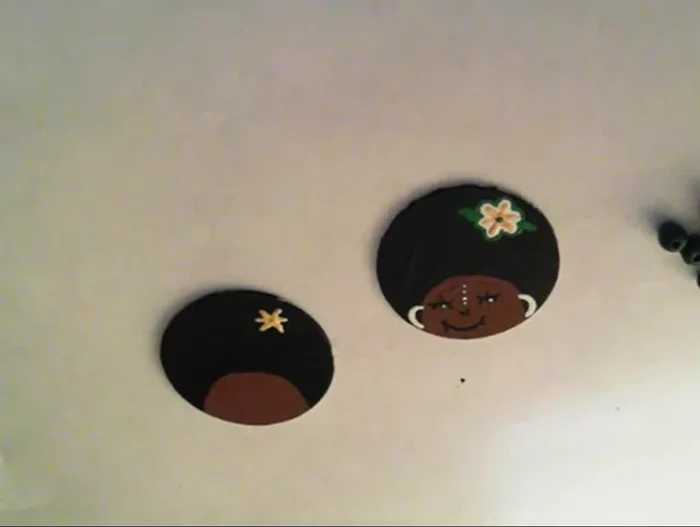
First drying Add the flower
- Add a simple flower design using yellow and green paint.
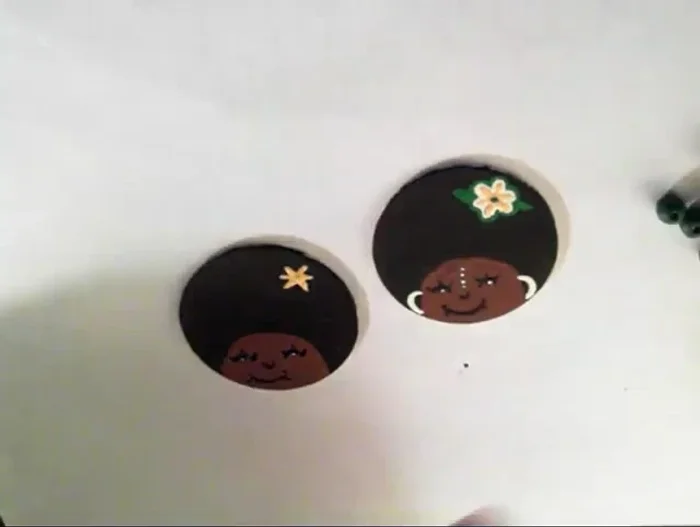
Add the flower Add facial features
- Add eyes, nose, and mouth to the face. Make them slightly imperfect for a more charming look.
- Add small details such as eyelashes.
- Add white dots for highlights in the eyes.
- Add small details to the sides of the face.
Add facial features Add earring accents
- Create small white earring accents.
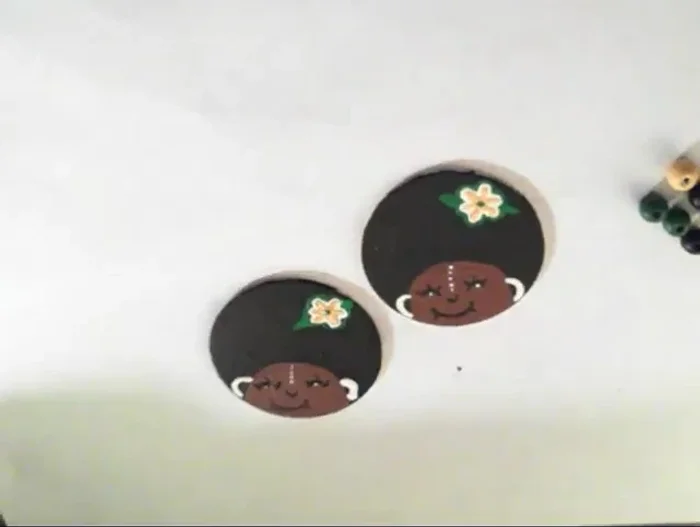
Add flower details
- Add final flower details using white and green paint and a detail tool (beater).
Add flower details Final drying
- Let the paint dry completely before use.
Final drying


Read more: Twisted Wire Spiral Earrings: A Step-by-Step Guide
Tips
- Use a primer or white base coat to make colors pop.
- Don't worry about making the features perfect; slightly imperfect details add charm.
- Get creative with colors and details!