Have you ever dreamt of creating uniquely beautiful jewelry with your own hands? Electroforming offers a captivating way to achieve just that, allowing you to encase stunning crystals in a shimmering layer of copper. This process, while sounding complex, is surprisingly accessible to beginners. Imagine the elegant, shimmering pendant you can craft, a piece reflecting both your artistic skill and the natural beauty of the crystal you choose. The result is a truly one-of-a-kind accessory, perfect for personal use or a thoughtful gift.
This tutorial will guide you through each step of creating your own DIY copper electroformed crystal pendant, from preparing your materials to the final polishing. We'll break down the process into manageable, easy-to-follow instructions, perfect for crafting enthusiasts of all levels. Prepare to be amazed by the transformative power of electroforming as you watch your chosen crystal transform into a breathtaking piece of jewelry. Let's begin!
Preparation and Safety Guidelines
- 14 gauge copper wire
- ring sizer
- epoxy (part A and B)
- stone
- copper conductive paint
- liquid latex
- hanging wire
- buzz bar
- rectifier
- distilled water
- baking soda
- liver of sulfur
- hot water
- steel wool
- soft cloth
- wax
- Copper electroforming involves electricity and chemicals. Always wear gloves and eye protection. Work in a well-ventilated area.
- Use distilled water for the electrolyte solution to avoid impurities affecting the electroforming process and the final product's quality.
- Never mix chemicals haphazardly. Follow the recipe precisely and dispose of used chemicals responsibly according to local regulations.
Step-by-Step Instructions
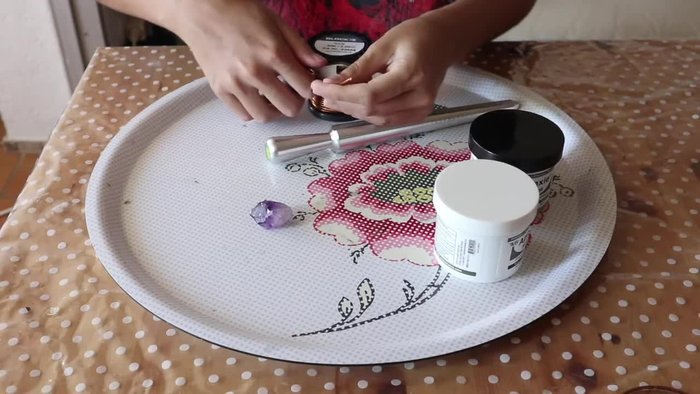
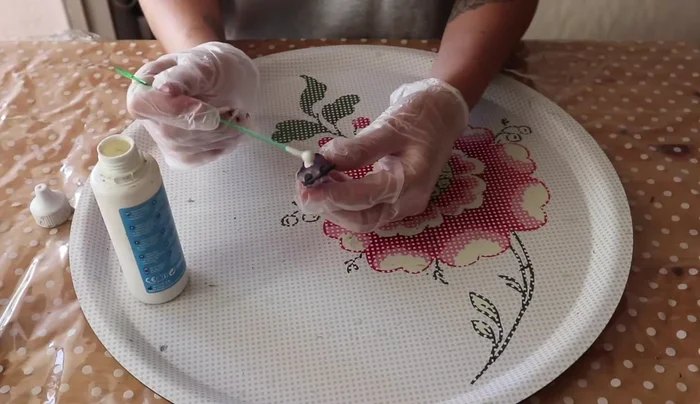
Prepare the Crystal and Bail
- Prepare the copper wire bail.
- Mix epoxy and apply it to the ends of the copper wire.
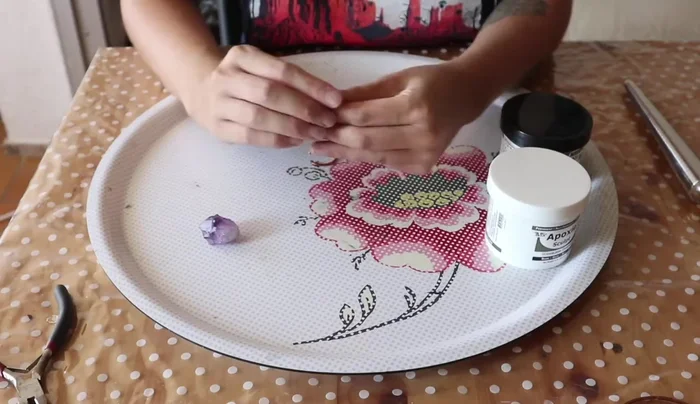
- Attach the copper wire to the stone.
- Let the epoxy cure for at least 8 hours.

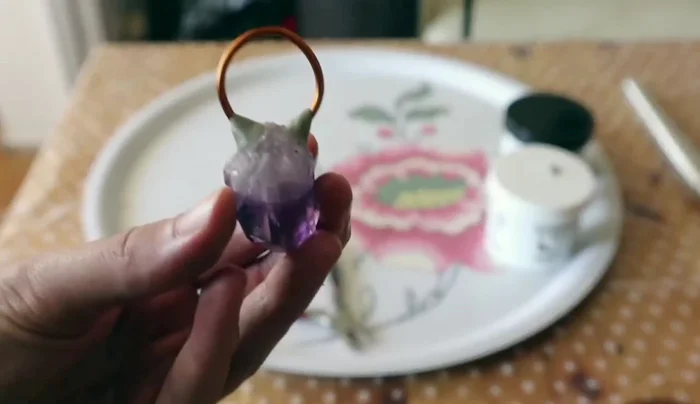
Prepare the Crystal and Bail Prepare for Electroforming
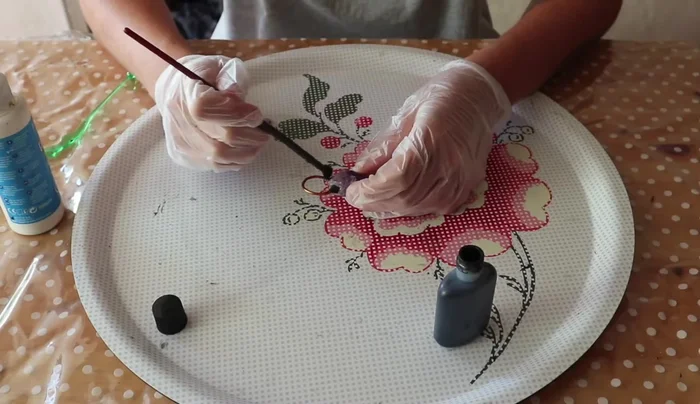
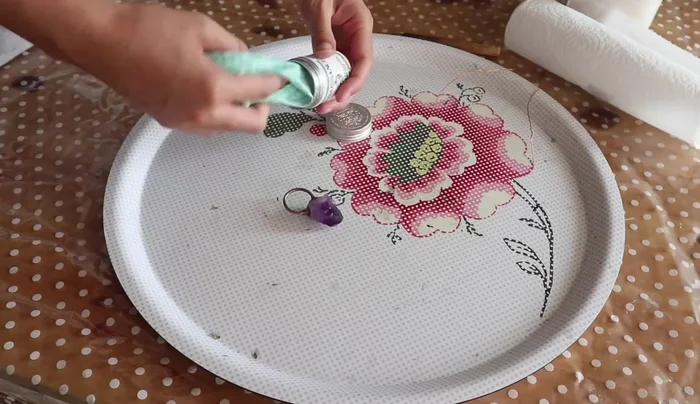
- Paint the epoxy and copper wire with copper conductive paint (if using bare copper wire, skip this step).
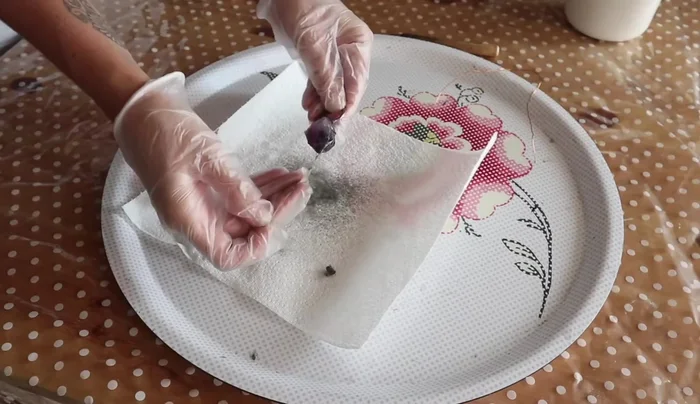
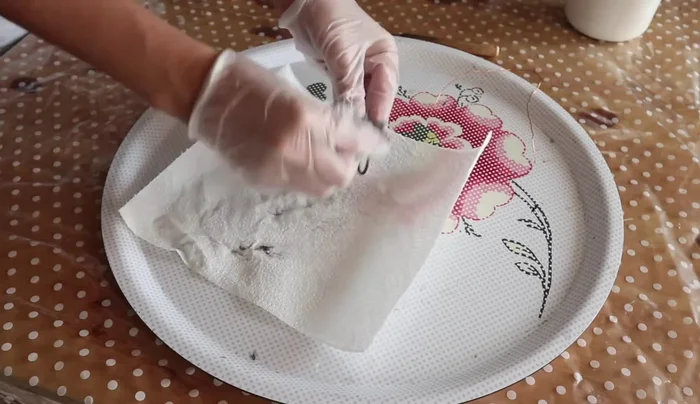
- Apply liquid latex to areas of the crystal you don't want copper to form on.
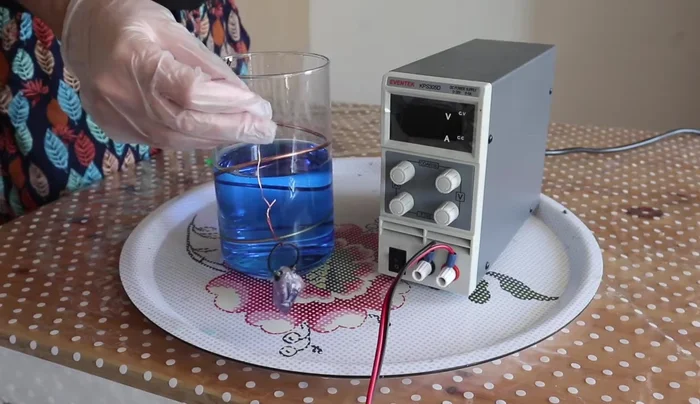
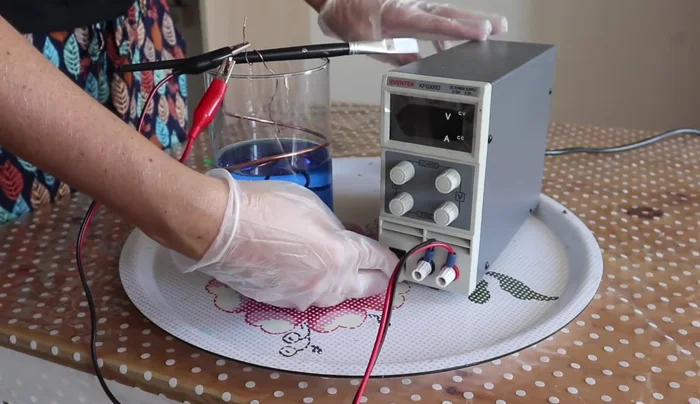
Prepare for Electroforming Electroforming Process
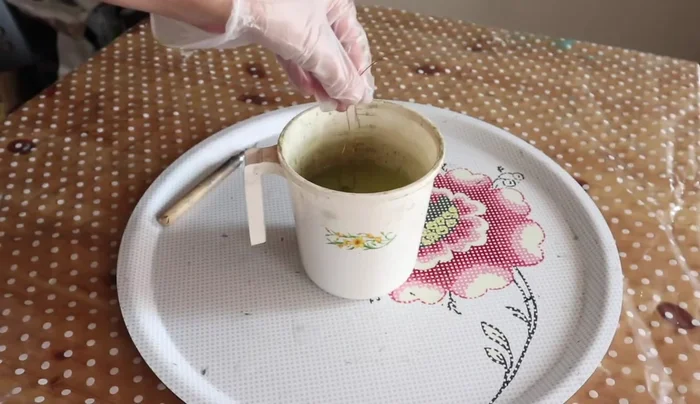
- Prepare the electroforming bath, attach the hanging wire, and connect the wires to the rectifier.
- Electroform for 12 hours.
Electroforming Process Post-Electroforming Cleaning and Finishing
- Rinse the pendant with distilled water and baking soda.
- Remove the liquid latex.
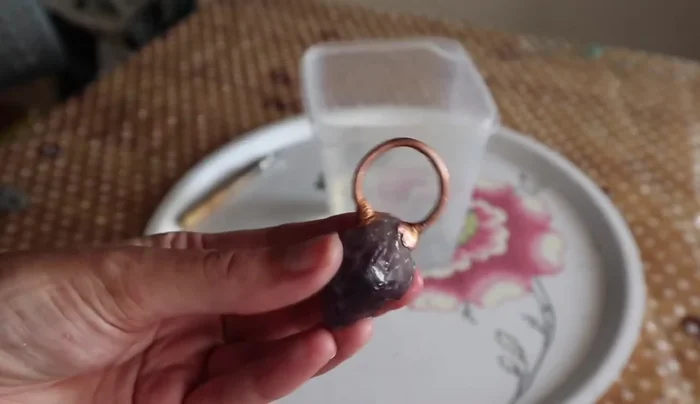
Post-Electroforming Cleaning and Finishing Adding Patina and Protection
- Apply antique look using liver of sulfur.
- Polish the copper with steel wool.
- Seal the pendant with wax.
Adding Patina and Protection

Read more: Elegant Russian Spiral Necklace Tutorial: A Step-by-Step Guide
Tips
- Ensure no fingerprints are on the epoxy.
- Apply two coats of copper conductive paint for better coverage.
- Apply a second coat of liquid latex if needed.