Clay earrings are having a moment, and for good reason. Their versatility allows for a stunning range of styles, from minimalist chic to bold and maximalist designs, all with a handcrafted touch that elevates any outfit. The tactile nature of clay makes creating them a rewarding experience, and the possibilities for color, texture, and shape are truly endless. Whether you’re a seasoned crafter or a complete beginner, the beauty of clay earrings lies in their accessibility and the unique personal expression they offer. You'll be surprised at how easy it is to create truly statement pieces.
This tutorial will guide you through the process of creating your own stunning, big, and bold clay earrings, from preparing the clay to the final finishing touches. Get ready to unleash your creativity and learn the step-by-step process, transforming simple clay into eye-catching accessories you'll be proud to wear.
Preparation and Safety Guidelines
- Polymer clay (translucent)
- Bakeable mold
- Roller
- Sharp blade
- Clay paste
- Atlas pasta machine
- Floral texture sheet
- Aluminum disposable pan
- Parchment paper
- Liquid clay
- Pan pastels (blue, purple)
- Baby wipes
- Unicorn purple metallic crater long powders
- Hand drilling tool
- Jump rings
- 22 gauge silver wire
- Round nose pliers
- Seed beads
- Matte varnish
- Always work in a well-ventilated area. Clay dust can be harmful if inhaled.
- Use appropriate safety glasses to protect your eyes from flying clay or glaze particles during the shaping and firing process.
- Ensure your oven or kiln is used according to the manufacturer's instructions. High temperatures pose burn risks.
Step-by-Step Instructions
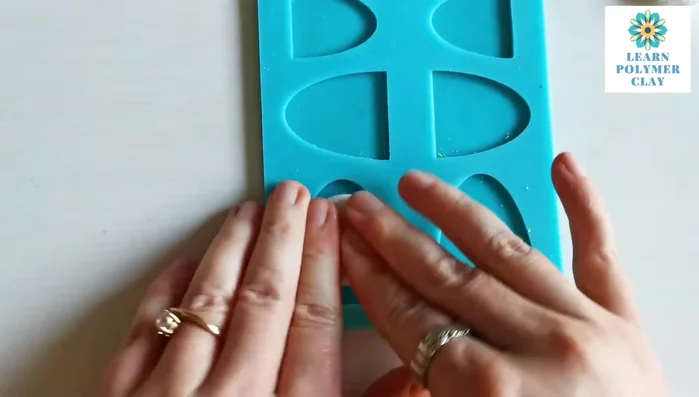
Prepare Clay Base
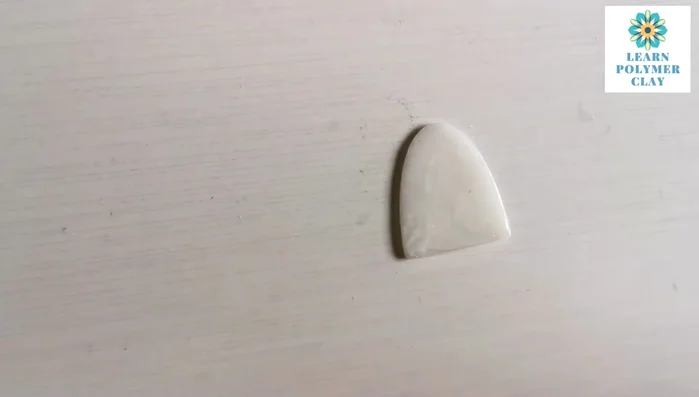
- Condition translucent polymer clay and roll into a bowl shape. Press into a bakeable mold, using fingers and a roller to spread evenly and remove air bubbles.

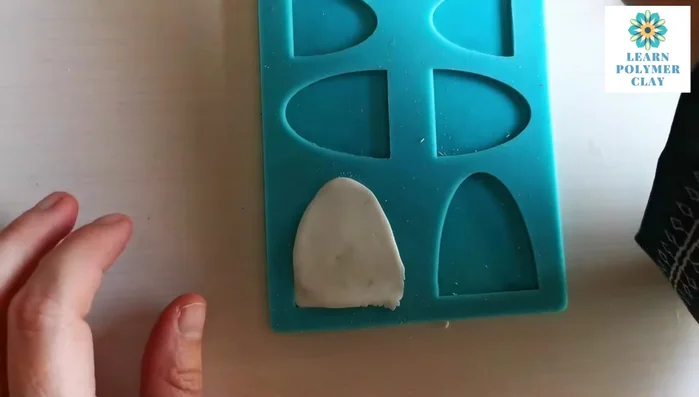
Prepare Clay Base Remove Excess Clay
- Carefully remove excess clay using a sharp blade, cutting parallel to the mold.
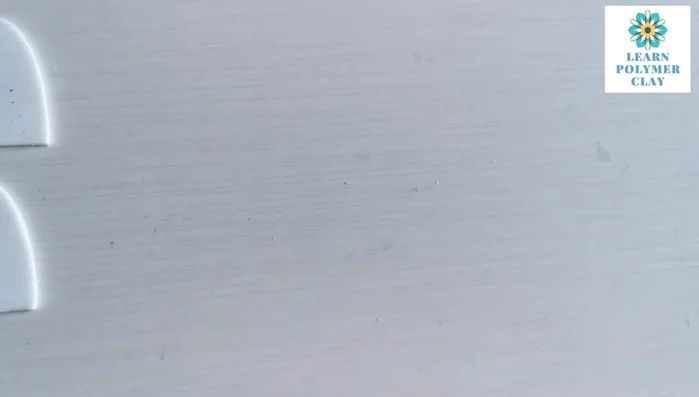
Remove Excess Clay Bake the First Time
- Prepare earring components. Bake for 40 minutes in a preheated oven, tented with an aluminum pan and parchment paper.
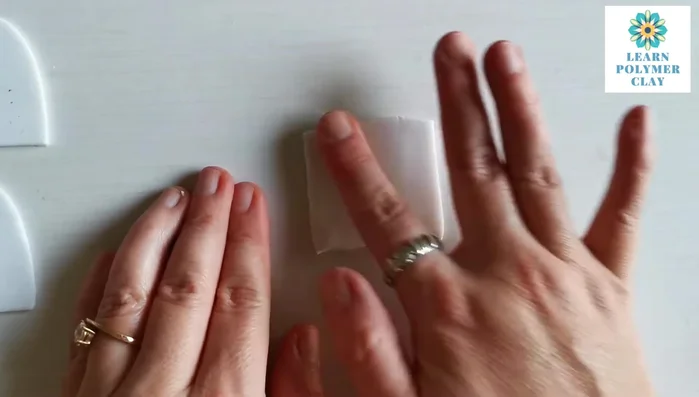
Bake the First Time Create Textured Clay Layer
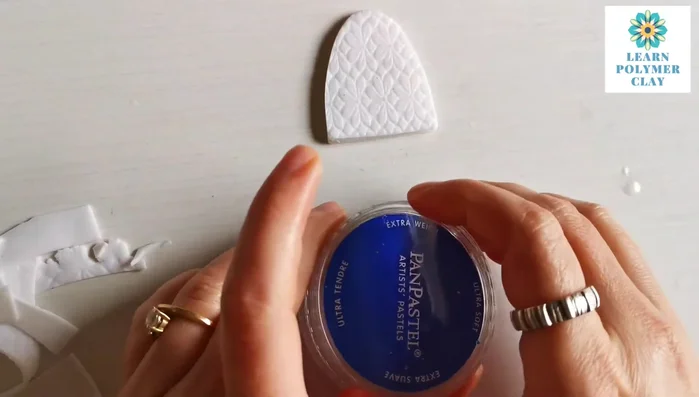
- Roll clay paste through the pasta machine (medium setting) and fold in half for a double layer. Apply a floral texture using a roller to create a pattern.
Create Textured Clay Layer Attach and Decorate
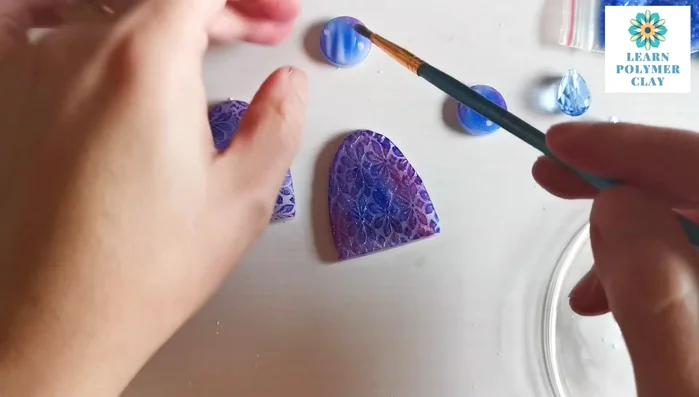
- Attach the textured clay to the baked base using liquid clay as a bonding agent.
- Use pan pastels (blue and purple) to color the clay, blending with fingers or a brush. Add unicorn purple metallic powder for sparkle.
Attach and Decorate Bake the Second Time and Drill Holes
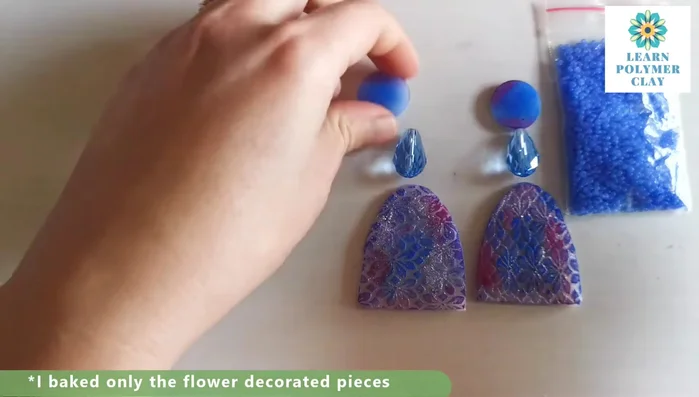
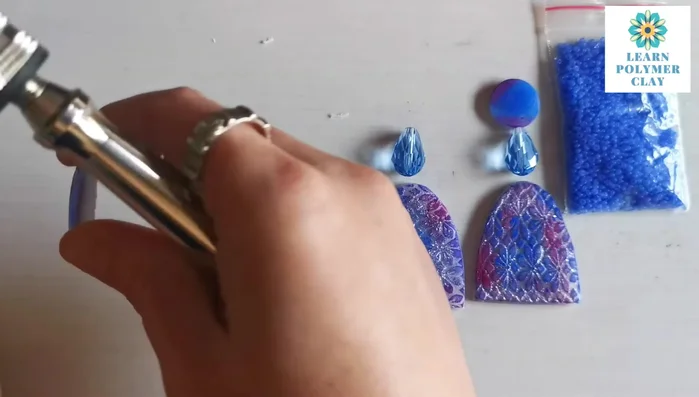
- Bake the colored pieces again for 30 minutes. Drill holes for earring findings.
Bake the Second Time and Drill Holes Protect with Varnish
- Apply matte varnish to protect the pan pastels.
Protect with Varnish Assemble the Earrings
- Assemble the earrings using jump rings, silver wire, and seed beads. Create loops with the wire around the different components.
Assemble the Earrings
Read more: Twisted Wire Spiral Earrings: A Step-by-Step Guide
Tips
- Be very careful not to cut into the mold when removing excess clay.
- You don't need to smooth your pieces too much before baking.
- Use liquid clay to bond baked and unbaked polymer clay.
- The more pastel color you apply, the better definition you get for the floral pattern. Keep baby wipes handy to clean your hands.
- To ensure durability, loop wire several times around the base of each component and consider going through the components themselves for added strength.