Are you ready to dive into the enchanting world of jewelry making? Even if you've never picked up a bead before, creating beautiful, wearable pieces is entirely within your reach. This tutorial focuses on crafting easy beaded chain links, a perfect project for beginners looking to explore the satisfying art of beadwork. You'll be surprised at how quickly you can transform simple beads and wire into elegant necklaces, bracelets, or keychains. The process is incredibly intuitive and requires minimal materials, making it ideal for crafting on a budget.
Forget complicated knots and intricate patterns; this tutorial will guide you through a straightforward technique that yields stunning results. We’ll focus on creating strong, uniform links, and learn some valuable basic beading skills along the way. Ready to get started and create your own unique beaded chain? Let's jump into the step-by-step instructions below!
Preparation and Safety Guidelines
- 1 mm 18 gauge copper wire
- Flush Cutters
- Two pairs of chain nose pliers
- Six-step Bell making plier (optional, round nose pliers can be substituted)
- Ruler
- Size 6/0 seed beads (or similar size beads)
- 5mm jump rings
- Always supervise children when working with small beads and wires to prevent choking hazards or accidental ingestion.
- Use sharp wire cutters to prevent frayed or uneven wire ends that could cause injury. Cut away from yourself.
- Be mindful of the type of wire used. Some wires are softer and more prone to bending; others are stiffer and might require more force, potentially leading to hand fatigue or injury.
Step-by-Step Instructions
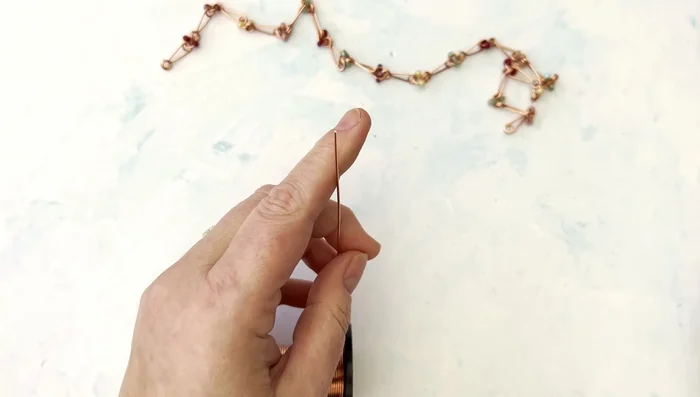
Prepare the Wire
- Cut 7cm of 1mm copper wire.

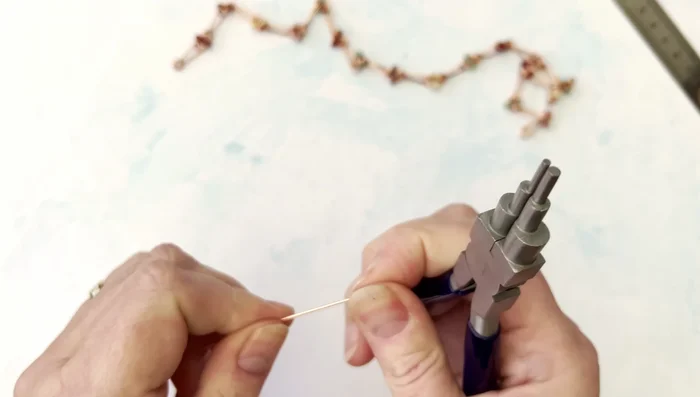
Prepare the Wire Create Initial Loops
- Using chain nose pliers (or similar), create a small loop at each end of the wire. Ensure the loops face away from you.
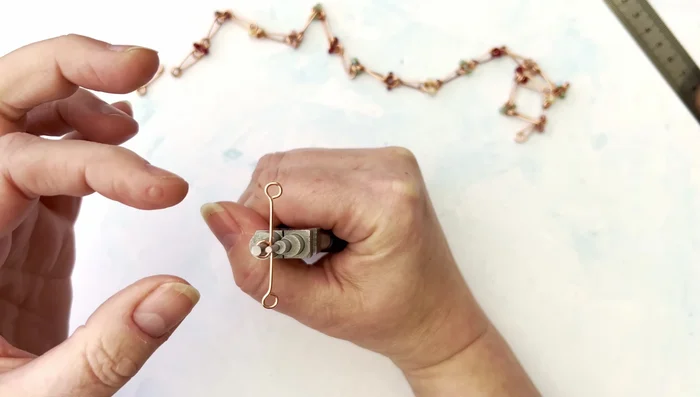
Create Initial Loops First Loop Twist
- Find the center point of the wire. Bend one loop under the other, then over.
First Loop Twist Second Loop Twist
- Flip the piece over. Bend the loops together again, this time with one loop going over the other.
Second Loop Twist Refine the Link
- Neaten the loops using your fingers or pliers to ensure they are neatly aligned and covering each other.
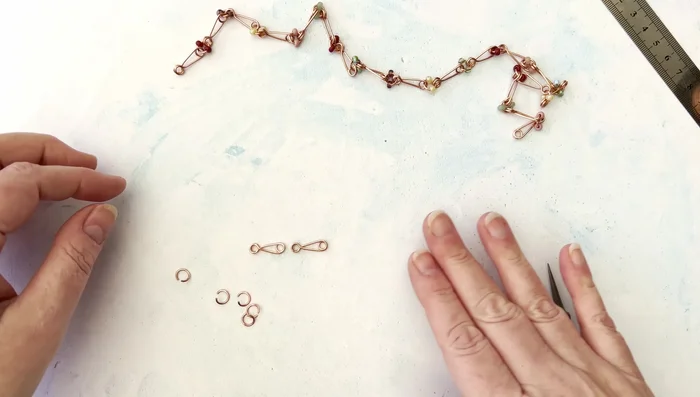
Refine the Link Assemble the Chain
- To join links, use jump rings. Add one bead to each side of the jump ring before attaching to the links. Ensure all links face in the same direction for a consistent look.
Assemble the Chain


Read more: Elegant Russian Spiral Necklace Tutorial: A Step-by-Step Guide
Tips
- If loops are slightly offset, use pliers to gently adjust them.
- You can omit the beads for a simpler chain design.